


Instructions for painting interior
Lionheart12
12 years ago
Related Stories
DECORATING GUIDESFrom the Pros: How to Paint Interior Walls
A slapdash approach can lower a room's entire look, so open your eyes to this wise advice before you open a single paint can
Full Story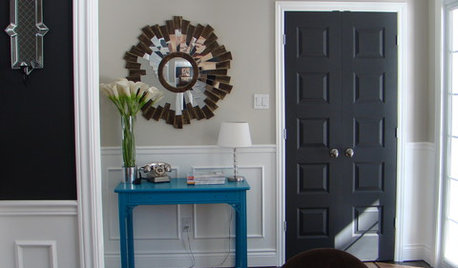
MOST POPULAR11 Reasons to Paint Your Interior Doors Black
Brush on some ebony paint and turn a dull doorway into a model of drop-dead sophistication
Full Story
REMODELING GUIDESInterior Brick: Paint it or Leave It?
Here's how to know if covering that brick is a sin or solution
Full Story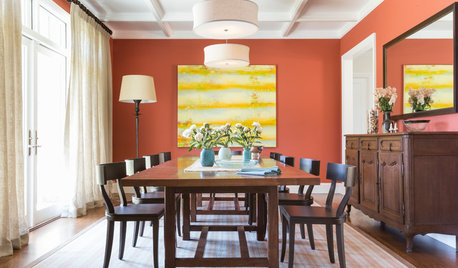
PAINTINGHow to Hire a Painter to Do Your Interiors
Here’s what to know about hiring a painting contractor and what to expect during the job
Full Story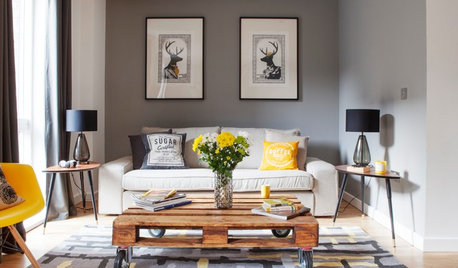
COLOR11 Ways to Add a Splash of Yellow to Your Interior
See how a dab of this sunshiny color can bring warmth and cheer to a room
Full Story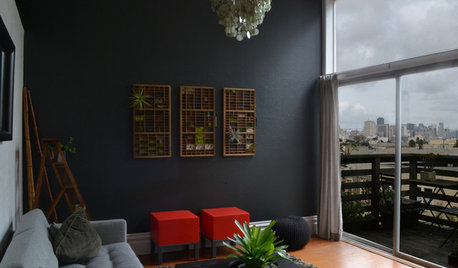
COLOR15 Dramatic Interior Paint Makeovers
Light to dark, dark to light. Soft to bold or newly toned down. See how these homeowners transformed their interiors with paint
Full Story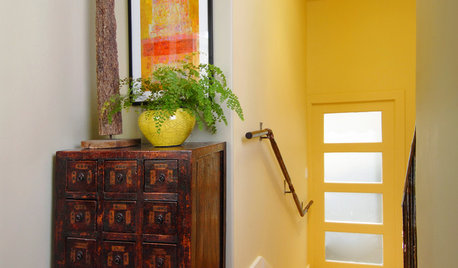
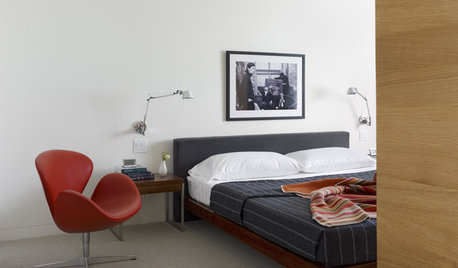
DOORS13 Ways to Paint an Interior Door
Turn your interior door into an accent piece, or make it seem to disappear
Full Story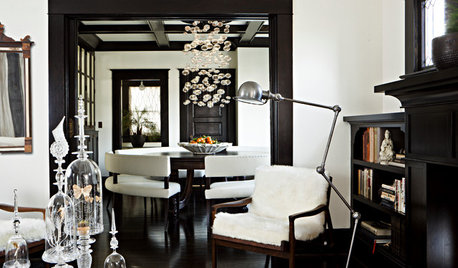
COLOR8 Reasons to Paint Your Interior Trim Black
Hide imperfections, energize a space, highlight a view and more with a little bit of darkness that goes a long way
Full Story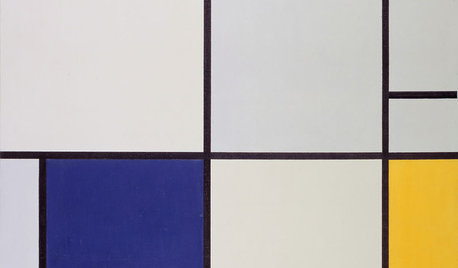
DECORATING GUIDESInteriors Need Energy? Look to Mondrian’s Paintings for Inspiration
The Dutch master of abstraction can help you return to basic colors, create zones, highlight function and more
Full Story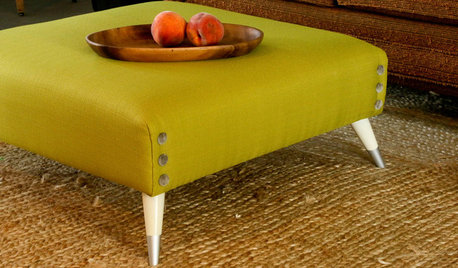
DIY PROJECTSTurn a Shipping Pallet Into a Stylish Ottoman
Get the step-by-step instructions for upholstering your own mod living room centerpiece
Full Story

Lionheart12Original Author
graywings123
Related Professionals
Holiday Painters · Dearborn Painters · Dundalk Painters · North Aurora Painters · Country Club Cabinets & Cabinetry · Newcastle Cabinets & Cabinetry · Prospect Heights Cabinets & Cabinetry · West Freehold Cabinets & Cabinetry · Burlington Flooring Contractors · New Orleans Flooring Contractors · Pompano Beach Flooring Contractors · Powder Springs Flooring Contractors · San Carlos Flooring Contractors · Saugus Flooring Contractors · Whitman Flooring Contractorssofaspud
Lionheart12Original Author
paintguy22
Lionheart12Original Author
paintguy22
Lionheart12Original Author
sofaspud
Christopher Nelson Wallcovering and Painting
paintguy22
Christopher Nelson Wallcovering and Painting