


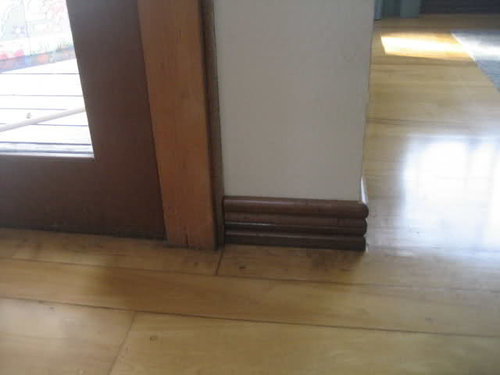
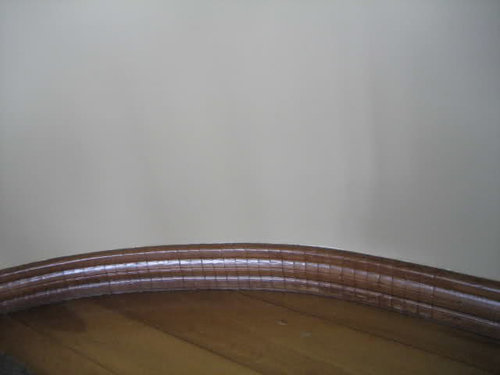
Painting Stained Trim: Is this right?
myredhouse
15 years ago
Sort by:Oldest
Comments (10)
Related Stories
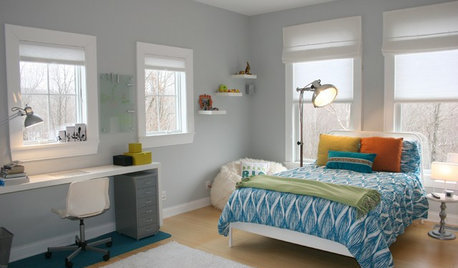
TRIMTrim Color Tips: Get Your White Trim Right
Set off wood tones, highlight architectural features, go minimalist ... white trim is anything but standard when you know how to use it
Full Story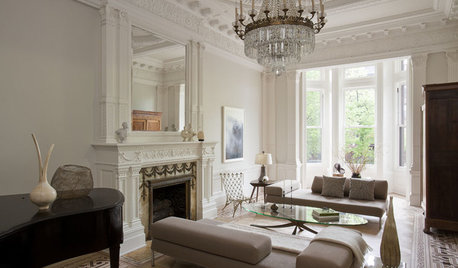
REMODELING GUIDESCrown Molding: Is It Right for Your Home?
See how to find the right trim for the height of your ceilings and style of your room
Full Story
PAINTINGBulletproof Decorating: How to Pick the Right Kind of Paint
Choose a paint with some heft and a little sheen for walls and ceilings with long-lasting good looks. Here are some getting-started tips
Full Story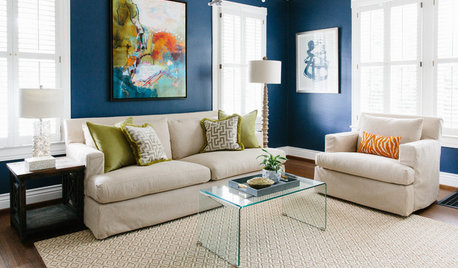
MOST POPULARThe Right Way to Test Paint Colors
Here are 5 key steps to take to ensure you're happy with your wall paint color
Full Story
WHITEHow to Pick the Right White Paint
White is white, right? Not quite. See 8 white paint picks for 8 very different effects
Full Story
GRAYChoosing Paint: How To Pick the Right Gray
Which Version of Today's 'It' Neutral Is For You?
Full Story
WALL TREATMENTSPick the Right Paint Finish to Fit Your Style
The question of finish may be as crucial as color. See which of these 9 varieties suits your space — and budget
Full Story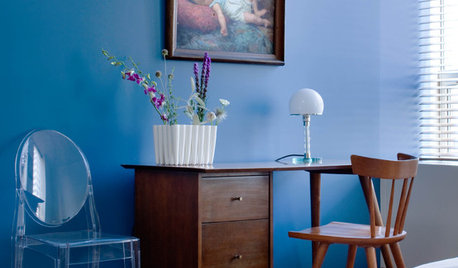
TURQUOISEHow to Pick the Right Blue Paint
Periwinkle, Turquoise, Midnight or Sky? Here's Help Choosing the Blue for You
Full Story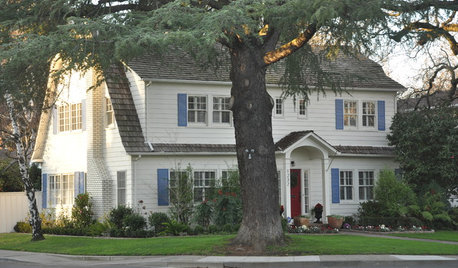
EXTERIORSHow To Get Your Exterior Paint Color Right
Your House Color Should Fit You, Your Architecture and Where You Live
Full Story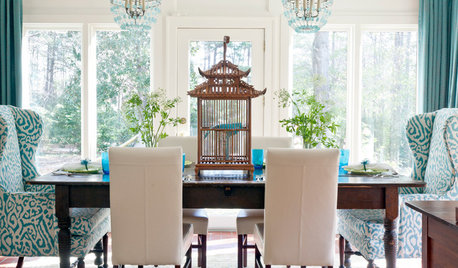
DECORATING GUIDESDecorating 101: How to Use White Right
If you’ve ever been in white-paint-swatch limbo, you know white can be tricky to work with. Here’s how to get the fresh look you’re after
Full Story


randita
myredhouseOriginal Author
Related Professionals
Hutto Painters · Lakewood Painters · Naperville Painters · New Brighton Painters · Port Orchard Painters · Walnut Creek Painters · Los Altos Cabinets & Cabinetry · Wyckoff Cabinets & Cabinetry · Cambridge Flooring Contractors · Fargo Flooring Contractors · Laconia Flooring Contractors · Lake Nona Flooring Contractors · Oshkosh Flooring Contractors · Topeka Flooring Contractors · West Islip Flooring Contractorsrandita
Christopher Nelson Wallcovering and Painting
myredhouseOriginal Author
randita
terezosa / terriks
myredhouseOriginal Author
Michael
myredhouseOriginal Author