


Painting old oak cabinets
bemidjigreen
12 years ago
Sort by:Oldest
Comments (7)
Related Stories
MOST POPULARHow to Reface Your Old Kitchen Cabinets
Find out what’s involved in updating your cabinets by refinishing or replacing doors and drawers
Full Story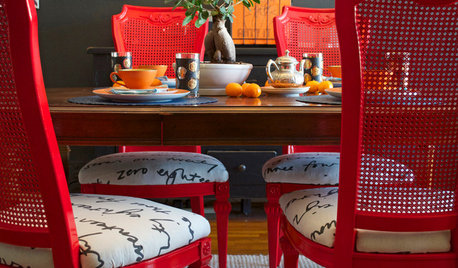
DIY PROJECTSDining Set Makeover: Paint and Tea-Tinted Fabric Make Old Chairs New
Reclaim dated dining chairs for far less than buying new, using spray paint, modern fabric and a handful of tea bags
Full Story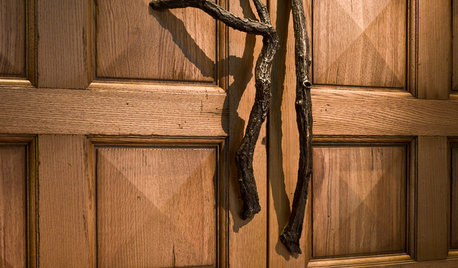
WOODWoodipedia: Make a Solid Choice With Oak
Forget those low-end products of old. Red and white oak today are beautiful, versatile and relatively inexpensive
Full Story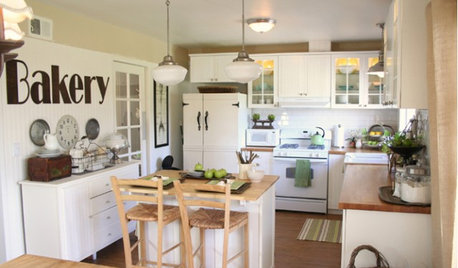

PRODUCT PICKSGuest Picks: Everything Old-World Is New Again
Give even a new build a romantic history with lighting fixtures, hardware and drapes that recall the Old Country
Full Story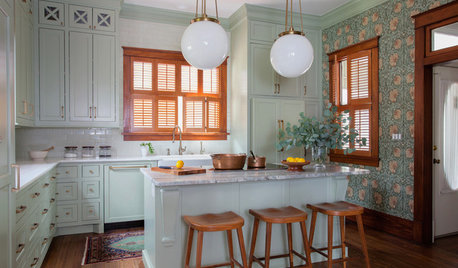
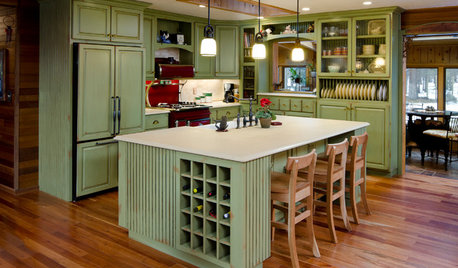
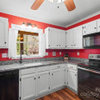
KITCHEN OF THE WEEKKitchen of the Week: Goodbye, Honey Oak — Hello, Minty Green
After more than 30 years, the Kloesels revamped their space to reflect their rural country town and Victorian-style home
Full Story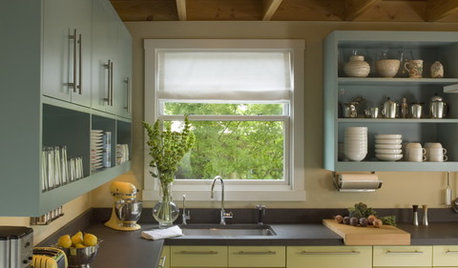
MOST POPULAR8 Great Kitchen Cabinet Color Palettes
Make your kitchen uniquely yours with painted cabinetry. Here's how (and what) to paint them
Full Story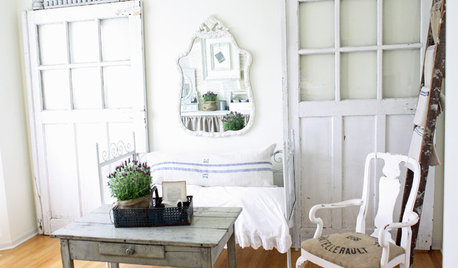
DOORSOld Doors, New Charm
Turn a vintage door into wall art, sliders, cabinet doors, garden gates and more
Full Story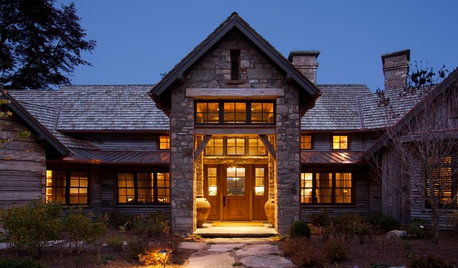
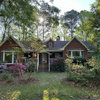
RUSTIC STYLEOld Southern Highlands Style for a New North Carolina Retreat
Antique woods add a sense of history to a gracious part-time home in the Blue Ridge Mountains
Full Story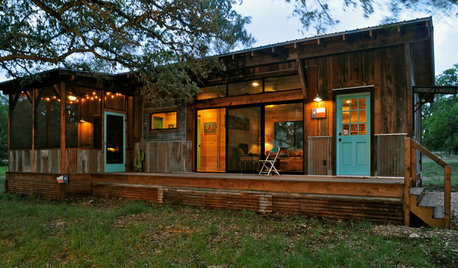
RUSTIC STYLEHouzz Tour: Salvaged Parts Form a New-Old Texas Hideaway
Reclaimed timbers and metal give an Austin-area prefab bygone soul
Full Story

Faron79
tuesday_2008
Related Professionals
Chesapeake Painters · Columbia Painters · Portsmouth Painters · Rosenberg Painters · Arizona City Painters · Fountain Painters · Lompoc Painters · Oak Forest Painters · Castaic Painters · Norfolk Cabinets & Cabinetry · South Riding Cabinets & Cabinetry · Beverly Flooring Contractors · Saugus Flooring Contractors · Skokie Flooring Contractors · Waunakee Flooring Contractorsart_teacher_mom
heathermisme
shredbetty
l west
shredbetty