


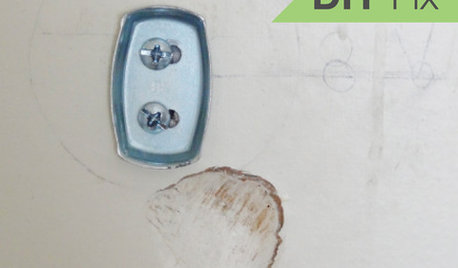
latex paint bubbling on patches
w0lley32
15 years ago
Featured Answer
Sort by:Oldest
Comments (15)

sombreuil_mongrel
15 years agow0lley32
15 years agoRelated Professionals
Chesapeake Painters · Fairfield Painters · Golden Painters · Pepper Pike Painters · Plainfield Painters · Roselle Painters · South Pasadena Painters · West Valley City Painters · Bon Air Cabinets & Cabinetry · Danvers Flooring Contractors · East Hemet Flooring Contractors · Fox Chapel Flooring Contractors · Murfreesboro Flooring Contractors · Scottsboro Flooring Contractors · Thibodaux Flooring Contractors
Faron79
15 years agopaintguy22
15 years agow0lley32
15 years agoFaron79
15 years agow0lley32
15 years agopaintguy22
15 years agow0lley32
15 years agosherwoodva
15 years agoFaron79
15 years agow0lley32
15 years agofraser136
9 years agoHU-45956513
3 years ago
Related Stories
HOUSEKEEPINGQuick Fix: How to Patch a Drywall Hole
Dents and dings disappear, leaving your walls looking brand new, with this fix that even a novice can do
Full Story
GREAT HOME PROJECTSReady to Repaint Your Home’s Exterior? Get Project Details Here
Boost curb appeal and prevent underlying damage by patching and repainting your home’s outer layer
Full Story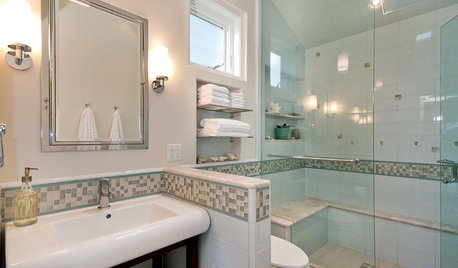
BATHROOM DESIGN6 Elements of a Perfect Bathroom Paint Job
High-quality paint alone won't cut it. For the best-looking painted bathroom walls, you'll need to get these other details right
Full Story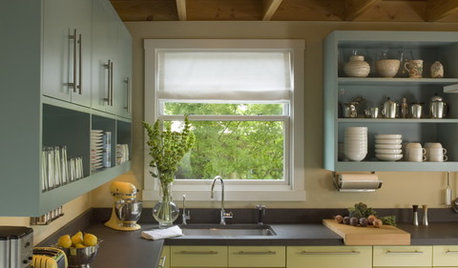
MOST POPULAR8 Great Kitchen Cabinet Color Palettes
Make your kitchen uniquely yours with painted cabinetry. Here's how (and what) to paint them
Full Story
PAINTING10 Rules for Your Next Painting Project
Take your next painting journey from ‘argh!’ to ‘ta-da!’ with these designer tricks
Full Story
FLOORSHow to Paint Your Hardwood Floors
Know how to apply nail polish? Then you can give your wooden floors a brand-new look
Full Story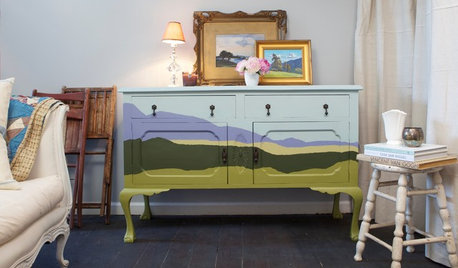
DIY PROJECTSUpcycle Furniture Finds With Paint
There are products out there designed to help you transform your thrift-store scores
Full Story
DIY PROJECTS29 Home Projects to Make You a DIY Superstar
Patch up holes, turn trash to treasure, erase stains ... these doable DIY projects will better your home and boost your ego
Full Story
CURB APPEALHow to Touch Up Your Home’s Exterior Paint
Protect your siding from weather damage without exposing yourself to mismatched paint by learning the right way to do touch-ups
Full Story
BATHROOM DESIGNDreaming of a Spa Tub at Home? Read This Pro Advice First
Before you float away on visions of jets and bubbles and the steamiest water around, consider these very real spa tub issues
Full StorySponsored
Columbus Design-Build, Kitchen & Bath Remodeling, Historic Renovations
More Discussions


sombreuil_mongrel