


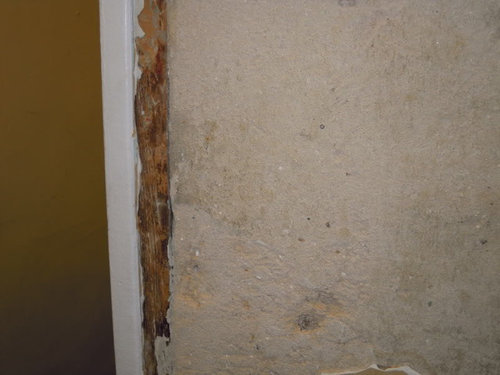
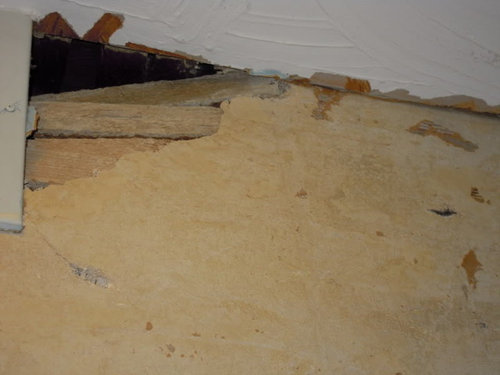
Preserving (horsehair) plaster in 1880 row home, advice please
amh2949
14 years ago

Sort by:Oldest
Comments (5)
Related Stories
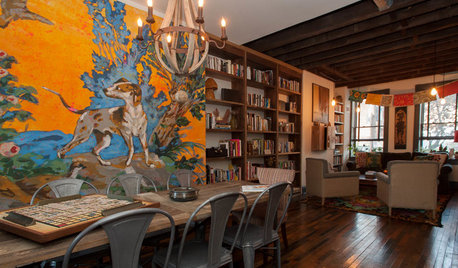
ECLECTIC HOMESMy Houzz: Color and Texture Fill an Eclectic Pittsburgh Row House
Moroccan touches join exposed brick, salvaged materials and scads of books in this home for a creative couple
Full Story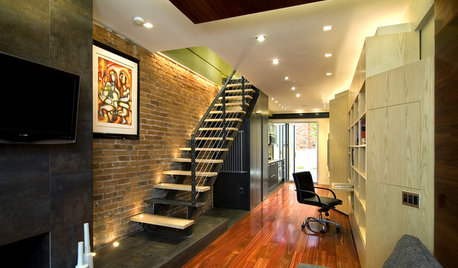
HOUZZ TOURSDesign Lessons From a 10-Foot-Wide Row House
How to make a very narrow home open, bright and comfortable? Go vertical, focus on storage, work your materials and embrace modern design
Full Story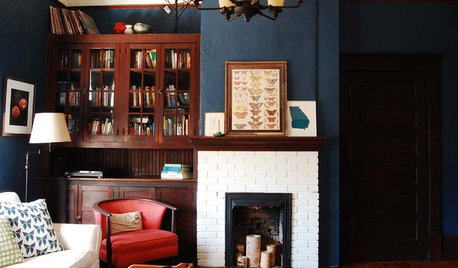
HOUZZ TOURSMy Houzz: Vibrant Coziness for a 1920s Georgia Farmhouse
See how first-time homeowners perked up their history-laden home and befriended a community
Full Story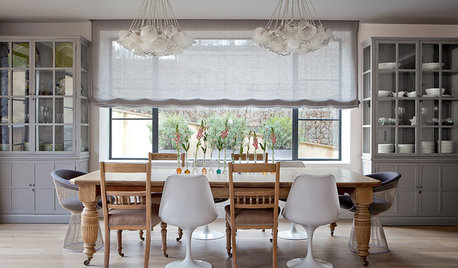
DECORATING GUIDES12 Ways to Beat the Home Decor Blahs
A few easy tweaks will make your house feel new to you
Full Story
REMODELING GUIDESOne Guy Found a $175,000 Comic in His Wall. What Has Your Home Hidden?
Have you found a treasure, large or small, when remodeling your house? We want to see it!
Full Story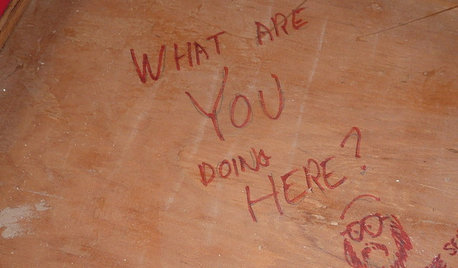
FUN HOUZZDoes Your Home Have a Hidden Message?
If you have ever left or found a message during a construction project, we want to see it!
Full Story
TRADITIONAL ARCHITECTUREHow to Research Your Home's History
Learn what your house looked like in a previous life to make updates that fit — or just for fun
Full Story
ARCHITECTURETell a Story With Design for a More Meaningful Home
Go beyond a home's bones to find the narrative at its heart, for a more rewarding experience
Full Story
ARCHITECTUREStyle Divide: How to Treat Additions to Old Homes?
One side says re-create the past; the other wants unabashedly modern. Weigh in on additions style here
Full StoryMore Discussions


mainegrower
Christopher Nelson Wallcovering and Painting
Related Professionals
Hillsboro Kitchen & Bathroom Designers · Lenexa Kitchen & Bathroom Designers · Piedmont Kitchen & Bathroom Designers · Waianae Kitchen & Bathroom Designers · Adelphi Kitchen & Bathroom Remodelers · Forest Hill Kitchen & Bathroom Remodelers · Centerville Kitchen & Bathroom Remodelers · Clovis Kitchen & Bathroom Remodelers · Pico Rivera Kitchen & Bathroom Remodelers · Rochester Kitchen & Bathroom Remodelers · Sicklerville Kitchen & Bathroom Remodelers · South Park Township Kitchen & Bathroom Remodelers · Panama City Beach Architects & Building Designers · Saint Paul Architects & Building Designers · Taylors Architects & Building Designerssombreuil_mongrel
slateberry
brickeyee