


Trunk room--what happened, what to do?
slateberry
14 years ago


Featured Answer
Comments (37)

calliope
14 years agolast modified: 9 years agoslateberry
14 years agolast modified: 9 years agoRelated Professionals
Albany Kitchen & Bathroom Designers · Barrington Hills Kitchen & Bathroom Designers · Fresno Kitchen & Bathroom Designers · Greensboro Kitchen & Bathroom Designers · Ossining Kitchen & Bathroom Designers · Pike Creek Valley Kitchen & Bathroom Designers · Rancho Mirage Kitchen & Bathroom Designers · Hickory Kitchen & Bathroom Remodelers · Newberg Kitchen & Bathroom Remodelers · Pasadena Kitchen & Bathroom Remodelers · Santa Fe Kitchen & Bathroom Remodelers · Winchester Kitchen & Bathroom Remodelers · North Chicago Architects & Building Designers · Parkway Architects & Building Designers · Portage Architects & Building Designersmacv
14 years agolast modified: 9 years agocalliope
14 years agolast modified: 9 years agoslateberry
14 years agolast modified: 9 years agoalison
14 years agolast modified: 9 years agoblackcats13
14 years agolast modified: 9 years agoslateberry
14 years agolast modified: 9 years agosombreuil_mongrel
14 years agolast modified: 9 years ago
worthy
14 years agolast modified: 9 years agoslateberry
14 years agolast modified: 9 years agosombreuil_mongrel
14 years agolast modified: 9 years agoslateberry
14 years agolast modified: 9 years agosombreuil_mongrel
14 years agolast modified: 9 years agoslateberry
14 years agolast modified: 9 years agobulldinkie
14 years agolast modified: 9 years agobulldinkie
14 years agolast modified: 9 years agohautinglu
14 years agolast modified: 9 years agoslateberry
14 years agolast modified: 9 years agohautinglu
14 years agolast modified: 9 years agosombreuil_mongrel
14 years agolast modified: 9 years agohautinglu
14 years agolast modified: 9 years agoUser
14 years agolast modified: 9 years agobrickeyee
14 years agolast modified: 9 years agoslateberry
14 years agolast modified: 9 years agohautinglu
14 years agolast modified: 9 years agoslateberry
14 years agolast modified: 9 years agoslateberry
14 years agolast modified: 9 years agoslateberry
14 years agolast modified: 9 years agoigloochic
14 years agolast modified: 9 years agoblackcats13
14 years agolast modified: 9 years agobelle_phoebe
14 years agolast modified: 9 years agosombreuil_mongrel
14 years agolast modified: 9 years agoslateberry
13 years agolast modified: 9 years agokimkitchy
13 years agolast modified: 9 years agoblackcats13
13 years agolast modified: 9 years ago


Related Stories
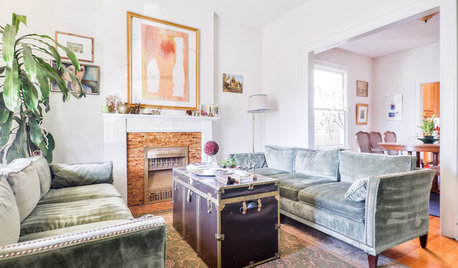
VINTAGE STYLEFlea Market Find: Steamer Trunks
The onetime travel staple today sees stay-at-home use as table, storage and seat
Full Story
DECORATING GUIDESBring Nature Indoors With Tree Stumps, Trunks and Logs
Furniture formed from wood in its natural state adds earthy elegance to any room
Full Story
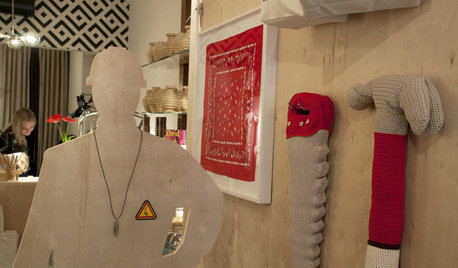
Happening: David Stark's Wood Shop for Haus
David Stark creates pop-up 'workshop' in Manhattan
Full Story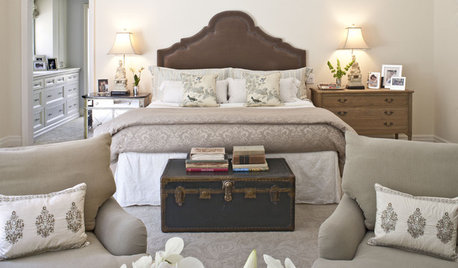
PRODUCT PICKSGuest Picks: Steamer Trunks That Go the Distance
Timeworn, antique inspired or looking brand new, these steamer trunks are durable and versatile for storage and as eclectic tables
Full Story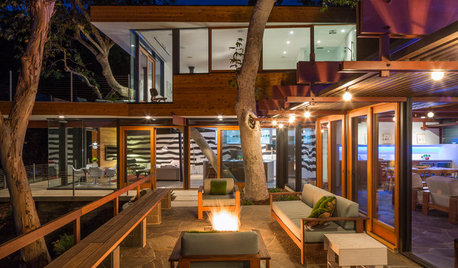
TREESHow to Use Trees Inside
Bring nature close by integrating the beauty of trunks and trees — even smaller leafy trees — into your home
Full Story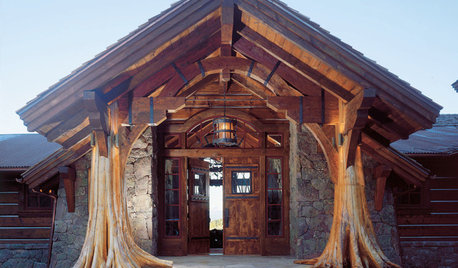
THE ART OF ARCHITECTUREOutside In: You, Me and Nature, Cozy Together
From reclaimed tree trunks to soaring coastal views, designers and homeowners are finding ways to bring the inspiring outdoors inside
Full Story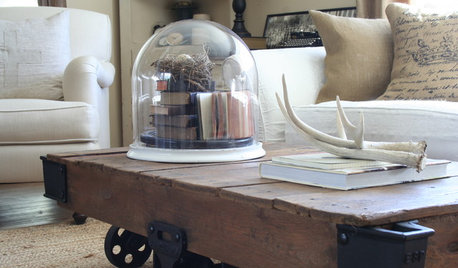
FURNITURE8 Ways to Reimagine the Coffee Table
A Trunk, Ottoman, Cart and More Can Become the Center of the Living Room
Full Story
LIFE10 Rut Busters to Bring Back Creativity
Drawing a blank happens to even the best designers and makers. Here's how to get your creative juices flowing again
Full Story

sombreuil_mongrel