


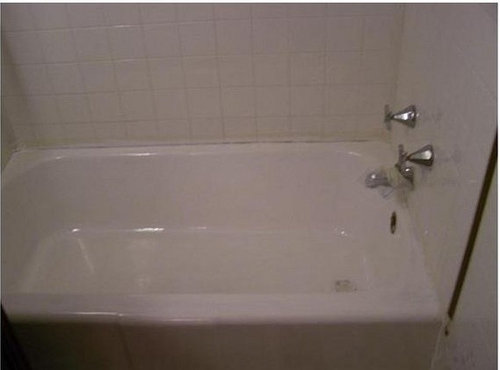
Bathtub Project
oldfixer
10 years ago
Sort by:Oldest
Comments (8)
Related Stories
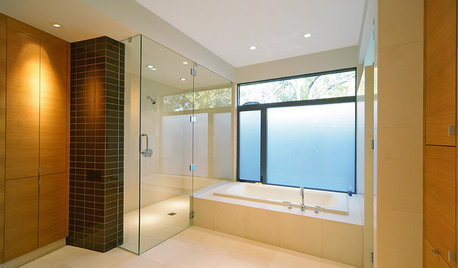
BATHROOM DESIGNHow to Choose Tile for a Bathtub
Creating a safe, stylish and useful bathtub with tile is all in the details. Here's how to get them right
Full Story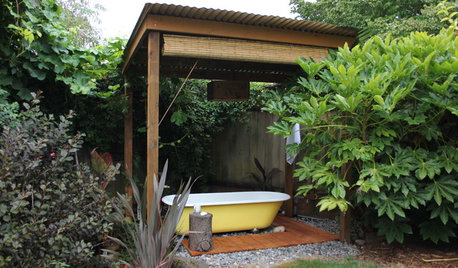
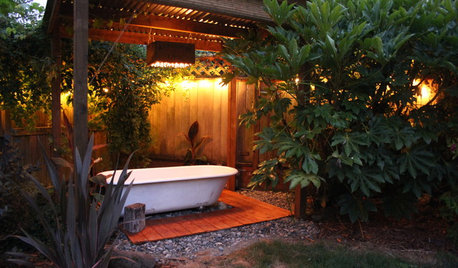
GARDENING AND LANDSCAPINGWhy Is There a Bathtub in the Backyard?
Nope, it's not waiting for bulk trash pickup. These days outdoor tubs are serving soakers, beer drinkers and even the fishes
Full Story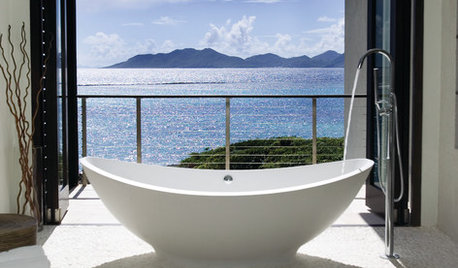
PHOTO FLIP71 Dream Bathtub Views
Soak in the sights with this collection of tantalizing tubs and inspiring vistas
Full Story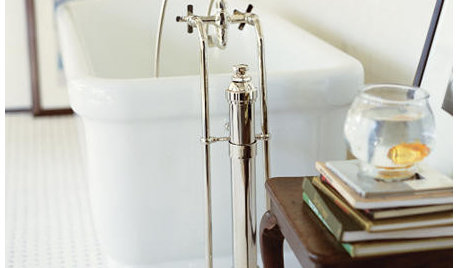
BATHROOM DESIGNWhere to Put Your Freestanding-Bathtub Necessities
Every Freestanding Tub Needs a Spot for Your Novel, Phone or Rubber Ducky
Full Story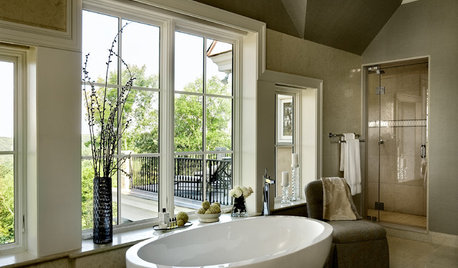
BATHROOM DESIGNExpert Talk: Freestanding Bathtubs Make a Splash
Professional designers explain why they chose freestanding tubs and how the style can enhance the design of any bathroom
Full Story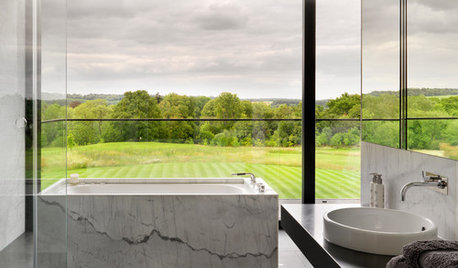
BATHTUBSWorld of Design: 12 Soothing Bathtubs in Rejuvenating Settings
From baths with ocean views to tubs set amid lush gardens, these spaces are designed to relax mind, body and soul
Full Story
FUN HOUZZThe Unicorn in the Bathtub — and Other Mind-Blowing Sights
Fantasy and reality meet head-on in photos of costume fans in their own homes
Full Story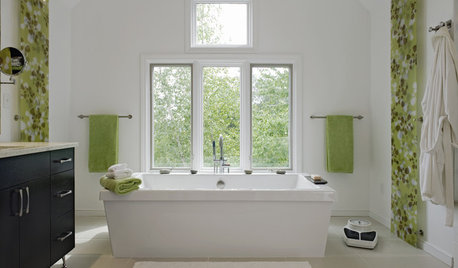
GARDENING AND LANDSCAPINGSee a Soothing Backyard Bathhouse Born From a Salvaged Tub
Creative thinking and DIY skills give a Portland couple a pergola-covered 'hot tub' under the stars
Full Story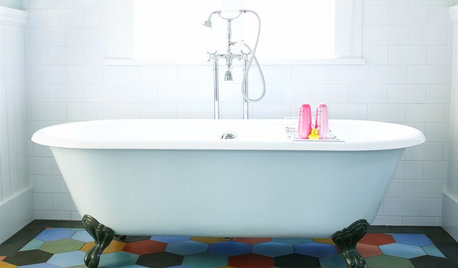
GREAT HOME PROJECTSHow to Get a Claw-Foot Tub for Your Bathroom
Here’s what to know about buying vintage or new — and how to refurbish a classic
Full Story

ingeorgia
mxyplx
Related Professionals
Corcoran Kitchen & Bathroom Designers · Clarksburg Kitchen & Bathroom Designers · Haslett Kitchen & Bathroom Designers · Magna Kitchen & Bathroom Designers · Pleasanton Kitchen & Bathroom Designers · Allouez Kitchen & Bathroom Remodelers · Calverton Kitchen & Bathroom Remodelers · Hanover Township Kitchen & Bathroom Remodelers · Lynn Haven Kitchen & Bathroom Remodelers · Pearl City Kitchen & Bathroom Remodelers · Walnut Creek Kitchen & Bathroom Remodelers · Wilmington Kitchen & Bathroom Remodelers · Phillipsburg Kitchen & Bathroom Remodelers · Johnson City Architects & Building Designers · North Chicago Architects & Building Designersdilettante_gw
oldfixerOriginal Author
Debbie Downer
oldfixerOriginal Author
emmarene9
oldfixerOriginal Author