


Window rehab - a couple questions
nativeplanter
10 years ago
Sort by:Oldest
Comments (19)
Related Stories
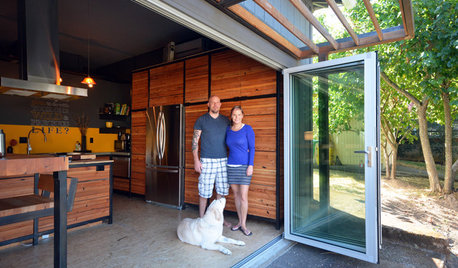
MY HOUZZHouzz TV: A Couple’s Garage Becomes Their Chic New Home
Portland, Oregon, homeowners find freedom in a city-approved garage home with DIY industrial flair
Full Story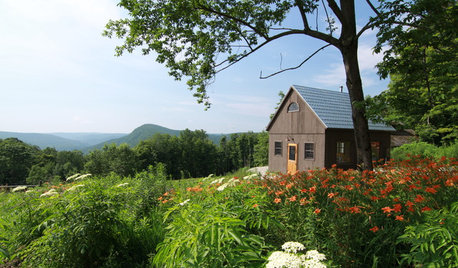
CABINSRoom of the Day: Timber-Frame Cabin Inspires Couple’s Creative Pursuits
This work studio, built in a simple vernacular architectural style, sits near a couple's rural home in the Berkshire mountains
Full Story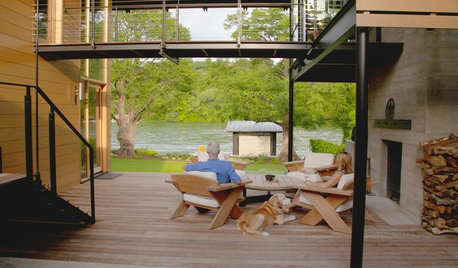
MODERN ARCHITECTUREHouzz TV: This Amazing Lake House Made a Couple’s Dream Come True
Step inside a dream home on Lake Austin, where architecture celebrating gorgeous views has a striking beauty of its own
Full Story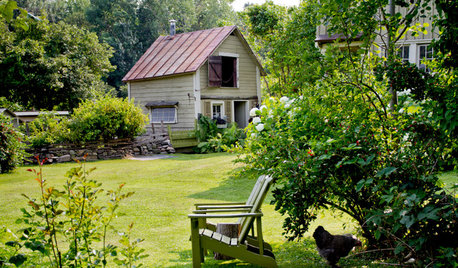
INSPIRING GARDENSMy Houzz: DIY Love and Nature-Inspired Colors Update a Couple’s Garden
Secondhand finds and favorite pieces add whimsical beauty to this animal-loving couple’s property
Full Story
INSIDE HOUZZSee a Couple’s New Spa-Like Bathroom From Lowe’s and Houzz
The sweepstake winners’ master bathroom gets a makeover with a new shower, tile and storage space
Full StoryREMODELING GUIDESConsidering a Fixer-Upper? 15 Questions to Ask First
Learn about the hidden costs and treasures of older homes to avoid budget surprises and accidentally tossing valuable features
Full Story
DOORS5 Questions to Ask Before Installing a Barn Door
Find out whether that barn door you love is the right solution for your space
Full Story
BEFORE AND AFTERSKitchen Rehab: Don’t Nix It, Fix It
A small makeover makes a big impact in a traditional kitchen in Atlanta with great bones
Full Story
CONTEMPORARY HOMESHouzz Tour: Newlywed Couple Find Their Style
A Portland, Oregon, ranch house goes from dark bachelor pad to married couple’s chic sanctuary
Full Story
DECORATING GUIDESHouzz Tour: Couple Pares Down and Pumps Up the Style
A big transition from a large suburban house to a 1,200-square-foot urban condo is eased by good design
Full StorySponsored
Central Ohio's Trusted Home Remodeler Specializing in Kitchens & Baths
More Discussions

sombreuil_mongrel
NWRain-Gal
Related Professionals
Knoxville Kitchen & Bathroom Designers · Magna Kitchen & Bathroom Designers · South Sioux City Kitchen & Bathroom Designers · East Tulare County Kitchen & Bathroom Remodelers · Bloomingdale Kitchen & Bathroom Remodelers · Durham Kitchen & Bathroom Remodelers · Fort Washington Kitchen & Bathroom Remodelers · Fremont Kitchen & Bathroom Remodelers · League City Kitchen & Bathroom Remodelers · Oklahoma City Kitchen & Bathroom Remodelers · Plant City Kitchen & Bathroom Remodelers · Cloverly Architects & Building Designers · Memphis Architects & Building Designers · Schiller Park Architects & Building Designers · South Barrington Architects & Building DesignersNWRain-Gal
graywings123
sombreuil_mongrel
graywings123
geller
nativeplanterOriginal Author
nativeplanterOriginal Author
Circus Peanut
nativeplanterOriginal Author
sombreuil_mongrel
nativeplanterOriginal Author
nativeplanterOriginal Author
nativeplanterOriginal Author
sombreuil_mongrel
nativeplanterOriginal Author
nativeplanterOriginal Author
schicksal