


What would you do? Three options...
sarahandbray
11 years ago
Sort by:Oldest
Comments (9)
Related Stories
HOUSEKEEPINGThree More Magic Words to Help the Housekeeping Get Done
As a follow-up to "How about now?" these three words can help you check more chores off your list
Full Story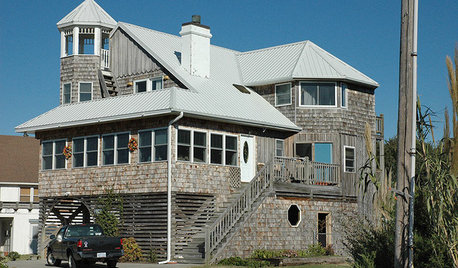
REMODELING GUIDES8 Ecofriendly Roof Options for Low Budgets and Up
Save resources with a cooling or sustainable roof or add-on that looks great and fits your price range
Full Story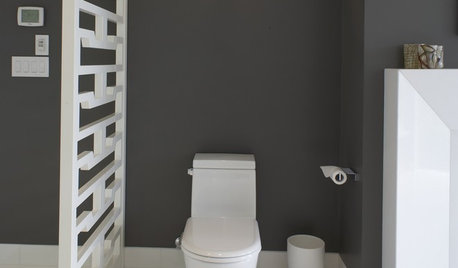
BATHROOM DESIGNHere's (Not) Looking at Loo, Kid: 12 Toilet Privacy Options
Make sharing a bathroom easier with screens, walls and double-duty barriers that offer a little more privacy for you
Full Story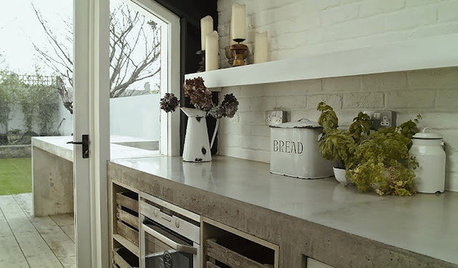
KITCHEN COUNTERTOPSKitchen Counters: Concrete, the Nearly Indestructible Option
Infinitely customizable and with an amazingly long life span, concrete countertops are an excellent option for any kitchen
Full Story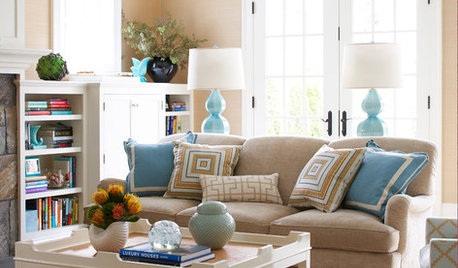
FURNITUREKnow Your Sofa Options: Arms, Cushions, Backs and Bases
Get your sock arm straight from your track arm — along with everything else — to choose the sofa that’s right for you
Full Story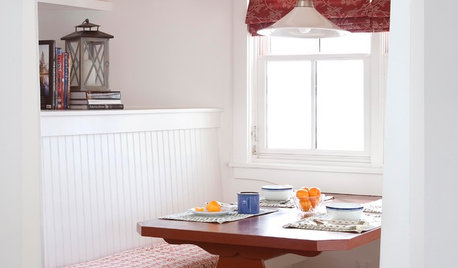
KITCHEN DESIGNKitchen Banquettes: Explaining the Buffet of Options
We dish up info on all your choices — shapes, materials, storage types — so you can choose the banquette that suits your kitchen best
Full Story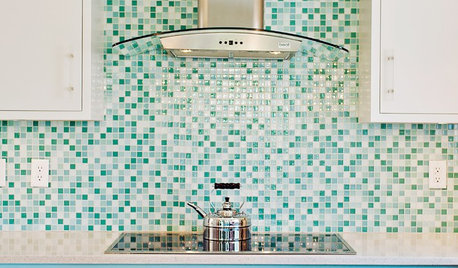
KITCHEN DESIGN9 Popular Stovetop Options — Plus Tips for Choosing the Right One
Pick a stovetop that fits your lifestyle and your kitchen style with this mini guide that covers all the basics
Full Story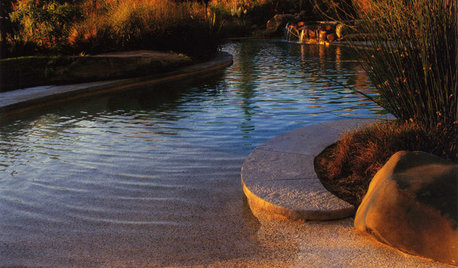
GARDENING AND LANDSCAPINGPools Overflow With Finish Options
Move over, plaster: Pebbles, colors and glow-in-the-dark glass are making waves on the pool finish scene
Full Story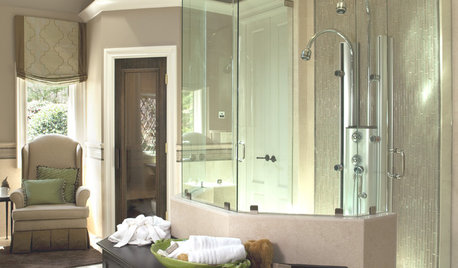
SHOWERS10 Stylish Options for Shower Enclosures
One look at these showers with glass block, frameless glass, tile and more, and you may never settle for a basic brass frame again
Full Story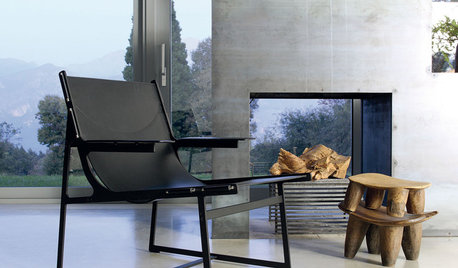
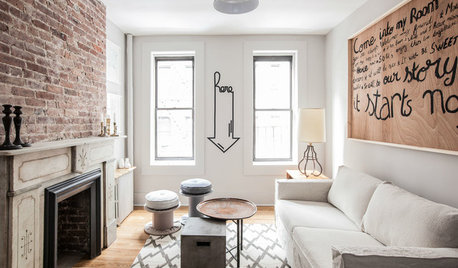
LIVING ROOMSDouble-Sided Fireplaces Multiply Design Options
Flames on two (or more) sides of a fireplace turn up the heat in interior designs
Full Story

Debbie Downer
deborahc
Related Professionals
Haslett Kitchen & Bathroom Designers · Piedmont Kitchen & Bathroom Designers · Soledad Kitchen & Bathroom Designers · Vineyard Kitchen & Bathroom Designers · Clovis Kitchen & Bathroom Remodelers · Glendale Kitchen & Bathroom Remodelers · Hanover Township Kitchen & Bathroom Remodelers · Hoffman Estates Kitchen & Bathroom Remodelers · Niles Kitchen & Bathroom Remodelers · Olney Kitchen & Bathroom Remodelers · Port Angeles Kitchen & Bathroom Remodelers · Weston Kitchen & Bathroom Remodelers · Princeton Kitchen & Bathroom Remodelers · Franklin Architects & Building Designers · Saint Louis Park Architects & Building Designersliriodendron
Clarion
sarahandbrayOriginal Author
bulldinkie
lauren674
alfalfa58
sarahandbrayOriginal Author