


Kitchen Cabinet Shelves Rehab
oldfixer
10 years ago


Related Stories
BEFORE AND AFTERSKitchen Rehab: Don’t Nix It, Fix It
A small makeover makes a big impact in a traditional kitchen in Atlanta with great bones
Full Story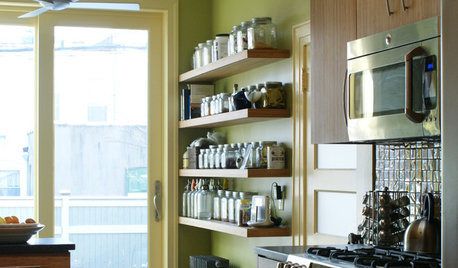
8 Ideas For Immaculate Open Shelving
How to Keep Kitchen Shelves Looking Sleek and Not Sloppy
Full Story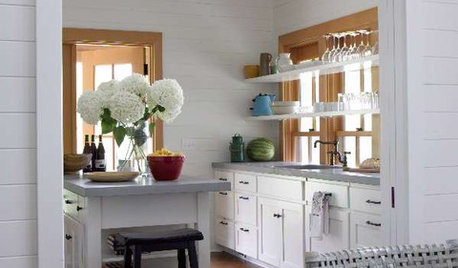
KITCHEN DESIGNIdea of the Week: Float Shelves in Front of Windows
Let in Light — and Let Guests Easily Find the Wine Glasses
Full Story
KITCHEN STORAGEStyle Your Open Kitchen Shelving Like a Pro
Follow these do’s and don’ts for arranging items on your kitchen shelves
Full Story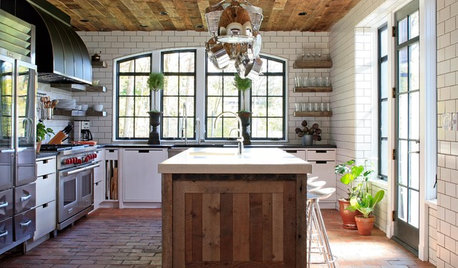
KITCHEN DESIGNWhat to Know About Using Reclaimed Wood in the Kitchen
One-of-a-kind lumber warms a room and adds age and interest
Full Story
ECLECTIC HOMESHouzz Tour: Hand Crafting Rehabs a Michigan Farmhouse
Artisan-made and vintage furnishings, a coffered ceiling and agrarian touches give a century-old home warm appeal
Full Story
KITCHEN DESIGNInterview: The Wonderful World of Thomas Wold
Artful Furniture and Kitchens Create a Sense of Memory, Fantasy and Fun
Full Story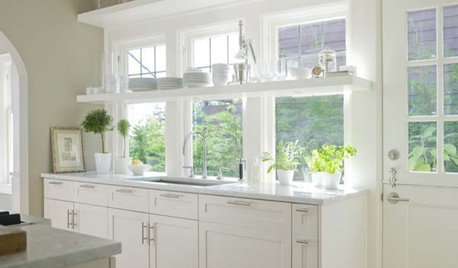
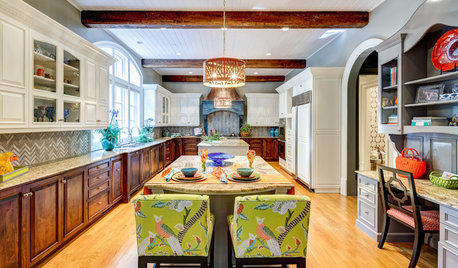
KITCHEN DESIGNReaders' Choice: The Top Kitchens of 2010
The Year's Most Popular Kitchens Had White Cabinets, Black Accents, Floating Shelves or Uber-Organized Pantries
Full Story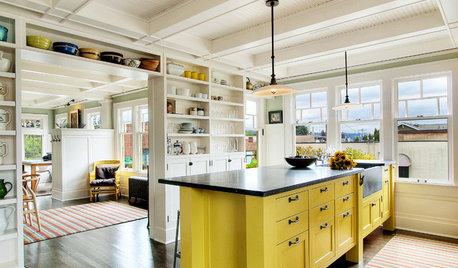
KITCHEN DESIGNHow to Lose Some of Your Upper Kitchen Cabinets
Lovely views, display-worthy objects and dramatic backsplashes are just some of the reasons to consider getting out the sledgehammer
Full Story
KITCHEN DESIGNEcofriendly Kitchen: Healthier Kitchen Cabinets
Earth-friendly kitchen cabinet materials and finishes offer a host of health benefits for you and the planet. Here's a rundown
Full Story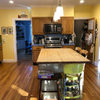


pinch_me
oldfixerOriginal Author
Related Professionals
El Sobrante Kitchen & Bathroom Designers · Henderson Kitchen & Bathroom Designers · Hybla Valley Kitchen & Bathroom Designers · Piedmont Kitchen & Bathroom Designers · Waianae Kitchen & Bathroom Designers · Grain Valley Kitchen & Bathroom Remodelers · Blasdell Kitchen & Bathroom Remodelers · Olney Kitchen & Bathroom Remodelers · Daly City Architects & Building Designers · Franklin Architects & Building Designers · Frisco Architects & Building Designers · Parkway Architects & Building Designers · Saint Andrews Architects & Building Designers · Seattle Architects & Building Designers · South Pasadena Architects & Building Designerspinch_me