


DIY Wood Siding?
lucillle
12 years ago
Sort by:Oldest
Comments (27)
Related Stories

DECORATING GUIDESWeekend Project: DIY Side Table With a Novel Twist
See how to make this clever $30 over-the-sofa table for your coffee and book
Full Story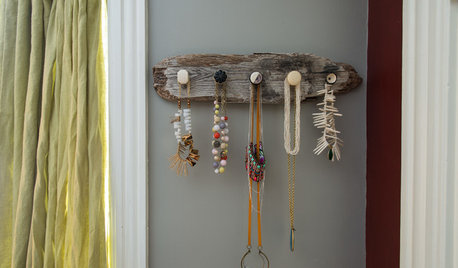
STORAGEStroke of DIY Genius: Get Hooked on These 15 DIY Storage Hacks
These DIY homeowner ideas include a repurposed vintage tennis racket and reclaimed-wood pieces
Full Story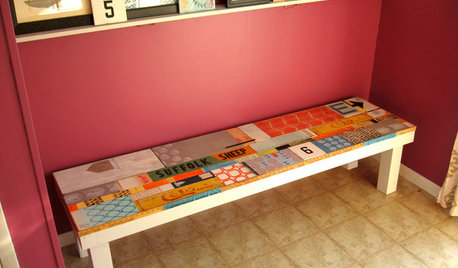
WOODWORKINGDIY Project: Artful Scrap-Wood Bench
Salvage signs, block-printed wood and a secret compartment turn a handmade bench into an interactive work of art
Full Story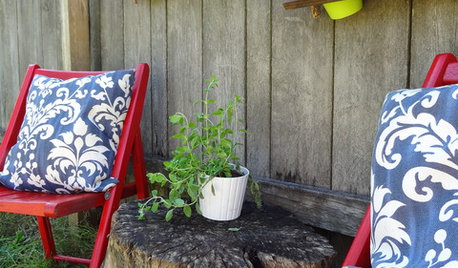
GARDENING GUIDESDIY: How to Make Backyard Hanging Shelves
Give your backyard fence a boost with these easy, colorful hanging shelves
Full Story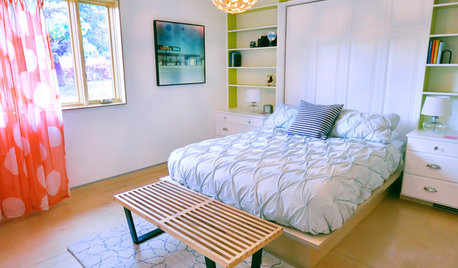
WOODTry DIY Plywood Flooring for High Gloss, Low Cost
Yup, you heard right. Laid down and shined up, plywood can run with the big flooring boys at an affordable price
Full Story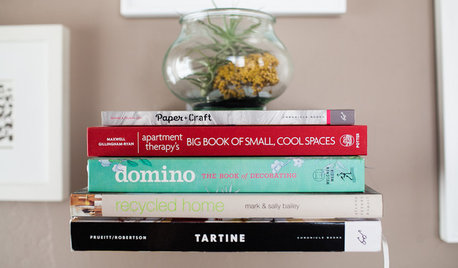
DECORATING GUIDES8 Reasons to Jump Off the DIY Bandwagon
You heard right. Stop beating yourself up for not making stuff yourself, and start seeing the bright side of buying from others
Full Story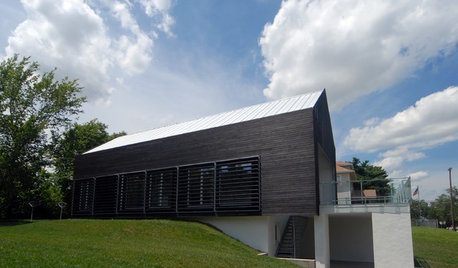
REMODELING GUIDES'Yakisugi-ita' Is Setting the Siding World on Fire
Exterior wood siding created by a Japanese burning technique is now alighting in the Western world
Full Story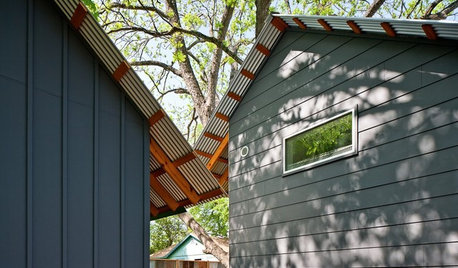
REMODELING GUIDESFiber Cement Siding Takes a Front Seat
Not just a wood or vinyl substitute, fiber cement is a stellar siding choice in its own right for modern home exteriors
Full Story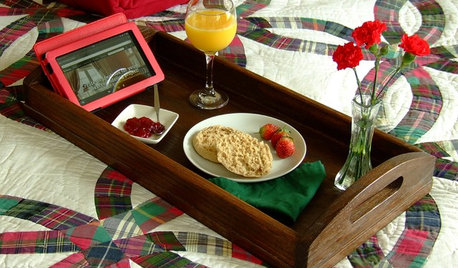
DIY PROJECTSNeat Little Project: Make a Sturdy Wood Serving Tray
New to woodworking? This DIY wood tray project will get you closer to being an old hand
Full Story
DIY PROJECTSFashion a High-Quality Cutting Board From Scrap Wood
Waste not, want not. This DIY project saves scraps from the landfill, hones your woodworking skills and produces a gorgeous kitchen piece
Full Story


mainegrower
lucillleOriginal Author
Related Professionals
Highland Park Kitchen & Bathroom Designers · Lafayette Kitchen & Bathroom Designers · South Farmingdale Kitchen & Bathroom Designers · Beach Park Kitchen & Bathroom Remodelers · Grain Valley Kitchen & Bathroom Remodelers · Allouez Kitchen & Bathroom Remodelers · Andover Kitchen & Bathroom Remodelers · Bellevue Kitchen & Bathroom Remodelers · Bethel Park Kitchen & Bathroom Remodelers · Lakeside Kitchen & Bathroom Remodelers · Sioux Falls Kitchen & Bathroom Remodelers · Vienna Kitchen & Bathroom Remodelers · Auburn Hills Architects & Building Designers · Dania Beach Architects & Building Designers · Middle River Architects & Building Designersrenovator8
lucillleOriginal Author
renovator8
lucillleOriginal Author
liriodendron
lucillleOriginal Author
karinl
renovator8
lucillleOriginal Author
sombreuil_mongrel
graywings123
mainegrower
lucillleOriginal Author
columbusguy1
lucillleOriginal Author
graywings123
columbusguy1
slateberry
brickeyee
lucillleOriginal Author
brickeyee
lucillleOriginal Author
lucillleOriginal Author
elcid99
columbusguy1