


Repairing old lath and plaster wall
gardeninggirl1
11 years ago
Related Stories
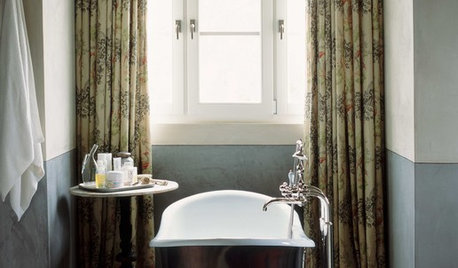
WALL TREATMENTSSurface Smarts: Venetian Plaster
Centuries-old Venetian plaster has made a roaring comeback in modern interiors. Could this old-world wall favorite work in your home?
Full Story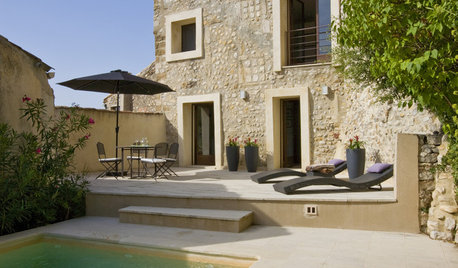
MODERN HOMESHouzz Tour: 800-Year-Old Walls, Modern Interiors in Provence
Old architecture and new additions mix beautifully in a luxurious renovated vacation home
Full Story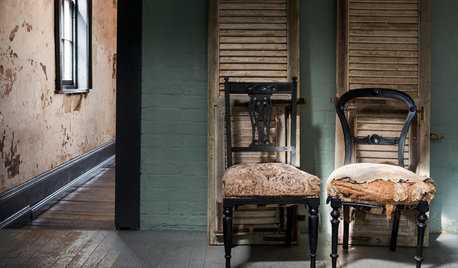
REMODELING GUIDESThe Hidden Problems in Old Houses
Before snatching up an old home, get to know what you’re in for by understanding the potential horrors that lurk below the surface
Full Story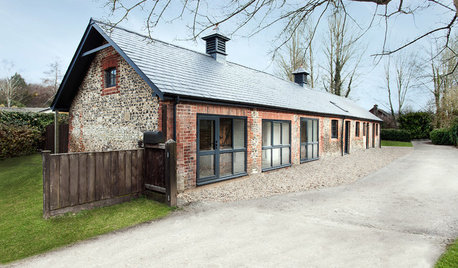
HOUZZ TOURSHouzz Tour: From Old Stable to Minimalist Guesthouse in England
Its interior bays once held racehorses, but now this all-white and wood home holds fascination as a modern part-time home
Full Story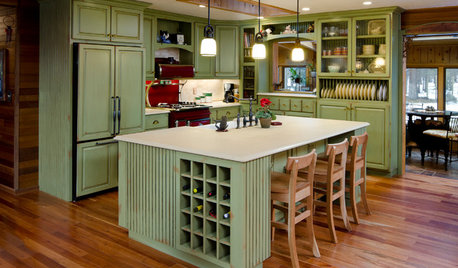
MOST POPULARHow to Reface Your Old Kitchen Cabinets
Find out what’s involved in updating your cabinets by refinishing or replacing doors and drawers
Full Story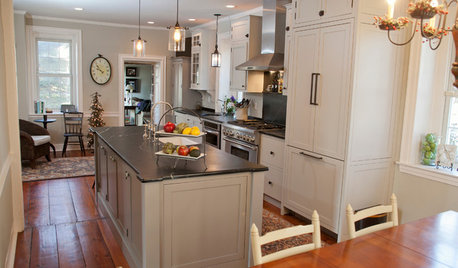
KITCHEN DESIGNNew and Old Mix It Up in a Historic Farmhouse Kitchen
A couple rethink the kitchen in their Pennsylvania farmhouse to restore authenticity while also creating a space for modern living
Full Story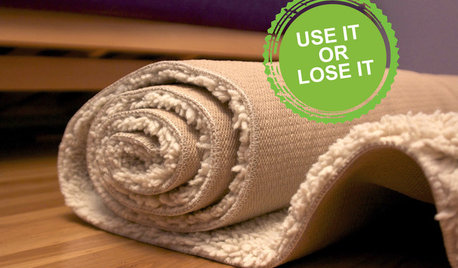
DECORATING GUIDESLose It: 4 Ways to Get Rid of Your Old Carpet
Try one of these earth-friendly tips before stuffing your dingy carpet or rug in the trash
Full Story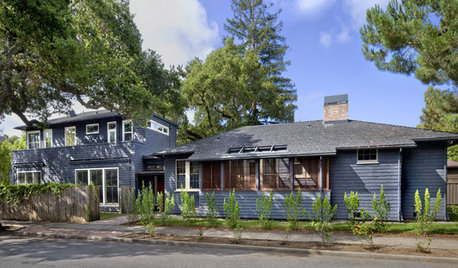
ARCHITECTUREStyle Divide: How to Treat Additions to Old Homes?
One side says re-create the past; the other wants unabashedly modern. Weigh in on additions style here
Full Story
REMODELING GUIDESOld and New Make for a Jolly Good Mix in England
Give an 18th-century country cottage a contemporary addition, and what do you get? A surprisingly cohesive-looking home
Full Story
MATERIALSRaw Materials Revealed: Drywall Basics
Learn about the different sizes and types of this construction material for walls, plus which kinds work best for which rooms
Full StoryMore Discussions


columbusguy1
lazy_gardens
Related Professionals
Greensboro Kitchen & Bathroom Designers · Moraga Kitchen & Bathroom Designers · Beverly Hills Kitchen & Bathroom Remodelers · Chandler Kitchen & Bathroom Remodelers · Charlottesville Kitchen & Bathroom Remodelers · Fremont Kitchen & Bathroom Remodelers · Fort Pierce Kitchen & Bathroom Remodelers · Key Biscayne Kitchen & Bathroom Remodelers · Lakeside Kitchen & Bathroom Remodelers · Luling Kitchen & Bathroom Remodelers · Port Arthur Kitchen & Bathroom Remodelers · Salinas Kitchen & Bathroom Remodelers · Brushy Creek Architects & Building Designers · Ken Caryl Architects & Building Designers · Lexington Architects & Building Designersliriodendron
chipster_2007
brickeyee