


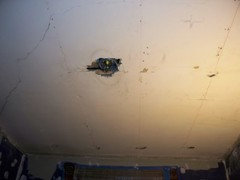
Removing drywall from plaster without damaging plaster
slateberry
11 years ago
Featured Answer
Sort by:Oldest
Comments (22)

worthy
11 years ago
lazy_gardens
11 years agoRelated Professionals
Commerce City Kitchen & Bathroom Designers · El Sobrante Kitchen & Bathroom Designers · Grafton Kitchen & Bathroom Designers · Peru Kitchen & Bathroom Designers · South Sioux City Kitchen & Bathroom Designers · University City Kitchen & Bathroom Remodelers · Clovis Kitchen & Bathroom Remodelers · Gilbert Kitchen & Bathroom Remodelers · Honolulu Kitchen & Bathroom Remodelers · Vancouver Kitchen & Bathroom Remodelers · Eufaula Kitchen & Bathroom Remodelers · Clive Architects & Building Designers · Saint Louis Park Architects & Building Designers · San Angelo Architects & Building Designers · Town and Country Architects & Building Designers
liriodendron
11 years ago PRO
PROChristopher Nelson Wallcovering and Painting
11 years agoslateberry
11 years ago
graywings123
11 years agoslateberry
11 years agoliriodendron
11 years ago- PRO
Christopher Nelson Wallcovering and Painting
11 years ago slateberry
11 years ago- PRO
Christopher Nelson Wallcovering and Painting
11 years ago antiquesilver
11 years agoslateberry
11 years agobrickeyee
11 years agocolumbusguy1
11 years agoslateberry
11 years agoworthy
11 years agocolumbusguy1
11 years agoslateberry
11 years agoslateberry
11 years agoHU-144531656
4 years agolast modified: 4 years ago


Related Stories
DISASTER PREP & RECOVERYRemodeling After Water Damage: Tips From a Homeowner Who Did It
Learn the crucial steps and coping mechanisms that can help when flooding strikes your home
Full Story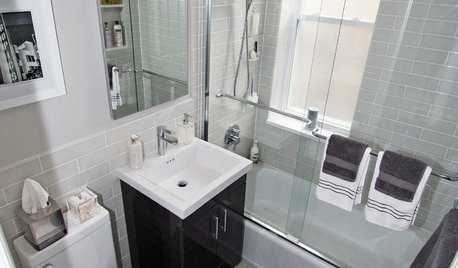
BATHROOM DESIGNWater Damage Spawns a Space-Saving Bathroom Remodel
A game of inches saved this small New York City bathroom from becoming too cramped and limited
Full Story
MATERIALSRaw Materials Revealed: Drywall Basics
Learn about the different sizes and types of this construction material for walls, plus which kinds work best for which rooms
Full Story
HOUSEKEEPINGQuick Fix: How to Patch a Drywall Hole
Dents and dings disappear, leaving your walls looking brand new, with this fix that even a novice can do
Full Story
DECORATING GUIDESQuick Fix: Find Wall Studs Without an Expensive Stud Finder
See how to find hidden wall studs with this ridiculously easy trick
Full Story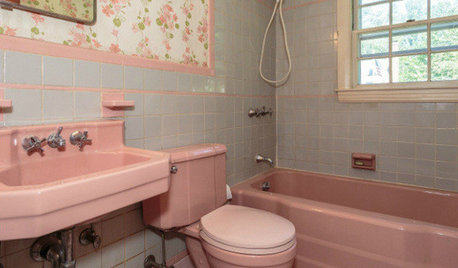
BATHROOM COLOR8 Ways to Spruce Up an Older Bathroom (Without Remodeling)
Mint tiles got you feeling blue? Don’t demolish — distract the eye by updating small details
Full Story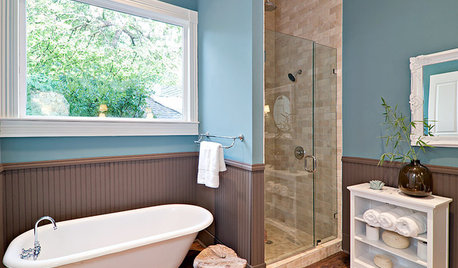
4 Easy Ways to Renew Your Bathroom Without Remodeling
Take your bathroom from drab to fab without getting out the sledgehammer or racking up lots of charges
Full Story
LIFE6 Ways to Cool Off Without Air Conditioning
These methods can reduce temperatures in the home and save on energy bills
Full Story
BATHROOM DESIGNWindows That Expose Your Bathroom to Light Without Exposing You
Enjoy the best of both worlds with window tricks that give you privacy along with the views and natural light
Full Story
MATERIALSUnexpected Style for Your Wall
Go Beyond Paint and Paper with 3D, Plaster, Copper, Tile, Marble and More
Full Story


slateberryOriginal Author