


Screwing in picture rails to studs so we can hang heavy pictures?
jlc102482
12 years ago
Featured Answer
Sort by:Oldest
Comments (19)

brickeyee
12 years agopencilboy
12 years agoRelated Professionals
Lebanon Home Remodeling · Flint Kitchen & Bathroom Designers · Fox Lake Kitchen & Bathroom Designers · Saratoga Springs Kitchen & Bathroom Designers · St. Louis Kitchen & Bathroom Designers · Cloverly Kitchen & Bathroom Remodelers · Elk Grove Kitchen & Bathroom Remodelers · Ewa Beach Kitchen & Bathroom Remodelers · Green Bay Kitchen & Bathroom Remodelers · Hoffman Estates Kitchen & Bathroom Remodelers · Londonderry Kitchen & Bathroom Remodelers · Rancho Cordova Kitchen & Bathroom Remodelers · Vashon Kitchen & Bathroom Remodelers · Doctor Phillips Architects & Building Designers · Winchester Architects & Building Designersantiquesilver
12 years agobrickeyee
12 years agokarinl
12 years ago
worthy
12 years agobrickeyee
12 years agokarinl
12 years agoworthy
12 years agosombreuil_mongrel
12 years agola_koala
12 years agocolumbusguy1
12 years agobrickeyee
12 years agoxantippe
12 years agobrickeyee
12 years agocolumbusguy1
12 years agobrickeyee
12 years agoraisedin99
12 years ago


Related Stories
DECORATING GUIDESQuick Fix: Find Wall Studs Without an Expensive Stud Finder
See how to find hidden wall studs with this ridiculously easy trick
Full Story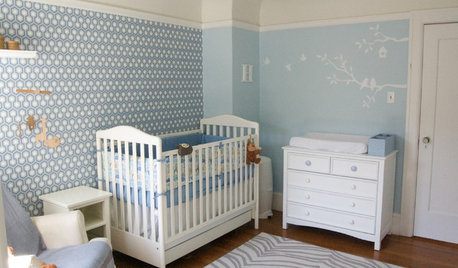
DESIGN DICTIONARYPicture Rail
This trim little design element can be used to do the heavy lifting of supporting artwork or simply be decorative
Full Story
DECORATING GUIDESDecorating Secrets: Picture-Perfect Way to Hang Art
Save your drywall with these easy steps for hanging framed pieces
Full Story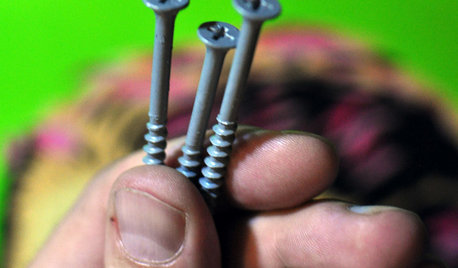
DIY PROJECTSThe Taming of the Screw
Learn the different types and uses of screws to pick the right kind for your next DIY or home improvement project
Full Story
DECORATING GUIDESConquer That Blank Wall With a Versatile Picture Ledge
Turn a dull spot into your own personal art gallery with shallow shelves displaying artwork you can swap out on a whim
Full Story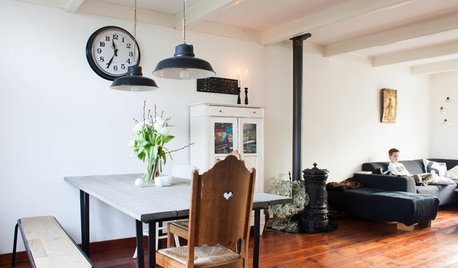
HOUZZ TOURSMy Houzz: Going Heavy on the Metal for Industrial-Style Beauty
Steel and iron pieces mix with antiques and heirlooms in an eclectic Netherlands home
Full Story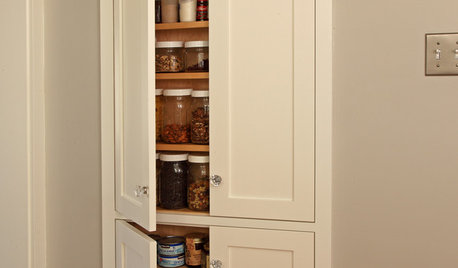
STORAGETap Into Stud Space for More Wall Storage
It’s recess time. Look to hidden wall space to build a nook that’s both practical and appealing to the eye
Full Story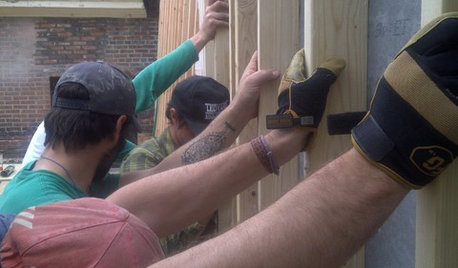
KNOW YOUR HOUSEMeet the Studs
Two-by-fours are just the kind of strong, silent type every home needs. Get to know studs — and how they lie about their size — right here
Full Story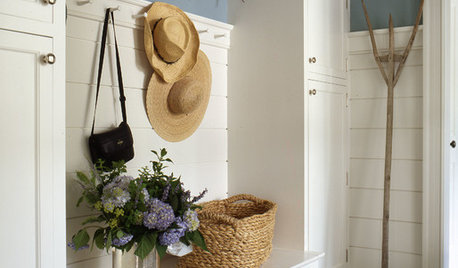
MUDROOMSThe Cure for Houzz Envy: Mudroom Touches Anyone Can Do
Make a utilitarian mudroom snazzier and better organized with these cheap and easy ideas
Full Story
MOST POPULARSo You Say: 30 Design Mistakes You Should Never Make
Drop the paint can, step away from the brick and read this remodeling advice from people who’ve been there
Full StoryMore Discussions


raisedin99