


best paint to cover sheating
1840emmy
10 years ago
Related Stories
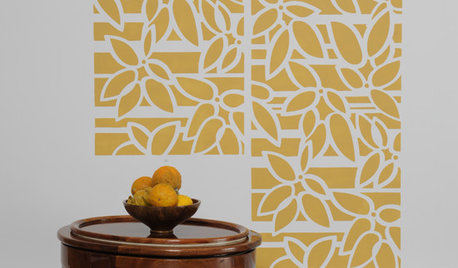
DIY PROJECTSHow to Use an All-Over Wall Stencil
Step-by-Step: Punch Up a Wall With a Bright, Bold Stencil Pattern
Full Story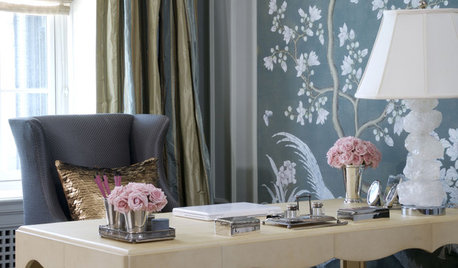
DECORATING GUIDESHand-Painted Wallpaper Brings High-End Artistry to Rooms
Exquisite papers painted in glorious detail turn blank walls into expressive canvases conjuring luxury
Full Story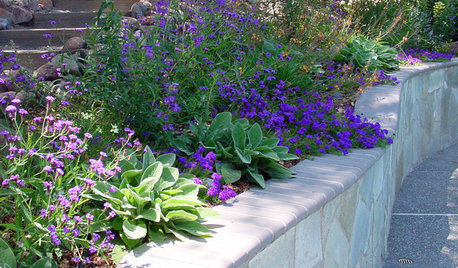
GARDENING GUIDESGreat Design Plant: Glandularia Rigida Paints the Ground Purple
Sandpaper verbena's deep purple flowers create a colorful carpet in drought-tolerant gardens
Full Story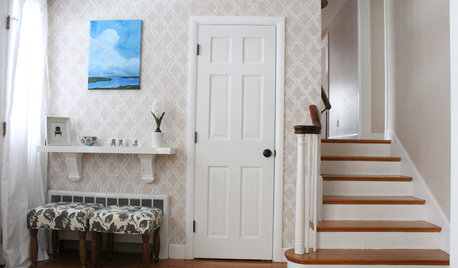
DECORATING PROJECTSGet a Wallpaper Look With a Hand-Painted Touch
Stencil a pattern for all the beauty of your favorite wallpaper at a fraction of the cost
Full Story
DIY PROJECTSDIY: How to Paint a Wall Stencil
Getting the Stencil Right: Planning, Prep and a Light Hand with the Brush
Full Story
REMODELING GUIDESInterior Brick: Paint it or Leave It?
Here's how to know if covering that brick is a sin or solution
Full Story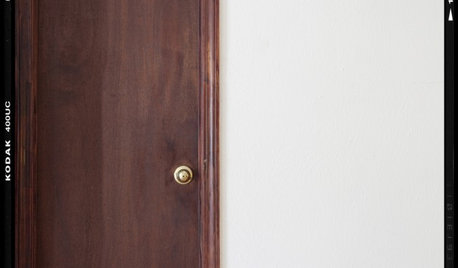
DOORSDIY Project: Upgrade That Ugly Door!
Turn a Blah Hollow-Core Door Into Today's Cover Story
Full Story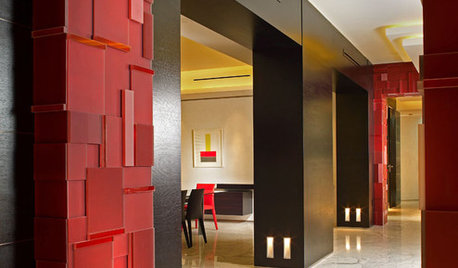
DECORATING GUIDESTextured Walls: Inspiration Beyond Paint and Wallpaper
See what happens when you cover a wall with glass, metal, leather, upholstery, or a mass of living green
Full Story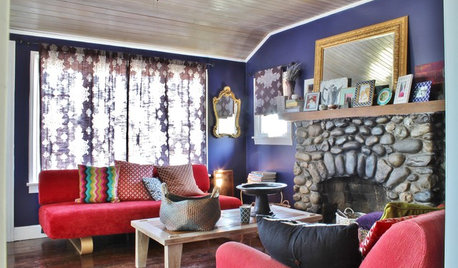
HOUZZ TOURSMy Houzz: Dancing, Painting and Family Living in Seattle
With a backyard studio and a colorful, lively main home, these Washington state homeowners have all of their creative bases covered
Full Story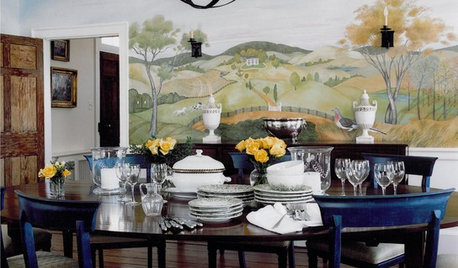
DECORATING GUIDESDesign Details: 12 Ways With Wall Murals
Transform a room with a remarkable scene created in paint, paper, tile or decals
Full Story

liriodendron
sombreuil_mongrel
Related Professionals
King of Prussia Kitchen & Bathroom Designers · Lenexa Kitchen & Bathroom Designers · Salmon Creek Kitchen & Bathroom Designers · Wesley Chapel Kitchen & Bathroom Designers · Woodlawn Kitchen & Bathroom Designers · 20781 Kitchen & Bathroom Remodelers · Creve Coeur Kitchen & Bathroom Remodelers · Glendale Kitchen & Bathroom Remodelers · Lincoln Kitchen & Bathroom Remodelers · Dayton Architects & Building Designers · Five Corners Architects & Building Designers · Lexington Architects & Building Designers · Parkway Architects & Building Designers · Schiller Park Architects & Building Designers · Yeadon Architects & Building Designersliriodendron