


Removing Woodwork
old_home_lover
11 years ago
Sort by:Oldest
Comments (15)
Related Stories
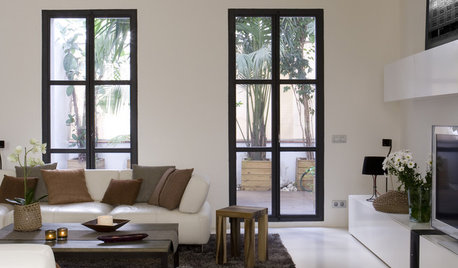
COLORWake Up Your Woodwork With Black
Strike a dramatic note with black window frames, shelves, stairs and more, making features stand out or blend in
Full Story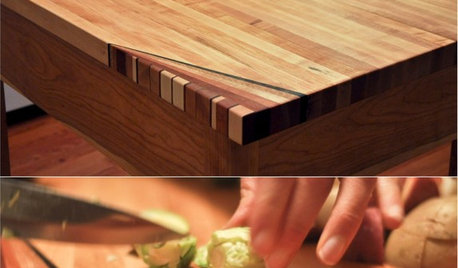
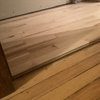
WOODWORKINGHow to Clean and Care for Your Butcher Block
Keep butcher block counters and boards looking sharp as a knife — and sanitized for safe food prep — with this advice from a pro woodworker
Full Story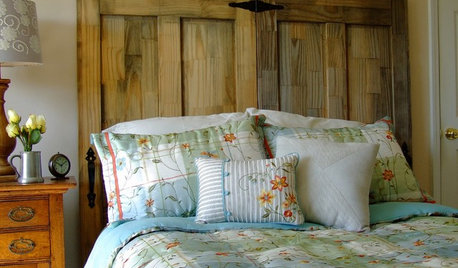
DIY PROJECTSMake Your Own Rustic-Chic Headboard From Salvaged Doors
Turn old doors into a charming headboard with these step-by-step instructions from an expert woodworker
Full Story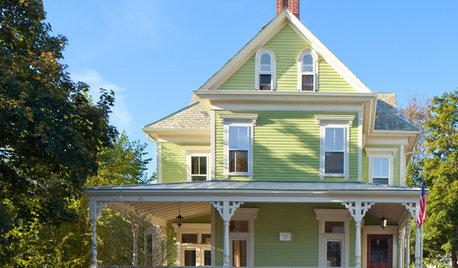
TRADITIONAL HOMESHouzz Tour: Redo Shines Light on 19th-Century Newport Beauty
The renovated Rhode Island home boasts gorgeous woodwork, an appealing wraparound porch and a newly spacious kitchen
Full Story
WORKING WITH PROSHow to Commission Custom Wood Furnishings
Can't find just the right table, shelf, desk or what have you? It's woodworkers to the rescue
Full Story
DECORATING GUIDESLook-Alikes That Save Money Without Skimping on Style
Whether in woodwork, flooring, wall treatments or tile, you can get a luxe effect while spending less
Full Story
HOME OFFICESRoom of the Day: A Room With a View and Books
Fine woodworking highlights a master suite’s dedicated library-office in a lakeside home in Vermont
Full Story
GREEN BUILDINGHouzz Tour: Off-the-Grid Island Home Circles a Sunny Courtyard
A circular home is a cozy spot for gardening, woodworking and plenty of reading
Full Story
HOUZZ TOURSMy Houzz: An 1890s Victorian in Toronto Goes Modern and Open
Out went the closed-in vibe, but much stayed on in this Canadian home's renovation: stained glass, woodwork and a lot of personality
Full Story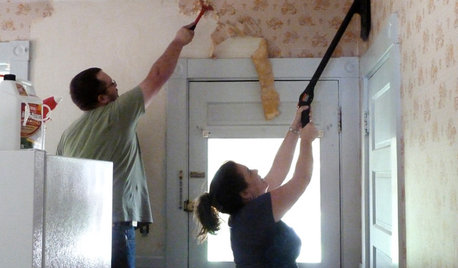
DECORATING GUIDESHow to Remove Wallpaper in 4 Steps
Learn the best way to remove wallpaper with only water (and elbow grease) so your next wall treatment will look great
Full Story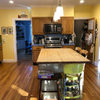


columbusguy1
old_home_loverOriginal Author
Related Professionals
Brownsville Kitchen & Bathroom Designers · Lenexa Kitchen & Bathroom Designers · New Castle Kitchen & Bathroom Designers · Saratoga Springs Kitchen & Bathroom Designers · Schenectady Kitchen & Bathroom Designers · Cherry Hill Kitchen & Bathroom Designers · Bethel Park Kitchen & Bathroom Remodelers · Chester Kitchen & Bathroom Remodelers · New Port Richey East Kitchen & Bathroom Remodelers · Sioux Falls Kitchen & Bathroom Remodelers · South Barrington Kitchen & Bathroom Remodelers · Wilson Kitchen & Bathroom Remodelers · Baton Rouge Architects & Building Designers · Dayton Architects & Building Designers · New River Architects & Building Designersjmc01
old_home_loverOriginal Author
columbusguy1
antiquesilver
liriodendron
old_home_loverOriginal Author
brickeyee
Clarion
Debbie Downer
SK97232
slateberry
brickeyee
old_home_loverOriginal Author