


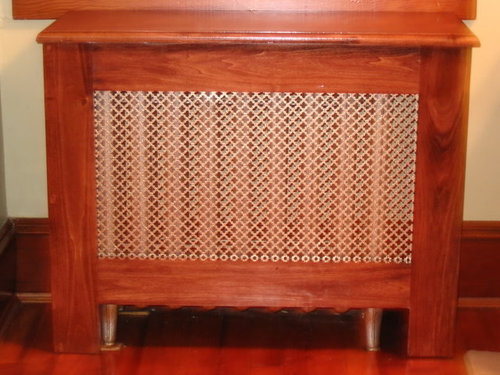
I built my first Radiaor Cover!! Pics
OldHomeGuy
18 years ago
Sort by:Oldest
Comments (22)
Related Stories
ARCHITECTUREGet a Perfectly Built Home the First Time Around
Yes, you can have a new build you’ll love right off the bat. Consider learning about yourself a bonus
Full Story
MOST POPULARFirst Things First: How to Prioritize Home Projects
What to do when you’re contemplating home improvements after a move and you don't know where to begin
Full Story
KIDS’ SPACESA Place of His Own: Boy's First Bedroom
Colorful, creative, themed or not, boys' bedrooms like these encourage happy times
Full Story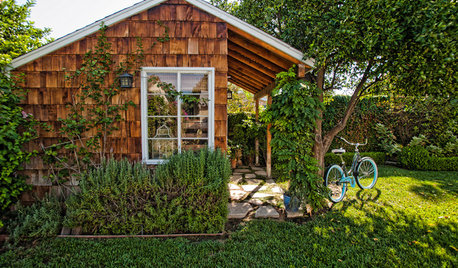
BACKYARD IDEAS7 Backyard Sheds Built With Love
The Hardworking Home: Says one homeowner and shed builder, ‘I am amazed at the peace and joy I feel when working in my garden shed’
Full Story
LIFEHouzz Call: Who'll Post the First Snow Photo of 2013?
If the weather's been flaky in your neck of the woods, please show us — and share how you stay warm at home
Full Story
BATHROOM DESIGNDreaming of a Spa Tub at Home? Read This Pro Advice First
Before you float away on visions of jets and bubbles and the steamiest water around, consider these very real spa tub issues
Full Story

FURNITURESecond-Life Sofas Show First-Rate Style
With unexpected upholstery, antique sofas can live happily in modern interiors
Full Story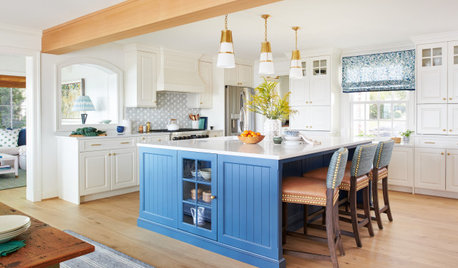
MOST POPULAROrganizing? Don’t Forget the Essential First Step
Simplify the process of getting your home in order by taking it one step at a time. Here’s how to get on the right path
Full Story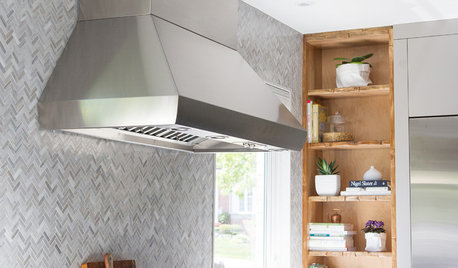
KITCHEN DESIGNKitchen of the Week: Function and Flow Come First
A designer helps a passionate cook and her family plan out every detail for cooking, storage and gathering
Full Story

TypoQueen
kframe19
Related Professionals
Flint Kitchen & Bathroom Designers · King of Prussia Kitchen & Bathroom Designers · Manchester Kitchen & Bathroom Designers · Adelphi Kitchen & Bathroom Remodelers · Artondale Kitchen & Bathroom Remodelers · Cocoa Beach Kitchen & Bathroom Remodelers · Fort Washington Kitchen & Bathroom Remodelers · Jacksonville Kitchen & Bathroom Remodelers · Port Angeles Kitchen & Bathroom Remodelers · Spokane Kitchen & Bathroom Remodelers · Vienna Kitchen & Bathroom Remodelers · North Chicago Kitchen & Bathroom Remodelers · Pembroke Architects & Building Designers · Saint Paul Architects & Building Designers · Washington Architects & Building DesignersOldHomeGuyOriginal Author
kudzu9
OldHomeGuyOriginal Author
kudzu9
ginam_oh
kframe19
OldHomeGuyOriginal Author
maisoui1
kframe19
OldHomeGuyOriginal Author
kurthague
OldHomeGuyOriginal Author
kurt4
OldHomeGuyOriginal Author
kurt4
vstech
KitchenGodsWife
beds
margaret_mahoney2006_comcast_net
Mparks2_comcast_net