


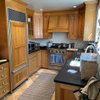
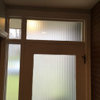
stumped by our woodwork
arlosmom
15 years ago

Related Stories
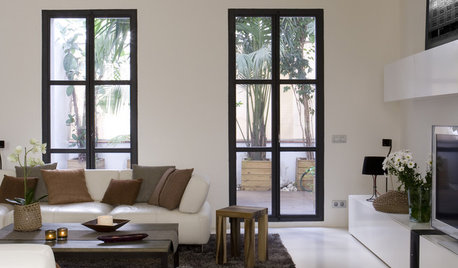
COLORWake Up Your Woodwork With Black
Strike a dramatic note with black window frames, shelves, stairs and more, making features stand out or blend in
Full Story
WORKING WITH PROSHow to Commission Custom Wood Furnishings
Can't find just the right table, shelf, desk or what have you? It's woodworkers to the rescue
Full Story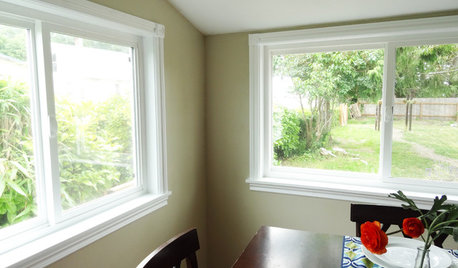
WINDOWSHow to Replace Window Trim
For finishing new windows or freshening the old, window trim gives a polished look with less effort than you may think
Full Story
DECORATING GUIDESHouzz Tour: Victorian With a Modern Outlook
Layering in furnishings from style eras up to the present gives a period home’s decor a collected-over-time look
Full Story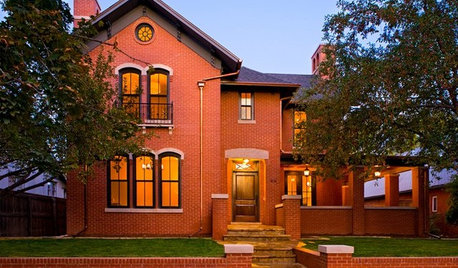
HOUZZ TOURSHouzz Tour: Farmhouse Style With an Unusual Inspiration
Comfort and sophistication are no surprise inside this Colorado home, but the exterior has an unexpected backstory
Full Story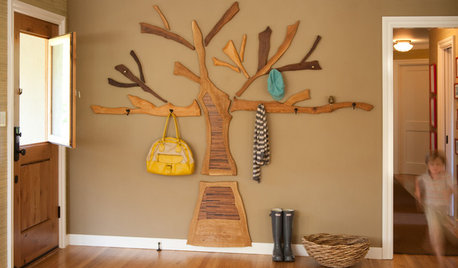
Fall Decor Goes Into the Woods
Let the rustic beauty of trees turn your home into a woodland wonderland with these ideas for woodsy decor
Full Story
HOUZZ TOURSMy Houzz: Impulsiveness Works for Work-at-Home Texans
Handmade furniture, impulse buys and hand-me-downs mix beautifully in the home of two wedding photographers
Full Story
COLOR11 Terrific Paint Color Matches for Wood Details
Pair your wood trim and cabinets with the right shade of wall paint to bring out the beauty in both
Full Story
MATERIALSAre You a Maker? Show Us Your Favorite Tool or Material
Houzz Call: A tool or material can be a maker’s best friend. We’d like to see your favorite — and what it helps you achieve
Full Story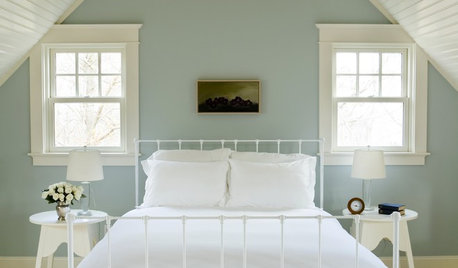
COLOR12 Tried-and-True Paint Colors for Your Walls
Discover one pro designer's time-tested favorite paint colors for kitchens, baths, bedrooms and more
Full Story

blackcats13
sombreuil_mongrel
Related Professionals
Carlisle Kitchen & Bathroom Designers · Commerce City Kitchen & Bathroom Designers · Owasso Kitchen & Bathroom Designers · Vineyard Kitchen & Bathroom Designers · Reedley Kitchen & Bathroom Designers · Blasdell Kitchen & Bathroom Remodelers · Hunters Creek Kitchen & Bathroom Remodelers · Niles Kitchen & Bathroom Remodelers · Park Ridge Kitchen & Bathroom Remodelers · Spokane Kitchen & Bathroom Remodelers · North Chicago Kitchen & Bathroom Remodelers · Bull Run Architects & Building Designers · Cloverly Architects & Building Designers · Glens Falls Architects & Building Designers · Hillcrest Heights Architects & Building Designersmightyanvil
dave11
User
arlosmomOriginal Author
salami3
kframe19
sombreuil_mongrel
arlosmomOriginal Author
sombreuil_mongrel
pasigal
kframe19
mightyanvil
brickeyee
sacto_diane
brickeyee
arlosmomOriginal Author
concretenprimroses
brickeyee
wabashcan
eandhl
Circus Peanut
sombreuil_mongrel
jan9
old1913
bulldinkie