


1890s 1940s 1990s bath update
lazy_gardens
11 years ago

Sort by:Oldest
Comments (8)
Related Stories
HOUZZ TOURSMy Houzz: Bright and Cheerful Updates to an 1890s Colonial Revival
Modern tweaks, including a kitchen overhaul, brighten a family’s home
Full Story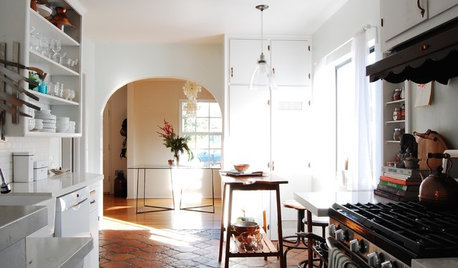
ECLECTIC HOMESMy Houzz: Charming 1940s Home Update Is All in the Family
Heirlooms, handmade furniture and original details take center stage in a couple’s renovated Los Angeles house
Full Story
HOUZZ TOURSMy Houzz: Collective Panache for an 1890s Home
Meaningful collages mix with globally gathered mementos in a mom and son’s engaging Montreal house
Full Story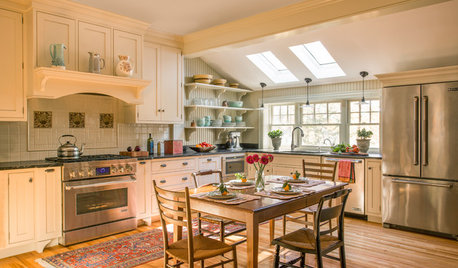
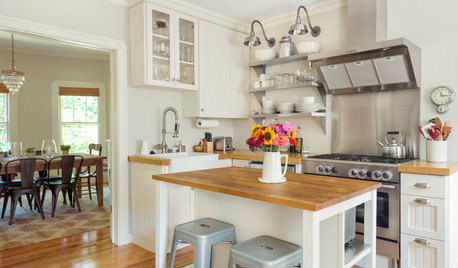
MOST POPULARKitchen of the Week: Swapping Out the 1980s for the 1890s
Beadboard-backed open shelves, a hearth-style stove surround and a roomy table are highlights of this Massachusetts kitchen
Full Story
HOUZZ TOURSMy Houzz: An 1890s Victorian in Toronto Goes Modern and Open
Out went the closed-in vibe, but much stayed on in this Canadian home's renovation: stained glass, woodwork and a lot of personality
Full Story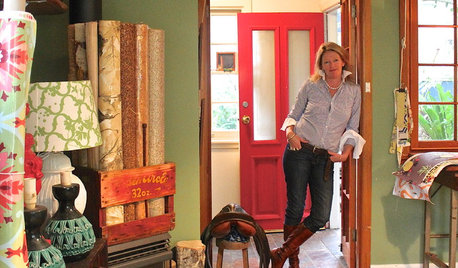
HOUZZ TOURSMy Houzz: Countryside Charm in a 1940s Home
Relaxed but pulled together, a lamp maker’s home in Australia shows her passion for collections and creativity
Full Story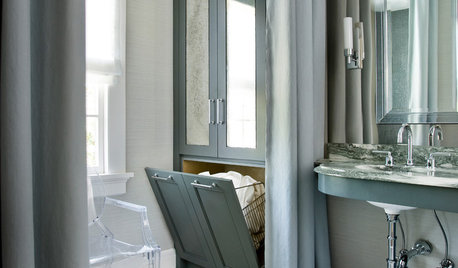
BATHROOM DESIGNRoom of the Day: Elegant Master-Bath Update
A 1970s redo didn't work with the rest of the gracious 1915 Colonial-style home. A new renovation brings elegance to the space
Full Story
HOUZZ TOURSMy Houzz: Feel-Good Design Energizes a 1940s Ohio Home
Saturated colors and bold prints turn a boring beige house into a cheerful, inviting family home
Full Story
HOUZZ TOURSMy Houzz: Budget-Minded Comfort for a 1940s Hollywood Bungalow
Plush furnishings, warm colors and a cottage garden give a first-time owner a house worth coming home to
Full Story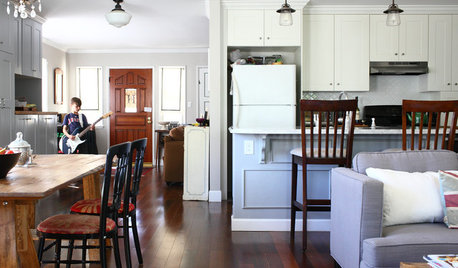
HOUZZ TOURSMy Houzz: 1940s Fixer-Upper Grows Up With the Family
After living in their post–World War II house for 8 years, a couple transform it into a home that works for their family today
Full Story

lazy_gardensOriginal Author
lazy_gardensOriginal Author
Related Professionals
Clarksburg Kitchen & Bathroom Designers · Peru Kitchen & Bathroom Designers · Hopewell Kitchen & Bathroom Remodelers · Allouez Kitchen & Bathroom Remodelers · Auburn Kitchen & Bathroom Remodelers · Calverton Kitchen & Bathroom Remodelers · Cocoa Beach Kitchen & Bathroom Remodelers · Idaho Falls Kitchen & Bathroom Remodelers · Paducah Kitchen & Bathroom Remodelers · San Juan Capistrano Kitchen & Bathroom Remodelers · Sun Valley Kitchen & Bathroom Remodelers · American Fork Architects & Building Designers · Plainfield Architects & Building Designers · Portsmouth Architects & Building Designers · Nanticoke Architects & Building Designerspowermuffin
antiquesilver
palimpsest
enduring
lazy_gardensOriginal Author
enduring