


Bouncing 2nd Lvl Floors
ellie256
14 years ago
Sort by:Oldest
Comments (11)
Related Stories
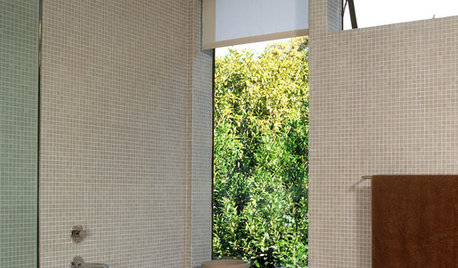
BATHROOM DESIGNFloor-to-Ceiling Tile Takes Bathrooms Above and Beyond
Generous tile in a bathroom can bounce light, give the illusion of more space and provide a cohesive look
Full Story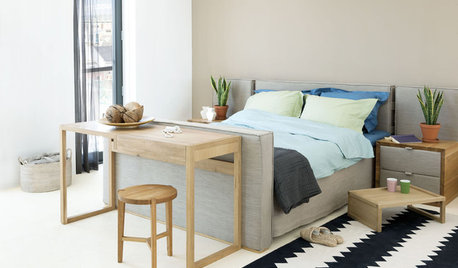
HEALTHY HOMENatural Beds: How to Shop for a Greener Mattress
Before bouncing from store to store, start here to find the right chemical-free mattress for you
Full Story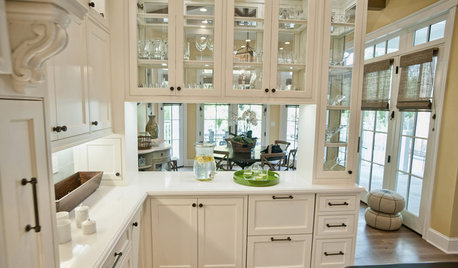
KITCHEN DESIGN8 Beautiful Ways to Work Glass Into Your Kitchen Cabinets
Lighten up in the kitchen with see-through or glossy panes that bounce the sun's rays or show you've got nothing to hide
Full Story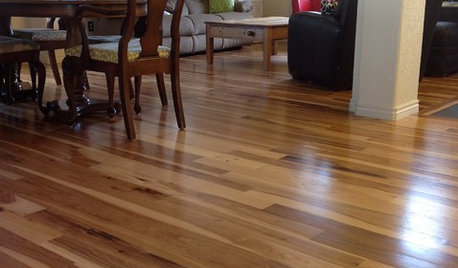
MATERIALSWhat to Ask Before Choosing a Hardwood Floor
We give you the details on cost, installation, wood varieties and more to help you pick the right hardwood flooring
Full Story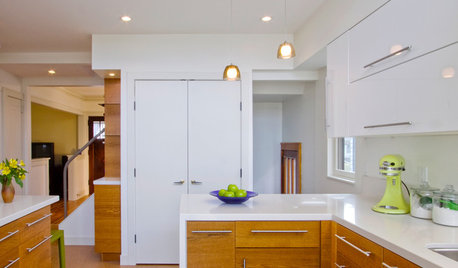
REMODELING GUIDESCork Flooring 101: Warm Up to a Natural Wonder
Comfortable, sustainable and easy on the eye, cork has a lot going for it. Use our guide to get familiar with this natural flooring material
Full Story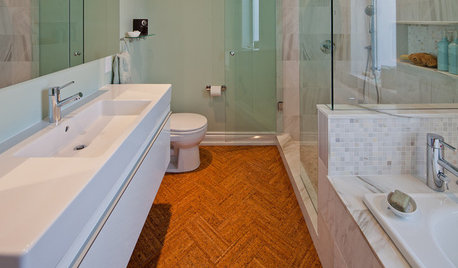
FLOORSWill Cork Float for Your Bathroom Floor?
Get the facts on advantages, disadvantages, costs and installation to see if a cork bathroom floor is right for you
Full Story
FLOORSMake Your Floors Terrific With Terrazzo
Durable, sanitary and unique, this bespeckled surface is a winner for floors, walls, countertops and sinks
Full Story
FLOORSDrama’s Afoot With Striking Black Floors
Be bold. Be brave. Drench your floors in black for a memorable interior scene
Full Story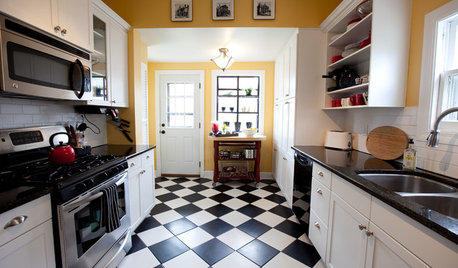
KITCHEN DESIGNKitchen Flooring 101: Find Your Material Match
From cork to concrete, our guide will help you pick the perfect surface for your kitchen floor
Full Story
FLOORS8 Ways Colored Floors Can Boost Your Design
Deep colors add height, white creates calm, and warm hues spark energy. Learn more ways to use floor color to enhance your home
Full Story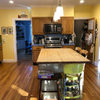


brickeyee
ellie256Original Author
Related Professionals
Commerce City Kitchen & Bathroom Designers · Piedmont Kitchen & Bathroom Designers · Pleasanton Kitchen & Bathroom Designers · Beaverton Kitchen & Bathroom Remodelers · Galena Park Kitchen & Bathroom Remodelers · Patterson Kitchen & Bathroom Remodelers · Rancho Cordova Kitchen & Bathroom Remodelers · Upper Saint Clair Kitchen & Bathroom Remodelers · Sharonville Kitchen & Bathroom Remodelers · Palestine Kitchen & Bathroom Remodelers · Corpus Christi Architects & Building Designers · Hillcrest Heights Architects & Building Designers · New River Architects & Building Designers · River Edge Architects & Building Designers · Yeadon Architects & Building Designersbrickeyee
ellie256Original Author
brickeyee
sombreuil_mongrel
brickeyee
ellie256Original Author
ellie256Original Author
slateberry
brickeyee