


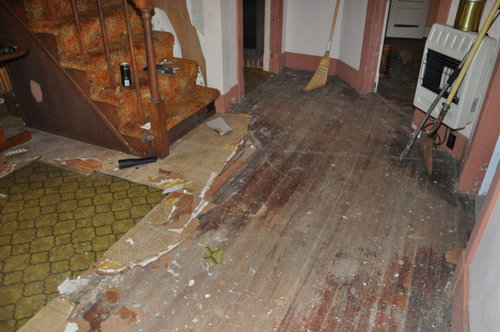
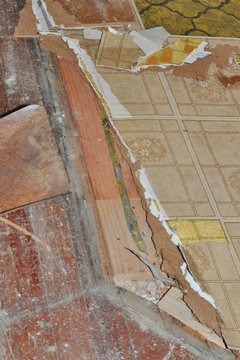
Asbestos abatement requires demolition of original wood floors?
1917bungalow
10 years ago
Featured Answer
Comments (24)

millworkman
10 years ago
1917bungalow
10 years agoRelated Professionals
Albany Kitchen & Bathroom Designers · Baltimore Kitchen & Bathroom Designers · Buffalo Kitchen & Bathroom Designers · Everett Kitchen & Bathroom Designers · Hillsboro Kitchen & Bathroom Designers · Shamong Kitchen & Bathroom Remodelers · Fullerton Kitchen & Bathroom Remodelers · Artondale Kitchen & Bathroom Remodelers · Beaverton Kitchen & Bathroom Remodelers · Bethel Park Kitchen & Bathroom Remodelers · Idaho Falls Kitchen & Bathroom Remodelers · Panama City Kitchen & Bathroom Remodelers · Shawnee Kitchen & Bathroom Remodelers · Saint Andrews Architects & Building Designers · South Pasadena Architects & Building Designers
lazy_gardens
10 years ago PRO
PROChristopher Nelson Wallcovering and Painting
10 years ago
weedyacres
10 years agopaul21
10 years agocamlan
10 years ago1917bungalow
10 years agosombreuil_mongrel
10 years ago1917bungalow
10 years agolazy_gardens
10 years ago1917bungalow
10 years agomrsmortarmixer
10 years agoideagirl2
10 years agosombreuil_mongrel
10 years ago1917bungalow
10 years ago1917bungalow
10 years agolazy_gardens
10 years ago
Circus Peanut
10 years ago1917bungalow
10 years agoCircus Peanut
10 years ago1917bungalow
10 years agolazy_gardens
10 years ago

Related Stories
CONTRACTOR TIPSBuilding Permits: When a Permit Is Required and When It's Not
In this article, the first in a series exploring permit processes and requirements, learn why and when you might need one
Full Story
REMODELING GUIDES10 Home Fixes That Require a Pro
With some home improvements, your best tool might be the phone. Here are some areas in which it pays to make the call
Full Story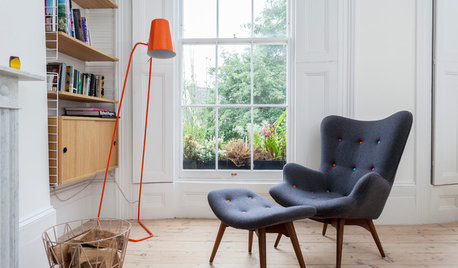
FLOORS10 Ways to Make the Most of Your Home’s Original Floors
Save yourself the cost of replacing your old floorboards with these tips for a new finish
Full Story
REMODELING GUIDESLaminate Floors: Get the Look of Wood (and More) for Less
See what goes into laminate flooring and why you just might want to choose it
Full Story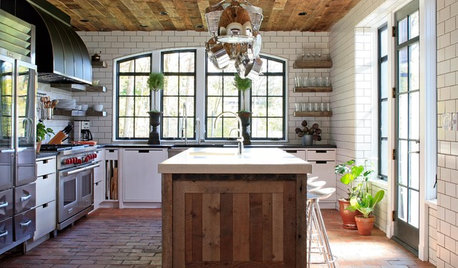
KITCHEN DESIGNWhat to Know About Using Reclaimed Wood in the Kitchen
One-of-a-kind lumber warms a room and adds age and interest
Full Story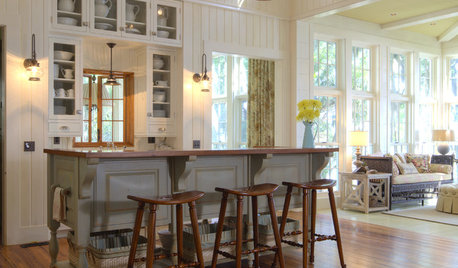
KITCHEN DESIGN9 Flooring Types for a Charming Country Kitchen
For hardiness and a homespun country look, consider these kitchen floor choices beyond brand-new wood
Full Story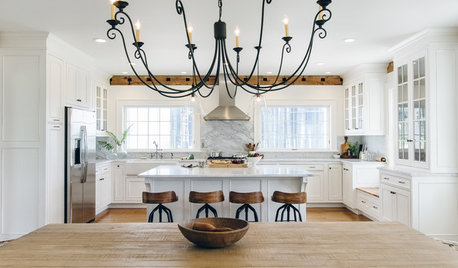
WHITE KITCHENS4 Dreamy White-and-Wood Kitchens to Learn From
White too bright in your kitchen? Introduce wood beams, countertops, furniture and more
Full Story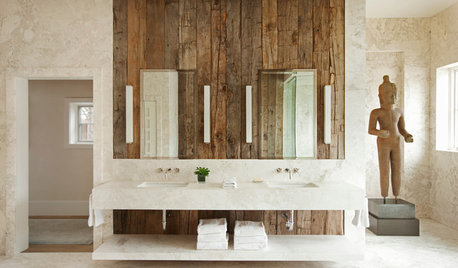
DECORATING GUIDESHow to Bring the Beauty of Reclaimed Wood to the Bath
Beautiful salvaged wood adds warmth and texture to a bathroom. Here's how to get the look right
Full Story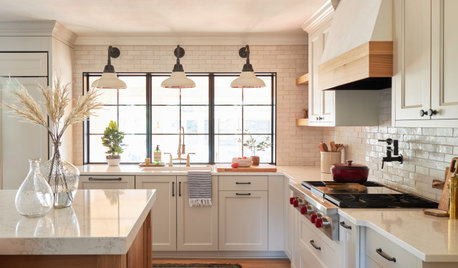
REMODELING GUIDESThe 4 Stages of a Remodel: The Honeymoon Phase
Prepare for the fast-paced progress of demolition — and the potentially jolting slowdown of structural issues
Full Story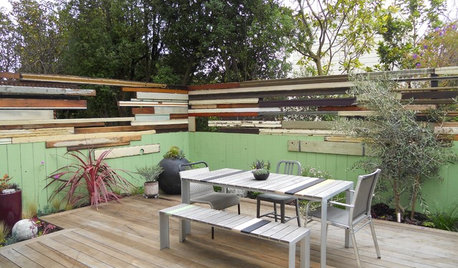
WOODBring Reclaimed Wood to the Landscape
Learn how to salvage old wood and give it a new life in the garden
Full Story


Circus Peanut