


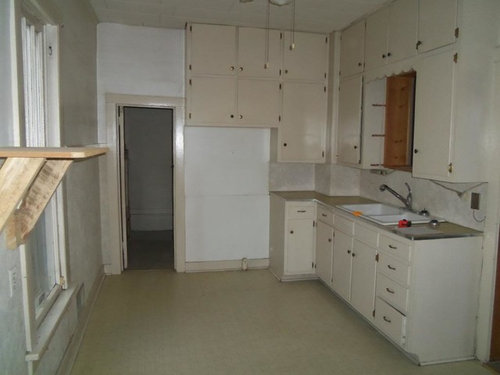
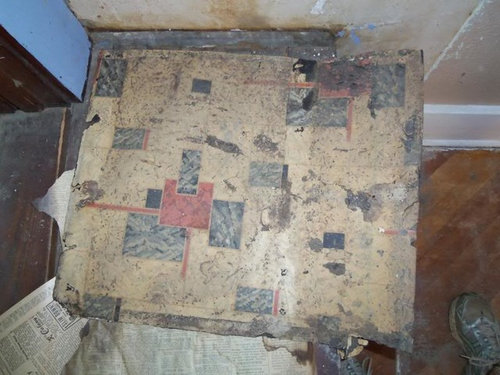
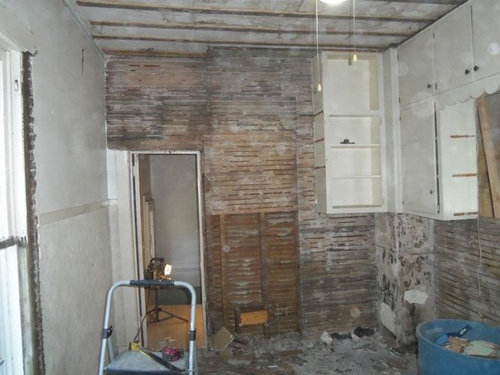
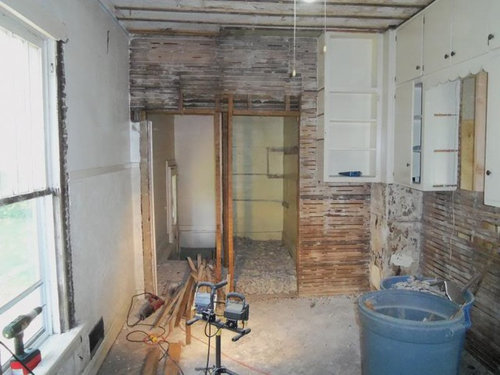
Archeology of a kitchen demo
weedyacres
10 years ago


Sort by:Oldest
Comments (15)
Related Stories
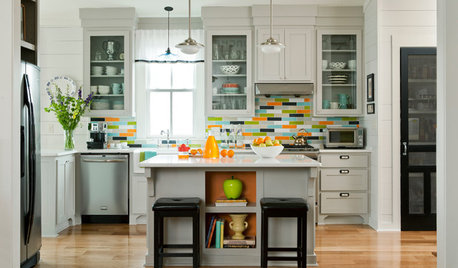
KITCHEN DESIGNKitchen of the Week: Color Bursts Enliven an Arkansas Kitchen
You'd never guess this kitchen suffered spatial challenges when you see its more open and colorful plan today
Full Story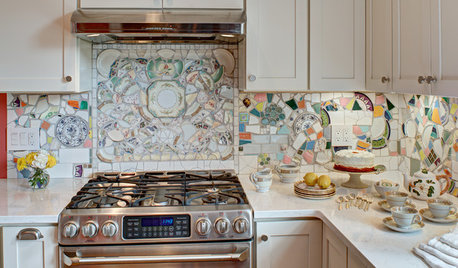
MOST POPULARKitchen of the Week: Broken China Makes a Splash in This Kitchen
When life handed this homeowner a smashed plate, her designer delivered a one-of-a-kind wall covering to fit the cheerful new room
Full Story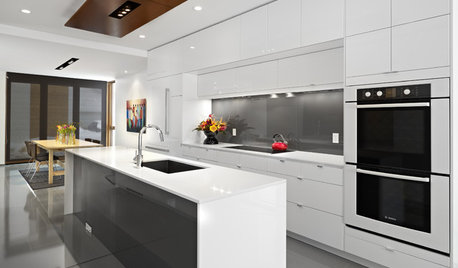
KITCHEN APPLIANCESFind the Right Oven Arrangement for Your Kitchen
Have all the options for ovens, with or without cooktops and drawers, left you steamed? This guide will help you simmer down
Full Story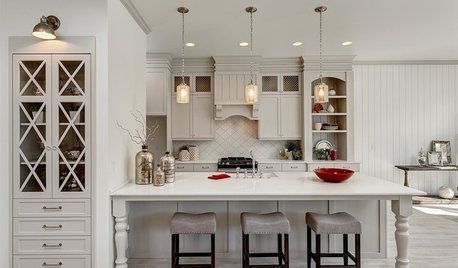
KITCHEN DESIGN12 Designer Details for Your Kitchen Cabinets and Island
Take your kitchen to the next level with these special touches
Full Story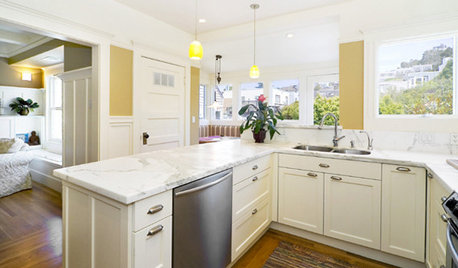
KITCHEN DESIGNKitchen Layouts: Ideas for U-Shaped Kitchens
U-shaped kitchens are great for cooks and guests. Is this one for you?
Full Story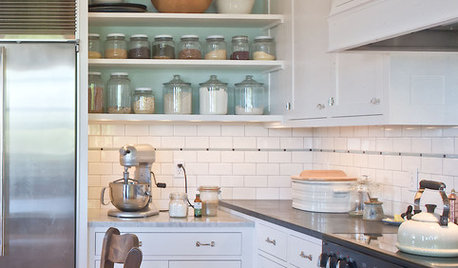
KITCHEN DESIGNLove to Bake? Try These 13 Ideas for a Better Baker's Kitchen
Whether you dabble in devil's food cake or are bidding for a bake-off title, these kitchen ideas will boost your baking experience
Full Story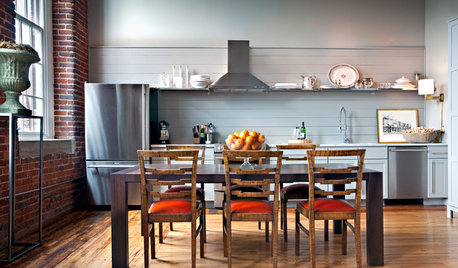
KITCHEN DESIGNSingle-Wall Galley Kitchens Catch the 'I'
I-shape kitchen layouts take a streamlined, flexible approach and can be easy on the wallet too
Full Story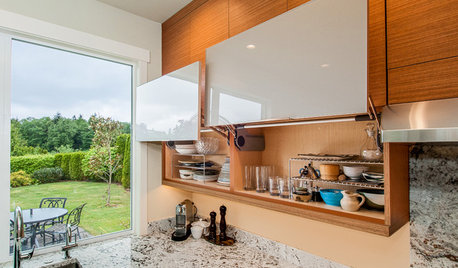
KITCHEN OF THE WEEKKitchen of the Week: Storage and Style Galore
White granite counters add modern style, while things like hidden drawers for pan lids create smart storage
Full Story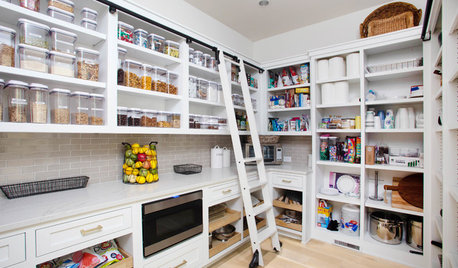
KITCHEN DESIGN9 Questions to Ask When Planning a Kitchen Pantry
Avoid blunders and get the storage space and layout you need by asking these questions before you begin
Full StoryKITCHEN WORKBOOK8 Steps to Surviving a Kitchen Remodel
Living through a kitchen remodel isn’t always fun, but these steps will help you work around a kitchen in disarray
Full Story


chibimimi
worthy
Related Professionals
Brownsville Kitchen & Bathroom Designers · Euclid Kitchen & Bathroom Designers · Philadelphia Kitchen & Bathroom Designers · West Virginia Kitchen & Bathroom Designers · South Farmingdale Kitchen & Bathroom Designers · North Druid Hills Kitchen & Bathroom Remodelers · Lisle Kitchen & Bathroom Remodelers · Martha Lake Kitchen & Bathroom Remodelers · Pasadena Kitchen & Bathroom Remodelers · Sweetwater Kitchen & Bathroom Remodelers · Terrell Kitchen & Bathroom Remodelers · North Chicago Kitchen & Bathroom Remodelers · De Pere Architects & Building Designers · Glens Falls Architects & Building Designers · Providence Architects & Building DesignersweedyacresOriginal Author
columbusguy1
Debbie Downer
geokid
geokid
weedyacresOriginal Author
geokid
northbound
columbusguy1
sombreuil_mongrel
weedyacresOriginal Author
User
sombreuil_mongrel