


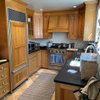
Refinishing wood trim...what am I doing here exactly..
nursekathleen
13 years ago


Featured Answer
Comments (13)

User
13 years agolast modified: 9 years agoliriodendron
13 years agolast modified: 9 years agoRelated Professionals
Barrington Hills Kitchen & Bathroom Designers · Beavercreek Kitchen & Bathroom Designers · Pleasanton Kitchen & Bathroom Designers · Bremerton Kitchen & Bathroom Remodelers · Kuna Kitchen & Bathroom Remodelers · Omaha Kitchen & Bathroom Remodelers · Shawnee Kitchen & Bathroom Remodelers · South Park Township Kitchen & Bathroom Remodelers · Spanish Springs Kitchen & Bathroom Remodelers · Superior Kitchen & Bathroom Remodelers · Westminster Kitchen & Bathroom Remodelers · Mountain Top Kitchen & Bathroom Remodelers · Franklin Architects & Building Designers · Lafayette Architects & Building Designers · Oakley Architects & Building Designersnursekathleen
13 years agolast modified: 9 years agonursekathleen
13 years agolast modified: 9 years agopowermuffin
13 years agolast modified: 9 years agosombreuil_mongrel
13 years agolast modified: 9 years ago
Circus Peanut
13 years agolast modified: 9 years agopowermuffin
13 years agolast modified: 9 years agoCori Karp
8 years ago
kats737
8 years agoCori Karp
8 years agokats737
8 years ago


Related Stories

KITCHEN CABINETSChoosing New Cabinets? Here’s What to Know Before You Shop
Get the scoop on kitchen and bathroom cabinet materials and construction methods to understand your options
Full Story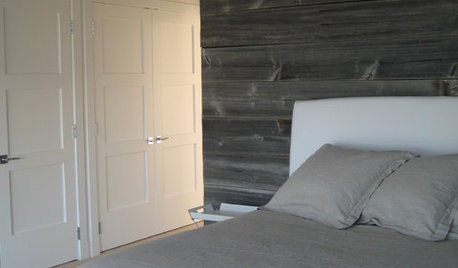
REMODELING GUIDESDesign Dilemma: How Do I Modernize My Cedar Walls?
8 Ways to Give Wood Walls a More Contemporary Look
Full Story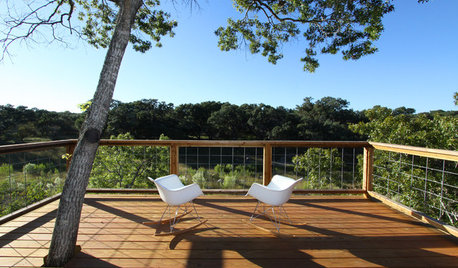
GREAT HOME PROJECTSHow to Refinish a Wood Deck
Keep your deck looking its best — and save feet from splinters — by applying a new stain and sealant every year or so
Full Story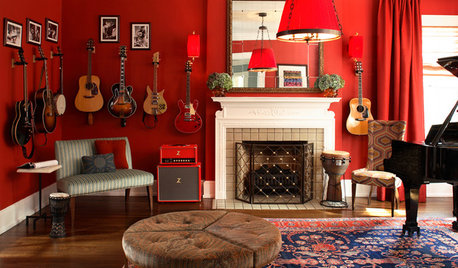
DECORATING GUIDESSpare Room? Lucky You. Here are 12 Fresh Ways to Use It
Imagine all the things you could do in your extra space: painting, planting, playing or nothing at all
Full Story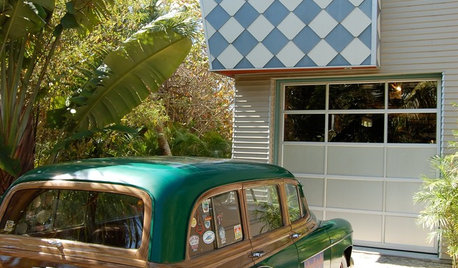
MOVINGRelocating? Here’s How to Make the Big Move Better
Moving guide, Part 1: How to organize your stuff and your life for an easier household move
Full Story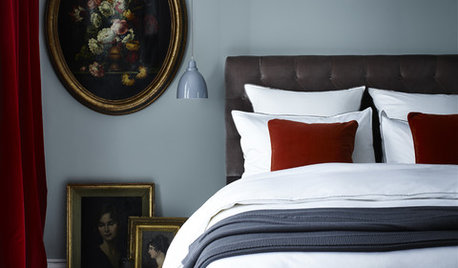
ANTIQUESInherited an Antique? Here’s How to Work It Into Your Home
Find out how to make that beloved vintage piece fit in with your decor
Full Story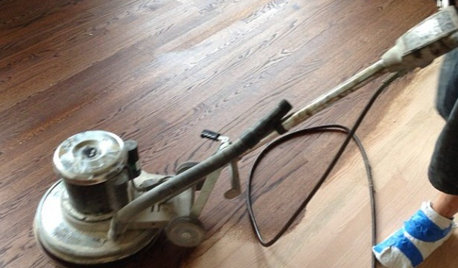
GREAT HOME PROJECTSWhat to Know Before Refinishing Your Floors
Learn costs and other important details about renewing a hardwood floor — and the one mistake you should avoid
Full Story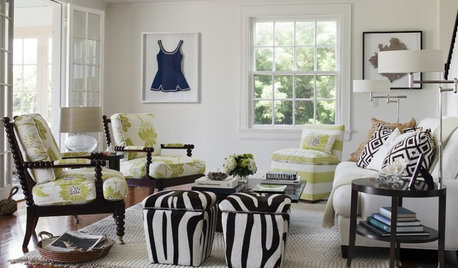
DECORATING GUIDESHere's How to Steer Clear of 10 Top Design Don'ts
Get interiors that look professionally styled even if you're taking the DIY route, by avoiding these common mistakes
Full Story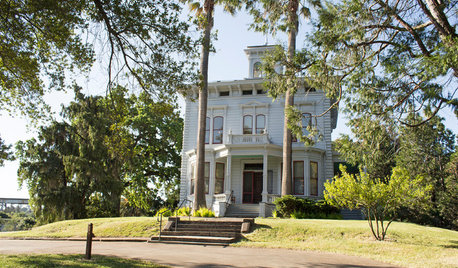
TRAVEL BY DESIGNThe Father of the U.S. National Parks Lived Here
Adventurer John Muir helped preserve the nation’s natural wonders. His California home shows his domestic side
Full Story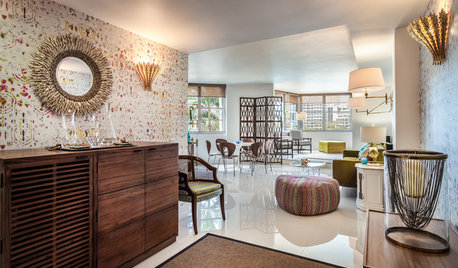
DECORATING GUIDESHouzz Tour: Happy Days Are Here Again in a Miami Apartment
The colors of Biscayne Bay, an owner’s fond memories and the groovy spirit of the 1970s inspire a bright redesign
Full StoryMore Discussions


Rudebekia