


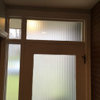
Covering window opening while rehabbing
graywings123
12 years ago
Sort by:Oldest
Comments (5)
Related Stories
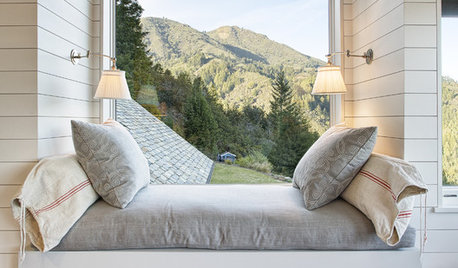
WINDOWSPhoto Flip: 85 Window Seats for Whiling Away the Day
Grab a good book and settle in for a spell in one of these amazing window seats
Full Story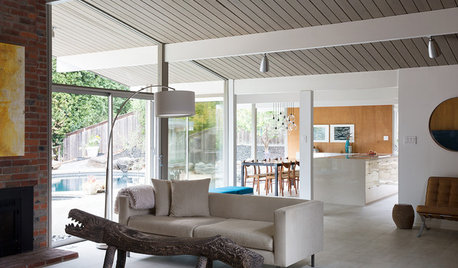
MODERN HOMESHouzz Tour: Updating an Eichler While Preserving Its Spirit
Architects and builders keep this home’s integrity intact while remodeling the kitchen, creating a master suite and adding energy efficiency
Full Story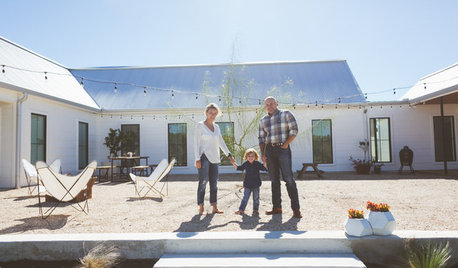
REMODELING GUIDESHow to Remodel Your Relationship While Remodeling Your Home
A new Houzz survey shows how couples cope with stress and make tough choices during building and decorating projects
Full Story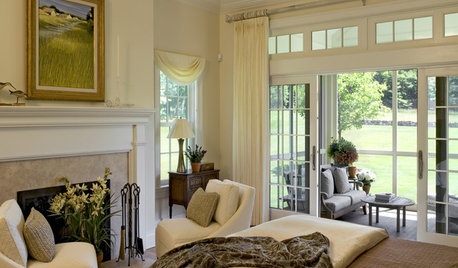
WINDOWSAwkward Windows and Doors? We've Got You Covered
Arched windows, French doors and sidelights get their due with treatments that keep their beauty out in the open
Full Story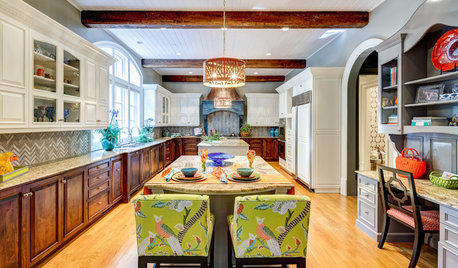
BEFORE AND AFTERSKitchen Rehab: Don’t Nix It, Fix It
A small makeover makes a big impact in a traditional kitchen in Atlanta with great bones
Full Story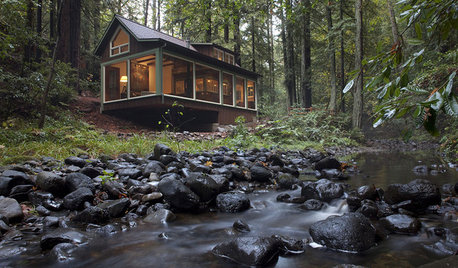
HOUZZ TOURSHouzz Tour: A Creekside Cabin Opens to the Views
With a modern addition featuring expansive windows, a rustic 1930s cabin opens its arms wider to its Northern California woodland setting
Full Story
WINDOW TREATMENTSHow to Cover Windows Above a Radiator
Explore the window treatments — and window treatment combinations — that can work in this space
Full Story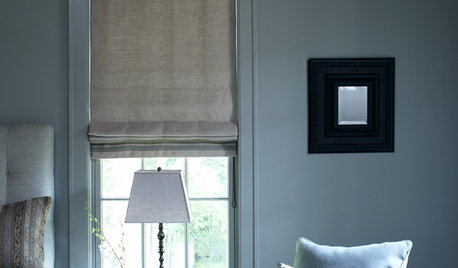
DECORATING GUIDESRoman Shades: The Just-Right Window Coverings for Summer
Calm and minimal, frilly or faux, There's a Roman shade for you
Full Story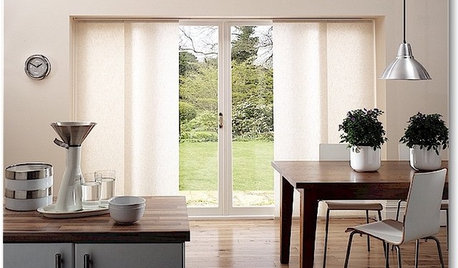
DOORSThe Art of the Window: 12 Ways to Cover Glass Doors
Learn how to use drapes, shutters, screens, shades and more to decorate French doors, sliding doors and Dutch doors
Full Story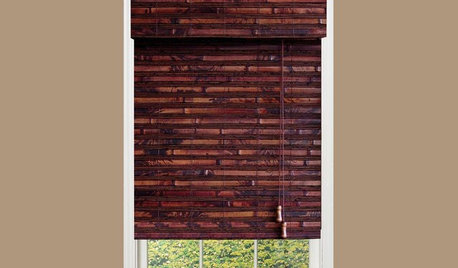
PRODUCT PICKSGuest Picks: A Whole Lotta Wonderful Window Coverings
Blinds, drapes, shades and curtain rods to give your windows a polished, put-together look
Full Story

sombreuil_mongrel
graywings123Original Author
Related Professionals
Greensboro Kitchen & Bathroom Designers · Hammond Kitchen & Bathroom Designers · Pleasanton Kitchen & Bathroom Designers · Beach Park Kitchen & Bathroom Remodelers · Eureka Kitchen & Bathroom Remodelers · Glendale Kitchen & Bathroom Remodelers · Oxon Hill Kitchen & Bathroom Remodelers · Payson Kitchen & Bathroom Remodelers · Phoenix Kitchen & Bathroom Remodelers · Princeton Kitchen & Bathroom Remodelers · Ridgefield Park Kitchen & Bathroom Remodelers · Enterprise Architects & Building Designers · Henderson Architects & Building Designers · Portsmouth Architects & Building Designers · Yeadon Architects & Building Designersliriodendron
graywings123Original Author
brickeyee