


Preparing Bathroom for Tiling
daylightharbor
13 years ago
Related Stories
LIFEHow to Prepare for and Live With a Power Outage
When electricity loss puts food, water and heat in jeopardy, don't be in the dark about how to stay as safe and comfortable as possible
Full Story
TRAVEL BY DESIGNHow to Prepare Your House for a Home Swap
Trading homes for your vacation? Leave yours in great shape for your guests and help them enjoy a happy break with these 12 tips
Full Story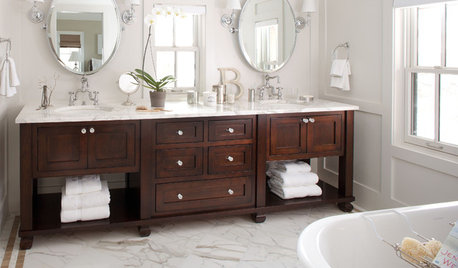
BATHROOM DESIGNBathroom Design: Getting Tile Around the Vanity Right
Prevent water damage and get a seamless look with these pro tips for tiling under and around a bathroom vanity
Full Story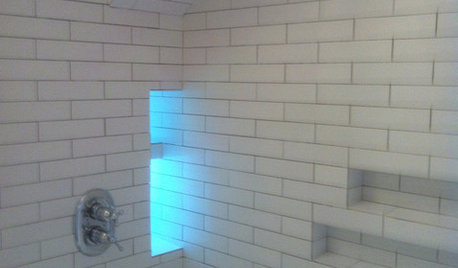
BATHROOM DESIGN10 Top Tips for Getting Bathroom Tile Right
Good planning is essential for bathroom tile that's set properly and works with the rest of your renovation. These tips help you do it right
Full Story
BATHROOM DESIGNHow to Match Tile Heights for a Perfect Installation
Irregular tile heights can mar the look of your bathroom. Here's how to counter the differences
Full Story
BATHROOM TILEBathroom Backsplashes Make a Style Statement
Be inspired to turn this small bathroom detail into a big design feature
Full Story
BATHROOM DESIGNBathroom Surfaces: Ceramic Tile Pros and Cons
Learn the facts on this popular material for bathroom walls and floors, including costs and maintenance needs, before you commit
Full Story
BATHROOM DESIGN7 Tile Tips for Baths on a Budget
How to Add Style to Your Bathroom Without Breaking the Budget
Full Story
BATHROOM DESIGNOut With the Old Tile: 8 Steps to Prep for Demolition
This isn't a light DIY project: You'll need heavy-duty tools and plenty of protection for your home and yourself
Full Story
BATHROOM DESIGNConvert Your Tub Space Into a Shower — the Tiling and Grouting Phase
Step 3 in swapping your tub for a sleek new shower: Pick the right tile and test it out, then choose your grout color and type
Full StoryMore Discussions

Billl
daylightharborOriginal Author
Related Professionals
Clarksburg Kitchen & Bathroom Designers · Alpine Kitchen & Bathroom Remodelers · Chester Kitchen & Bathroom Remodelers · Durham Kitchen & Bathroom Remodelers · Elk Grove Village Kitchen & Bathroom Remodelers · Franconia Kitchen & Bathroom Remodelers · League City Kitchen & Bathroom Remodelers · South Lake Tahoe Kitchen & Bathroom Remodelers · Thonotosassa Kitchen & Bathroom Remodelers · Wilmington Kitchen & Bathroom Remodelers · Glenn Heights Kitchen & Bathroom Remodelers · Anchorage Architects & Building Designers · Doctor Phillips Architects & Building Designers · Oak Hill Architects & Building Designers · Pedley Architects & Building DesignersBilll
halfhand
slateberry