


Restoring Old Windows
clover8
14 years ago
Related Stories
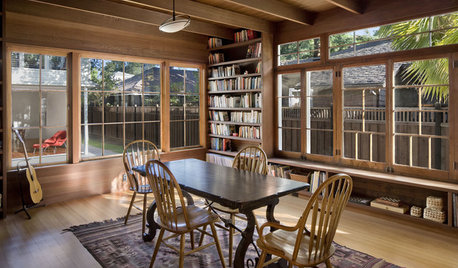
REMODELING GUIDESReplace vs. Restore: The Great Window Debate
Deciding what to do with windows in disrepair isn't easy. This insight on the pros and cons of window replacement or restoration can help
Full Story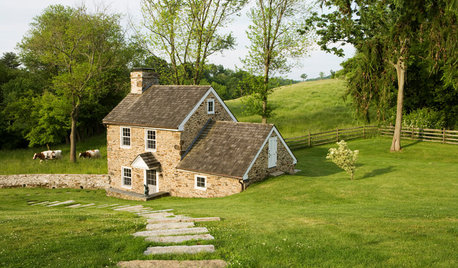
BEFORE AND AFTERSRestoration Rallies a 1790 Stone Springhouse
An old outbuilding gets a new purpose — several purposes, that is — thanks to careful efforts by stonemasons and architects
Full Story
HOUZZ TOURSMy Houzz: Spanish Colonial Restoration in Hollywood
Honoring its Spanish heritage, a 1928 home in California becomes a romantic sanctuary and inviting space for entertaining
Full Story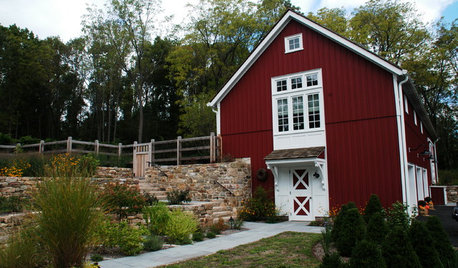
HOUZZ TOURSHouzz Tour: Farmhouse Meets Industrial in a Restored New Jersey Barn
Amish craftsmen, trusting clients and an architect with a vision save a historic barn from a complete teardown
Full Story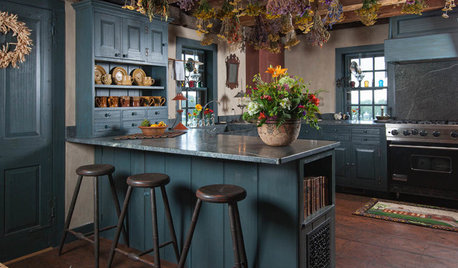
HOUZZ TV FAVORITESHouzz TV: See How Early Settlers Lived in This Restored Pilgrim House
Passionate restoration and preservation efforts give a 1665 home an honored place in the present
Full Story
ARCHITECTUREBack to the Futuro: Tour a Lovingly Restored ‘Spaceship’ Home
Travel back to the ’60s Space Age with a rare glimpse inside an original House of the Future
Full Story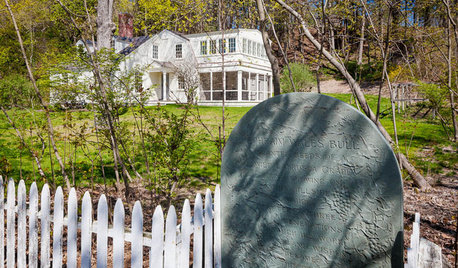
TRADITIONAL HOMESHouzz Tour: Historic Concord Grapevine Cottage’s Charms Restored
This famous property had fallen on hard times, but passionate homeowners lovingly brought it back
Full Story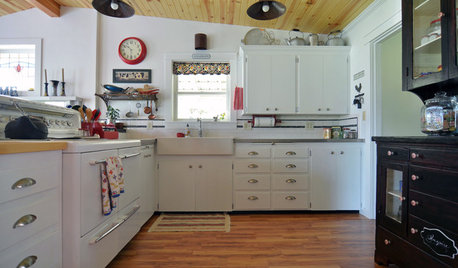
BEFORE AND AFTERSKitchen of the Week: Classic White Farmhouse Style Restored
A couple remodel their kitchen to better match their 19th-century Oregon home’s style
Full Story
HOUZZ TOURSHouzz Tour: A Boston Brownstone Is Restored to Glory and Then Some
Victorian-era architectural details create a strong base for an eclectic mix of furniture, accessories and modern art
Full Story
CRAFTSMAN DESIGNMy Houzz: Small-Space Living in a Restored Bungalow
See how this homeowner celebrates his personal style, his flea market finds and the heritage of his 1919 Long Beach home
Full StorySponsored
Central Ohio's Trusted Home Remodeler Specializing in Kitchens & Baths
More Discussions


mightyanvil
blackcats13
Related Professionals
St. Louis Kitchen & Bathroom Designers · Sun City Kitchen & Bathroom Designers · Beach Park Kitchen & Bathroom Remodelers · 93927 Kitchen & Bathroom Remodelers · Calverton Kitchen & Bathroom Remodelers · Deerfield Beach Kitchen & Bathroom Remodelers · Fort Myers Kitchen & Bathroom Remodelers · Fort Pierce Kitchen & Bathroom Remodelers · Oxon Hill Kitchen & Bathroom Remodelers · Richland Kitchen & Bathroom Remodelers · Skokie Kitchen & Bathroom Remodelers · Corpus Christi Architects & Building Designers · Frisco Architects & Building Designers · Gladstone Architects & Building Designers · Winchester Architects & Building Designerscotehele
allison1888
SuzyQ2
clover8Original Author
blackcats13