


Bad Drywall Job Over Plaster
renovatingwoman
13 years ago
Sort by:Oldest
Comments (12)
Related Stories

MATERIALSRaw Materials Revealed: Drywall Basics
Learn about the different sizes and types of this construction material for walls, plus which kinds work best for which rooms
Full Story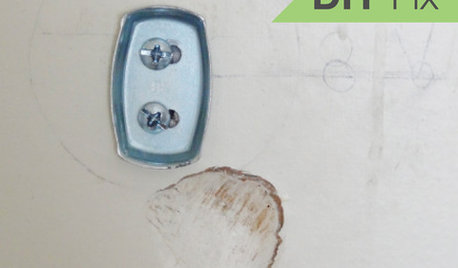
HOUSEKEEPINGQuick Fix: How to Patch a Drywall Hole
Dents and dings disappear, leaving your walls looking brand new, with this fix that even a novice can do
Full Story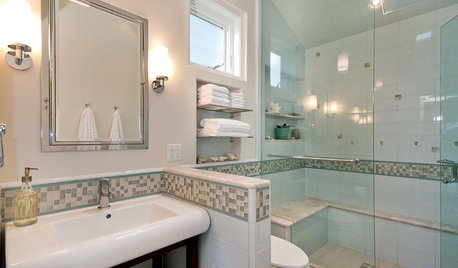
BATHROOM DESIGN6 Elements of a Perfect Bathroom Paint Job
High-quality paint alone won't cut it. For the best-looking painted bathroom walls, you'll need to get these other details right
Full Story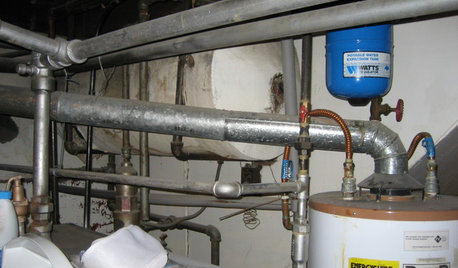
REMODELING GUIDES7 Bad Things Your Home May Be Hiding
What you don't know about your home could cost you during a remodel. Here's what to plan for
Full Story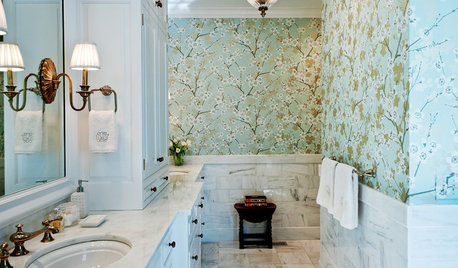
WALL TREATMENTS11 Ways to Roll With Wallpaper All Over the Home
Ditch the misconceptions and latch on to some great ideas for decorating your walls with patterned, textural and colorful wallpaper
Full Story
GARDENING GUIDESGarden Myths to Debunk as You Dig This Fall and Rest Over Winter
Termites hate wood mulch, don’t amend soil for trees, avoid gravel in planters — and more nuggets of garden wisdom
Full Story
PAINTINGHow to Hire a Painter to Do Your Interiors
Here’s what to know about hiring a painting contractor and what to expect during the job
Full Story
KITCHEN DESIGNShow Us Your Fabulous DIY Kitchen
Did you do a great job when you did it yourself? We want to see and hear about it
Full Story
DIY PROJECTS14 Power Tools for the Home Shop
Want the thrill of building it yourself? These "big guns" help the handy homeowner tackle just about any job
Full Story
REMODELING GUIDESContractor Tips: 10 Hats Your General Contractor Wears
Therapist, financial advisor, mediator — for the price of a single good contractor on your remodel, you're actually getting 10 jobs done
Full Story


Billl
renovatingwomanOriginal Author
Related Professionals
East Islip Kitchen & Bathroom Designers · Cherry Hill Kitchen & Bathroom Designers · Beverly Hills Kitchen & Bathroom Remodelers · Broadlands Kitchen & Bathroom Remodelers · Franconia Kitchen & Bathroom Remodelers · Honolulu Kitchen & Bathroom Remodelers · Independence Kitchen & Bathroom Remodelers · Oceanside Kitchen & Bathroom Remodelers · Toms River Kitchen & Bathroom Remodelers · Warren Kitchen & Bathroom Remodelers · Wilmington Kitchen & Bathroom Remodelers · Charleston Architects & Building Designers · Gladstone Architects & Building Designers · Nanticoke Architects & Building Designers · Bell Gardens Architects & Building DesignersBilll
hendricus
renovatingwomanOriginal Author
User
renovatingwomanOriginal Author
kimkitchy
liriodendron
brickeyee
AMRadiohead3885
brickeyee