


I hate calcimine....
SaintPFLA
14 years ago
Related Stories
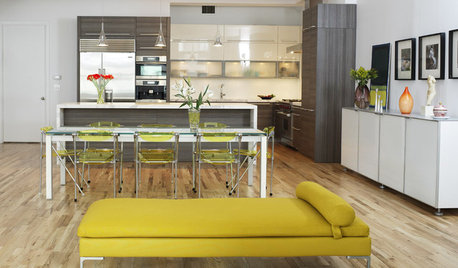
DECORATING GUIDESChartreuse: Love It or Hate It?
Try a Sip of Yellow-Green With Blue, Chocolate, Hot Pink, Eggplant and Teal
Full Story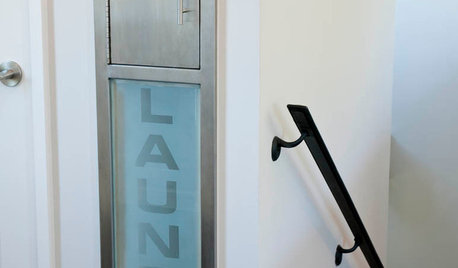
GREAT HOME PROJECTSHate Hauling Laundry? Give Dirty Clothes the Chute
New project for a new year: Install a quick route to the laundry room
Full Story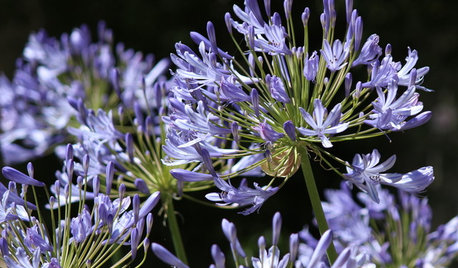
GARDENING GUIDES8 Plants That Snobs Love to Hate — and You'll Love to Grow
Don't dismiss these common annuals, perennials and shrubs — there are reasons they've been popular for so long
Full Story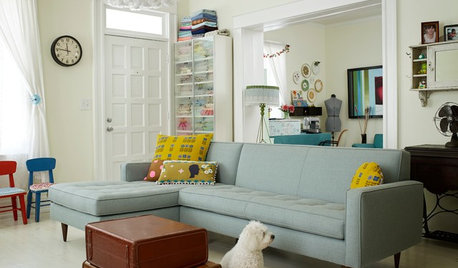
FURNITUREWhy It's OK to Hate Your New Custom Sofa
It takes time to get used to bold new furniture, but dry your tears — the shock can be good for you. Here's what to expect
Full Story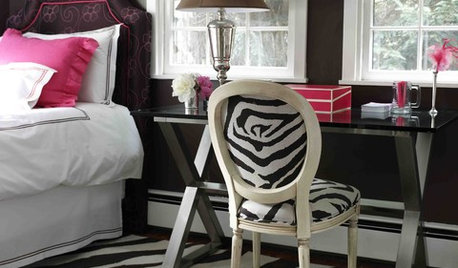
DECORATING GUIDESAnimal Prints: A Love-It-or-Hate-It Look
Some embrace faux furs and animal-print upholstery as classic looks. Others see them as a tacky throwback
Full Story
LIFEYou Said It: ‘The Wrong Sink Can Make You Hate Your Kitchen’
Design advice, inspiration and observations that struck a chord this week
Full Story
SHOP HOUZZShop Houzz: Love It or Hate It? Controversial Home Decor
Take your pick of taxidermy, antlers, faux plants, cowhides and reproductions of famous art
Full Story
LIFEYou Said It: ‘Just Because I’m Tiny Doesn’t Mean I Don’t Go Big’
Changing things up with space, color and paint dominated the design conversations this week
Full Story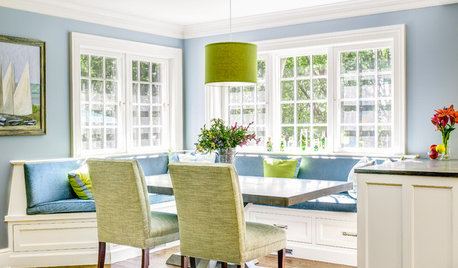
DECORATING GUIDESThe Dumbest Decorating Decisions I’ve Ever Made
Caution: Do not try these at home
Full Story
WINTER GARDENING6 Reasons I’m Not Looking Forward to Spring
Not kicking up your heels anticipating rushes of spring color and garden catalogs? You’re not alone
Full StoryMore Discussions

Christopher Nelson Wallcovering and Painting
acc0406
Related Professionals
Amherst Kitchen & Bathroom Designers · College Park Kitchen & Bathroom Designers · Lafayette Kitchen & Bathroom Designers · Redmond Kitchen & Bathroom Designers · Verona Kitchen & Bathroom Designers · Grain Valley Kitchen & Bathroom Remodelers · Pinellas Park Kitchen & Bathroom Remodelers · Superior Kitchen & Bathroom Remodelers · West Palm Beach Kitchen & Bathroom Remodelers · Mountain Top Kitchen & Bathroom Remodelers · Holtsville Architects & Building Designers · Lexington Architects & Building Designers · Madison Heights Architects & Building Designers · Westminster Architects & Building Designers · Bell Gardens Architects & Building DesignersSaintPFLAOriginal Author
brickeyee
walrus
jiggreen
kimkitchy