


Adding molding to ceiling beam - how to offset curve?
hearthside_im_all_in
15 years ago
Sort by:Oldest
Comments (11)
Related Stories
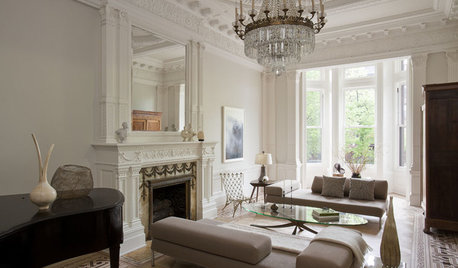
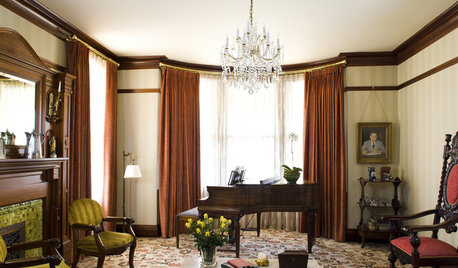
REMODELING GUIDESCrown Molding: Is It Right for Your Home?
See how to find the right trim for the height of your ceilings and style of your room
Full Story
REMODELING GUIDESDesign Details: Moldings — or Not?
16 new and unusual ways to trim your doors, floors and ceilings
Full Story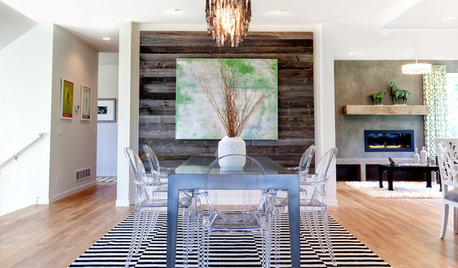
GREAT HOME PROJECTSWhat to Know About Adding a Reclaimed-Wood Wall
Here’s advice on where to put it, how to find and select wood, what it might cost and how to get it done
Full Story
MODERN HOMESHouzz TV: Seattle Family Almost Doubles Its Space Without Adding On
See how 2 work-from-home architects design and build an adaptable space for their family and business
Full Story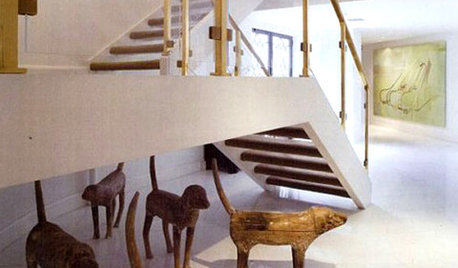
ARTExpert Talk: Sculpture Helps Rooms Break the Mold
Pro designers explain how sculpture can bring interiors to a higher level of design
Full Story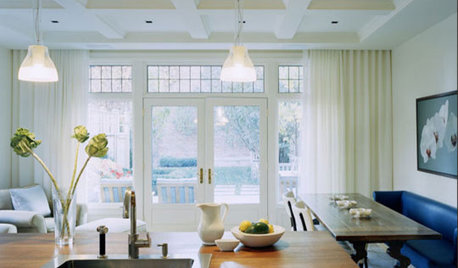
GREAT HOME PROJECTSHow to Bring Out Your Home’s Character With Trim
New project for a new year: Add moldings and baseboards to enhance architectural style and create visual interest
Full Story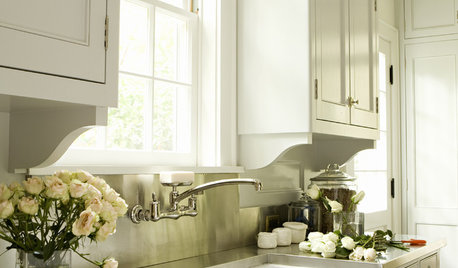
DECORATING GUIDESArchitectural Details Make All the Difference
Are you missing an opportunity to enhance your home with brackets, cabinet feet and moldings?
Full Story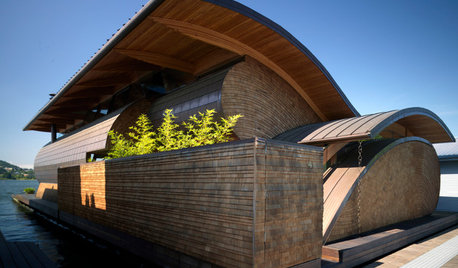
CONTEMPORARY HOMESHouzz Tour: Curves Ahoy! See a Unique Floating Home
It appeared on ‘Portlandia,’ but it doesn’t take a camera crew to see how special this home on a river is
Full Story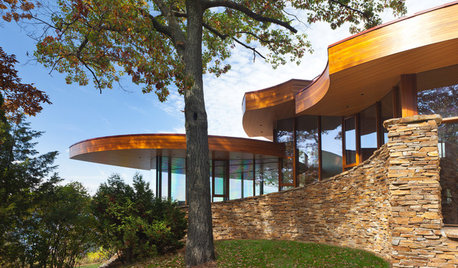
CONTEMPORARY HOMESHouzz Tour: Stunning Curved Architecture Rises Among the Trees
You can see the love of nature and organic shapes at first glance. Look more closely at this Wisconsin home and you’ll also see amazing flow
Full Story


sombreuil_mongrel
hearthside_im_all_inOriginal Author
Related Professionals
Commerce City Kitchen & Bathroom Designers · New Castle Kitchen & Bathroom Designers · Peru Kitchen & Bathroom Designers · Queen Creek Kitchen & Bathroom Designers · Eagle Mountain Kitchen & Bathroom Remodelers · Artondale Kitchen & Bathroom Remodelers · Albuquerque Kitchen & Bathroom Remodelers · Avondale Kitchen & Bathroom Remodelers · Elk Grove Kitchen & Bathroom Remodelers · Republic Kitchen & Bathroom Remodelers · Baltimore Architects & Building Designers · Keansburg Architects & Building Designers · Ken Caryl Architects & Building Designers · South Elgin Architects & Building Designers · Washington Architects & Building Designerskudzu9
silent1pa
hearthside_im_all_inOriginal Author
hearthside_im_all_inOriginal Author
kudzu9
hearthside_im_all_inOriginal Author
kudzu9
hearthside_im_all_inOriginal Author
kudzu9