


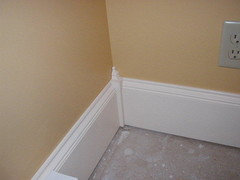
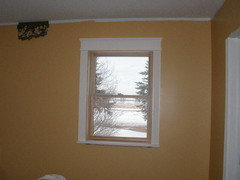
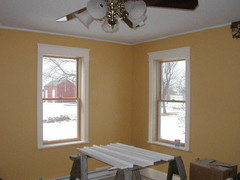
Help me choose a trim style that is DIY friendly
gardenwebber
16 years ago
Featured Answer
Sort by:Oldest
Comments (11)

antiquesilver
16 years agolucy
16 years agoRelated Professionals
Georgetown Kitchen & Bathroom Designers · Hammond Kitchen & Bathroom Designers · South Farmingdale Kitchen & Bathroom Designers · Covington Kitchen & Bathroom Designers · Hoffman Estates Kitchen & Bathroom Remodelers · Richland Kitchen & Bathroom Remodelers · South Park Township Kitchen & Bathroom Remodelers · Spokane Kitchen & Bathroom Remodelers · Toledo Kitchen & Bathroom Remodelers · Hawthorne Kitchen & Bathroom Remodelers · Glenn Heights Kitchen & Bathroom Remodelers · Euless Architects & Building Designers · South Elgin Architects & Building Designers · Nanticoke Architects & Building Designers · Bell Gardens Architects & Building Designerspenfolddt
16 years agokimkitchy
16 years agoDebbie Downer
16 years agojohnmari
16 years agojegr
16 years agomacybaby
16 years agomacybaby
16 years agopiedpiper
16 years ago


Related Stories
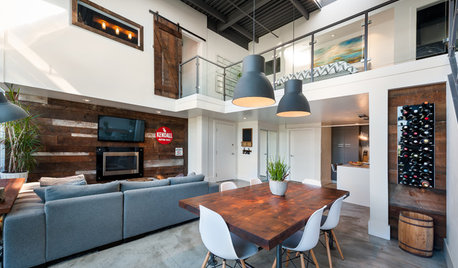
HOUZZ TOURSHouzz Tour: A Modern Loft Gets a Little Help From Some Friends
With DIY spirit and a talented network of designers and craftsmen, a family transforms their loft to prepare for a new arrival
Full Story
VALENTINE’S DAYHandmade Valentines: Kid-Friendly DIY Corsages and Boutonnieres
Help your little ones create fun and fresh Valentine’s Day gifts for friends and family
Full Story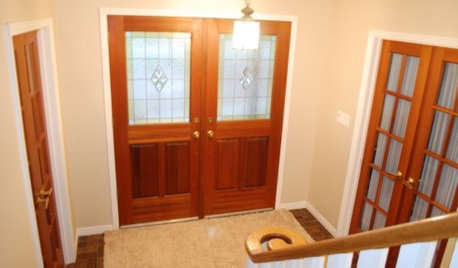

KITCHEN DESIGNTry a Shorter Kitchen Backsplash for Budget-Friendly Style
Shave costs on a kitchen remodel with a pared-down backsplash in one of these great materials
Full Story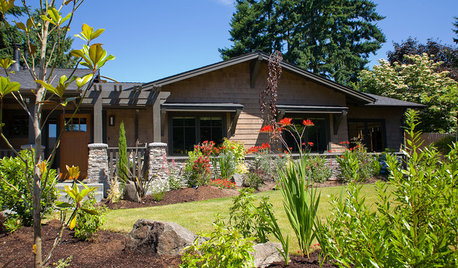
ARCHITECTUREHouse-Hunting Help: If You Could Pick Your Home Style ...
Love an open layout? Steer clear of Victorians. Hate stairs? Sidle up to a ranch. Whatever home you're looking for, this guide can help
Full Story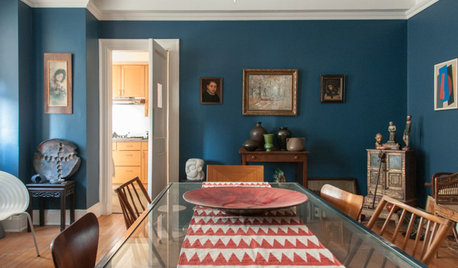
COLORPaint-Picking Help and Secrets From a Color Expert
Advice for wall and trim colors, what to always do before committing and the one paint feature you should completely ignore
Full Story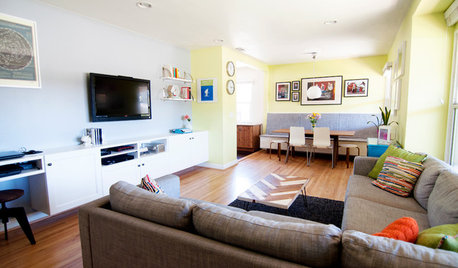
MY HOUZZMy Houzz: Kid-Friendly DIY Charm in Southern California
A family of 5 from Switzerland bring colorful modern style to their updated 1,028-square-foot bungalow
Full Story
HOUZZ TOURSMy Houzz: 1903 Victorian Displays Adventurous DIY Style
An interior designer brings her talents for collecting and painting to her family’s Washington home
Full Story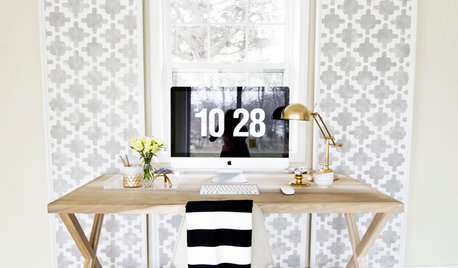
DIY PROJECTSHide Cords in Style With DIY Graphic Panels
Keep wires under wraps for a neater-looking home office or media center, with wall panels you make to your exact taste
Full Story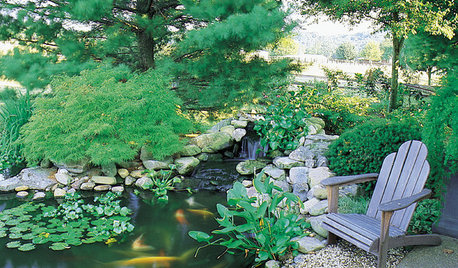
LANDSCAPE DESIGNKoi Find Friendly Shores in Any Garden Style
A pond full of colorful koi can be a delightful addition to just about any landscape or garden
Full Story


arlosmom