


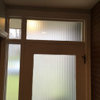
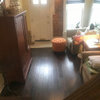
Has anyone restored old beadboard walls? HELP
drnewman6
12 years ago
Featured Answer
Comments (13)

columbusguy1
12 years agolast modified: 9 years agoRelated Professionals
Arcadia Kitchen & Bathroom Designers · Baltimore Kitchen & Bathroom Designers · Grafton Kitchen & Bathroom Designers · King of Prussia Kitchen & Bathroom Designers · Lafayette Kitchen & Bathroom Designers · Pleasanton Kitchen & Bathroom Designers · East Tulare County Kitchen & Bathroom Remodelers · Crestline Kitchen & Bathroom Remodelers · Lisle Kitchen & Bathroom Remodelers · Oklahoma City Kitchen & Bathroom Remodelers · Placerville Kitchen & Bathroom Remodelers · Fairmont Kitchen & Bathroom Remodelers · Oakley Architects & Building Designers · Ronkonkoma Architects & Building Designers · Town and Country Architects & Building Designersenergy_rater_la
12 years agolast modified: 9 years agokarinl
12 years agolast modified: 9 years agodrnewman6
12 years agolast modified: 9 years ago
lazy_gardens
12 years agolast modified: 9 years agobulldinkie
12 years agolast modified: 9 years ago
Vivian Kaufman
12 years agolast modified: 9 years agobulldinkie
12 years agolast modified: 9 years agocolumbusguy1
12 years agolast modified: 9 years agokarinl
12 years agolast modified: 9 years agobulldinkie
12 years agolast modified: 9 years agoslateberry
12 years agolast modified: 9 years ago


Related Stories
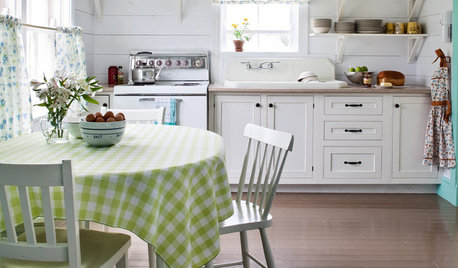
KITCHEN DESIGNThe Cure for Houzz Envy: Kitchen Touches Anyone Can Do
Take your kitchen up a notch even if it will never reach top-of-the-line, with these cheap and easy decorating ideas
Full Story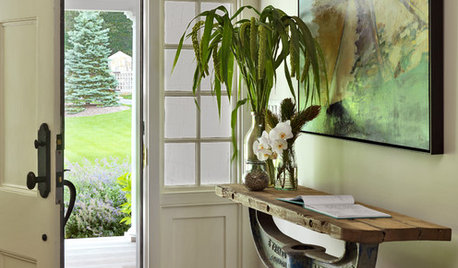
BUDGET DECORATINGThe Cure for Houzz Envy: Entryway Touches Anyone Can Do
Make a smashing first impression with just one or two affordable design moves
Full Story
REMODELING GUIDESOne Guy Found a $175,000 Comic in His Wall. What Has Your Home Hidden?
Have you found a treasure, large or small, when remodeling your house? We want to see it!
Full Story
LAUNDRY ROOMSThe Cure for Houzz Envy: Laundry Room Touches Anyone Can Do
Make fluffing and folding more enjoyable by borrowing these ideas from beautifully designed laundry rooms
Full Story
DECORATING GUIDESThe Cure for Houzz Envy: Dining Room Touches Anyone Can Do
Get a decorator-style dining room on the cheap with inexpensive artwork, secondhand furniture and thoughtful accessories
Full Story
KITCHEN DESIGN6 Clever Kitchen Storage Ideas Anyone Can Use
No pantry, small kitchen, cabinet shortage ... whatever your storage or organizing dilemma, one of these ideas can help
Full Story
UNIVERSAL DESIGNMy Houzz: Universal Design Helps an 8-Year-Old Feel at Home
An innovative sensory room, wide doors and hallways, and other thoughtful design moves make this Canadian home work for the whole family
Full Story
DECORATING GUIDESThe Cure for Houzz Envy: Family Room Touches Anyone Can Do
Easy and cheap fixes that will help your space look more polished and be more comfortable
Full Story
REMODELING GUIDESReplace vs. Restore: The Great Window Debate
Deciding what to do with windows in disrepair isn't easy. This insight on the pros and cons of window replacement or restoration can help
Full Story
CLOSETSThe Cure for Houzz Envy: Closet Touches Anyone Can Do
These easy and inexpensive moves for more space and better organization are right in fashion
Full StorySponsored
Leading Interior Designers in Columbus, Ohio & Ponte Vedra, Florida
More Discussions

ks_toolgirl