

Removing old plaster lath wall
mickimax
18 years ago
Featured Answer
Sort by:Oldest
Comments (19)

kframe19
18 years agolast modified: 9 years agoericwi
18 years agolast modified: 9 years agoRelated Professionals
Everett Kitchen & Bathroom Designers · Haslett Kitchen & Bathroom Designers · Henderson Kitchen & Bathroom Designers · Peru Kitchen & Bathroom Designers · Queen Creek Kitchen & Bathroom Designers · University City Kitchen & Bathroom Remodelers · Beach Park Kitchen & Bathroom Remodelers · Elk Grove Kitchen & Bathroom Remodelers · Glen Carbon Kitchen & Bathroom Remodelers · Hanover Township Kitchen & Bathroom Remodelers · Idaho Falls Kitchen & Bathroom Remodelers · Martha Lake Kitchen & Bathroom Remodelers · Lexington Architects & Building Designers · Palos Verdes Estates Architects & Building Designers · Plainfield Architects & Building Designersmickimax
18 years agolast modified: 9 years agoMongoCT
18 years agolast modified: 9 years agomrblandings
18 years agolast modified: 9 years agopd06
18 years agolast modified: 9 years agonaturelle
18 years agolast modified: 9 years agocnvh
18 years agolast modified: 9 years agojejvtr
18 years agolast modified: 9 years agoknitmarie
18 years agolast modified: 9 years agotorontorenos
17 years agolast modified: 9 years agotryinbrian
17 years agolast modified: 9 years agoginam_oh
17 years agolast modified: 9 years agohandyman7
15 years agolast modified: 9 years agobrickeyee
15 years agolast modified: 9 years agobreich_reich-consulting_net
13 years agolast modified: 9 years agobrickeyee
13 years agolast modified: 9 years agolebdlb78
12 years agolast modified: 9 years ago
Related Stories
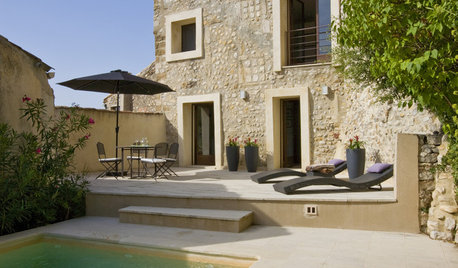
MODERN HOMESHouzz Tour: 800-Year-Old Walls, Modern Interiors in Provence
Old architecture and new additions mix beautifully in a luxurious renovated vacation home
Full Story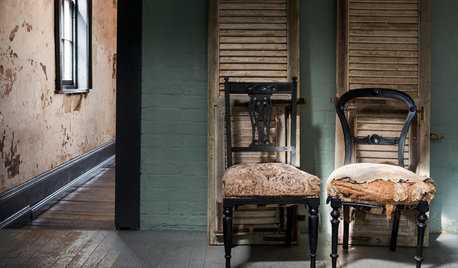
REMODELING GUIDESThe Hidden Problems in Old Houses
Before snatching up an old home, get to know what you’re in for by understanding the potential horrors that lurk below the surface
Full Story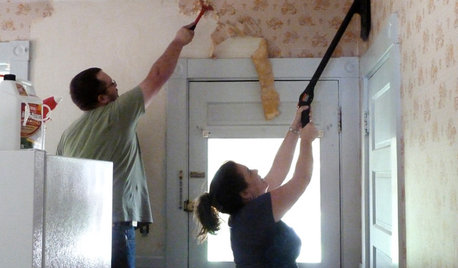
DECORATING GUIDESHow to Remove Wallpaper in 4 Steps
Learn the best way to remove wallpaper with only water (and elbow grease) so your next wall treatment will look great
Full Story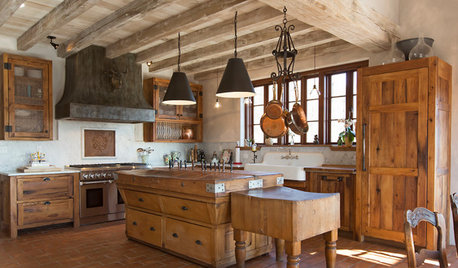
RUSTIC STYLEKitchen of the Week: Found Objects and Old Italian Farmhouse Charm
A homeowner and her cabinetmaker create a personal version of European-inspired comfort and simplicity
Full Story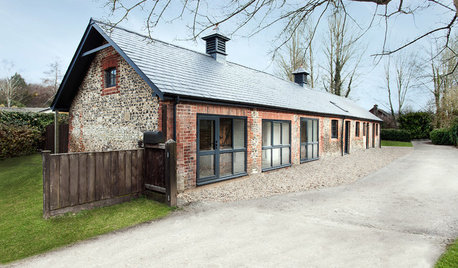
HOUZZ TOURSHouzz Tour: From Old Stable to Minimalist Guesthouse in England
Its interior bays once held racehorses, but now this all-white and wood home holds fascination as a modern part-time home
Full Story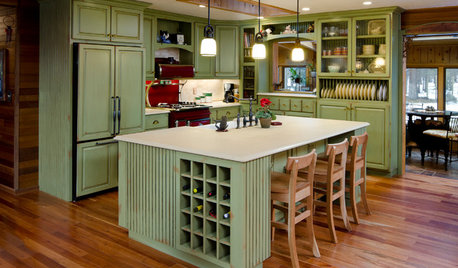
MOST POPULARHow to Reface Your Old Kitchen Cabinets
Find out what’s involved in updating your cabinets by refinishing or replacing doors and drawers
Full Story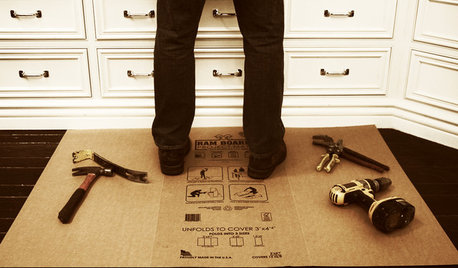
BATHROOM DESIGNOut With the Old Tile: 8 Steps to Prep for Demolition
This isn't a light DIY project: You'll need heavy-duty tools and plenty of protection for your home and yourself
Full Story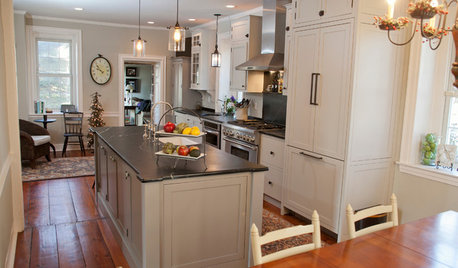
KITCHEN DESIGNNew and Old Mix It Up in a Historic Farmhouse Kitchen
A couple rethink the kitchen in their Pennsylvania farmhouse to restore authenticity while also creating a space for modern living
Full Story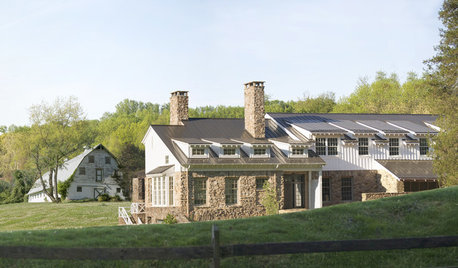
FARMHOUSESHouzz Tour: An Old Barn Inspires a Gracious New Home
Graceful and elegant, this spacious home in the Virginia countryside takes farmhouse style up a notch
Full Story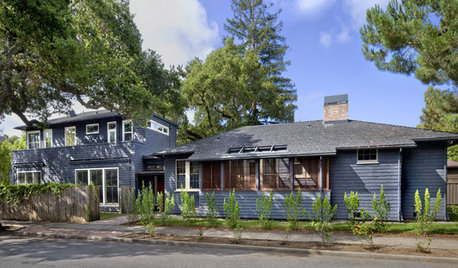
ARCHITECTUREStyle Divide: How to Treat Additions to Old Homes?
One side says re-create the past; the other wants unabashedly modern. Weigh in on additions style here
Full StorySponsored
Columbus Design-Build, Kitchen & Bath Remodeling, Historic Renovations
More Discussions

handyman7