


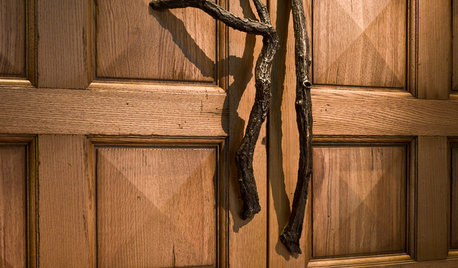
Shellac Color Choice - Clear vs. Amber
schicksal
12 years ago
Featured Answer
Comments (11)

old_house_j_i_m
12 years agoslateberry
12 years agoRelated Professionals
Lebanon Home Remodeling · Home Remodeling · Brownsville Kitchen & Bathroom Designers · New Castle Kitchen & Bathroom Designers · South Farmingdale Kitchen & Bathroom Designers · Buffalo Grove Kitchen & Bathroom Remodelers · Camarillo Kitchen & Bathroom Remodelers · Champlin Kitchen & Bathroom Remodelers · Elk Grove Village Kitchen & Bathroom Remodelers · Kuna Kitchen & Bathroom Remodelers · Pearl City Kitchen & Bathroom Remodelers · Saint Augustine Kitchen & Bathroom Remodelers · Vashon Kitchen & Bathroom Remodelers · Plant City Kitchen & Bathroom Remodelers · North Chicago Architects & Building Designersbrickeyee
12 years agorogeraf1
12 years agorogeraf1
12 years agoslateberry
12 years agoschicksal
12 years agocolumbusguy1
12 years agoschicksal
12 years agoUser
7 years ago
Related Stories
WOODWoodipedia: Make a Solid Choice With Oak
Forget those low-end products of old. Red and white oak today are beautiful, versatile and relatively inexpensive
Full Story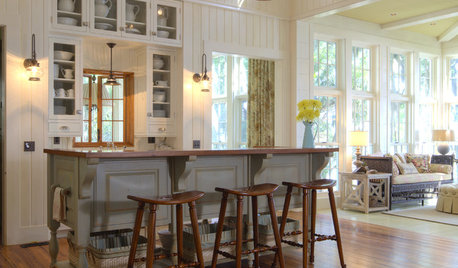
KITCHEN DESIGN9 Flooring Types for a Charming Country Kitchen
For hardiness and a homespun country look, consider these kitchen floor choices beyond brand-new wood
Full Story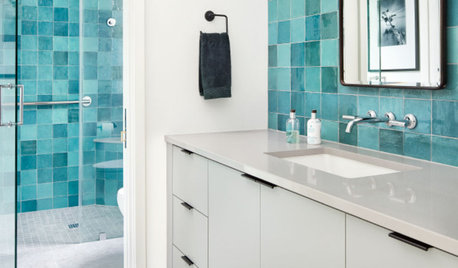
TILEPorcelain vs. Ceramic Tile: A Five-Scenario Showdown
Explore where and why one of these popular tile choices makes more sense than the other
Full Story
GREEN BUILDINGConsidering Concrete Floors? 3 Green-Minded Questions to Ask
Learn what’s in your concrete and about sustainability to make a healthy choice for your home and the earth
Full Story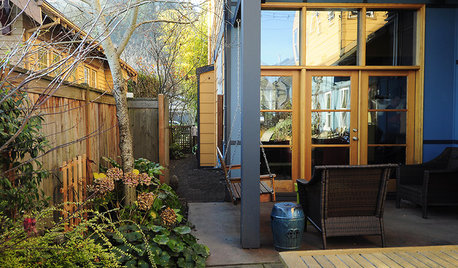
HOUZZ TOURSMy Houzz: Colorful and Contemporary in Portland
Thoughtful and eco-friendly design choices combine in this custom Northwest home
Full Story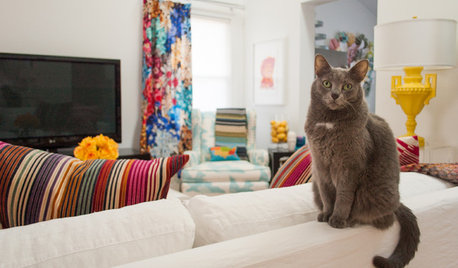
HOUZZ TOURSMy Houzz: Colors and Patterns Energize a 1950s Ranch
Bright fabrics and artwork against white walls create a cheerful vibe in an airy Texas rambler
Full Story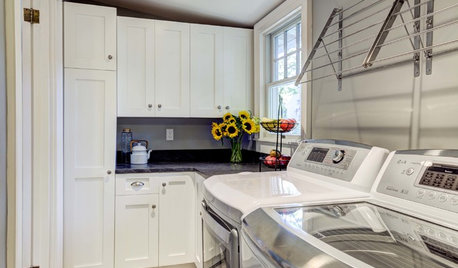
THE HARDWORKING HOMEWhere to Put the Laundry Room
The Hardworking Home: We weigh the pros and cons of washing your clothes in the basement, kitchen, bathroom and more
Full Story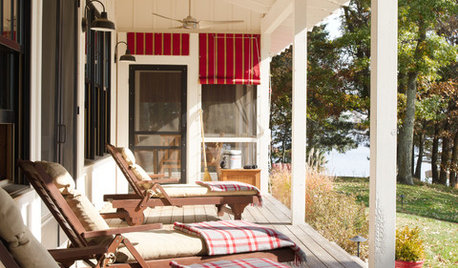
FALL AND THANKSGIVINGTransition Your Porch From Summer to Fall
Warm blankets, candles and subtle fall decor can make your veranda a cozy place to be as the seasons change
Full Story
GARDENING AND LANDSCAPINGGarden Design Essentials: Color
Highly personal and evocative, color influences the mood of gardens in a powerful way. Here's how to make it work for you
Full Story
REMODELING GUIDESPro Finishing Secret: Aniline Dye for Wood
Deeper and richer than any stain, aniline dye gives wood stunningly deep color and a long-lasting finish
Full StoryMore Discussions


sombreuil_mongrel