


Plaster pulling away from wall
nyboy
10 years ago
Featured Answer
Comments (14)

newenglandgarden
10 years agoRelated Professionals
Carson Kitchen & Bathroom Designers · Queen Creek Kitchen & Bathroom Designers · Ridgewood Kitchen & Bathroom Designers · Verona Kitchen & Bathroom Designers · Winton Kitchen & Bathroom Designers · University City Kitchen & Bathroom Remodelers · Beachwood Kitchen & Bathroom Remodelers · Andover Kitchen & Bathroom Remodelers · Oxon Hill Kitchen & Bathroom Remodelers · Turlock Kitchen & Bathroom Remodelers · Weymouth Kitchen & Bathroom Remodelers · Franklin Architects & Building Designers · Hillcrest Heights Architects & Building Designers · Taylors Architects & Building Designers · Ronkonkoma Architects & Building Designersnyboy
10 years ago PRO
PROChristopher Nelson Wallcovering and Painting
10 years ago
worthy
10 years agonyboy
10 years agosombreuil_mongrel
10 years agoworthy
10 years ago
James
10 years agoJames
10 years agonyboy
10 years agoRehabReuseRepurpose
10 years ago
Marvin Forssander-Baird
10 years agolsimms
10 years ago
Related Stories
DECORATING GUIDESStep Away From the Wallpaper: Why Decorating Risks Are Overrated
Want to find your signature style? Try staying inside your comfort zone
Full Story
VINTAGE STYLEGet Away From It All in a Glamper
A glammed-up camper can transport you to a happy place, whether in your yard or on the highway
Full Story
LOFTSRoom of the Day: Loft Becomes a Home Away From Home
The living area of this Kansas City loft doubles as an overflow space for guests and is part of a weekend retreat for the homeowners
Full Story
DECORATING GUIDESAn Expat’s Guide to Making a Home Away From Home
How do you stay balanced when each foot is in a different culture? You take a stand where you hang your hat
Full Story
DECORATING GUIDESFrom the Pros: How to Paint Interior Walls
A slapdash approach can lower a room's entire look, so open your eyes to this wise advice before you open a single paint can
Full Story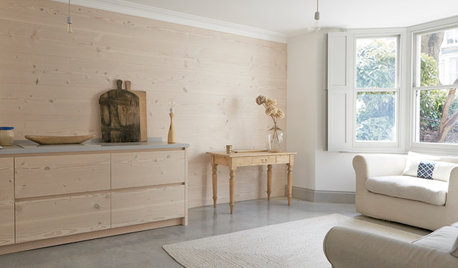
HOMES AROUND THE WORLDHouzz Tour: Streamlined Family Home Keeps Its Storage Tucked Away
In this modernized London Victorian, the focus is on letting beautiful materials and soothing colors shine
Full Story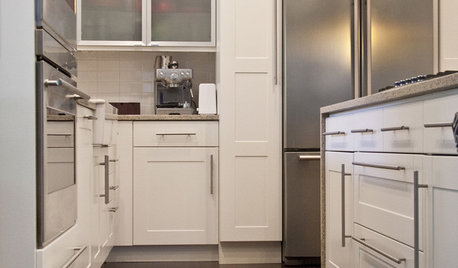
The Draw of Bar Pulls
Forget bulbous knobs and gawky gewgaws. Bar pulls draw your modern cabinet and drawer storage away from the straight and narrow
Full Story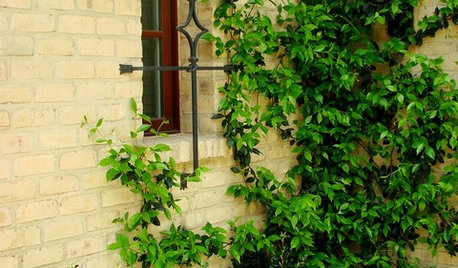
LIFEHow Your Landscaping Can Keep Burglars Away
Prevent home break-ins with strategic landscaping and good practices instead of menacing — and maybe less effective — measures
Full Story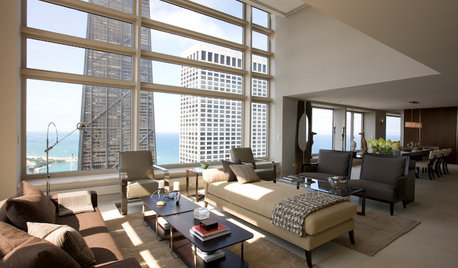
ARCHITECTURECity View: Chicago's Contemporary Design Will Blow You Away
Take a whirl through the Windy City's interiors and you might be surprised — they're not all in the conservative camp
Full Story
TRAVEL BY DESIGNCome Away to Northern California Wine Country
The rolling hills and valleys of Napa and Sonoma inspire relaxed interiors and spending time outdoors in these 12 homes
Full StoryMore Discussions


RehabReuseRepurpose