


Small sash weights
Nicole
11 years ago
Related Stories

MOST POPULAR7 Ways to Design Your Kitchen to Help You Lose Weight
In his new book, Slim by Design, eating-behavior expert Brian Wansink shows us how to get our kitchens working better
Full Story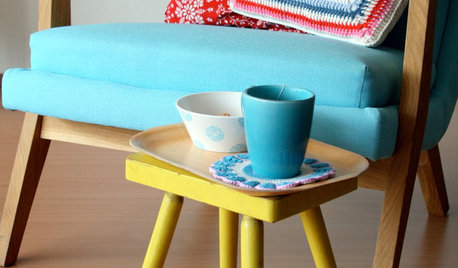
FURNITUREDiscover the Big Benefits of Tiny Tables
Don't juggle drinks on a lap or litter a floor with books when a regular table won't fit. Small tables easily pull more than their weight
Full Story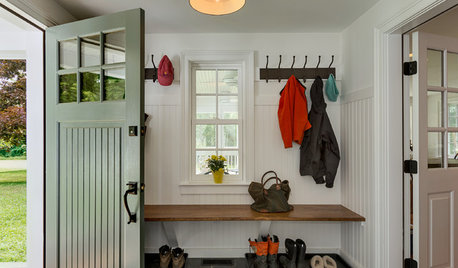
DECLUTTERINGSmall Steps for Keeping Your Housekeeping Resolutions
Take a different approach this year, making simple, positive changes that add up before you know it
Full Story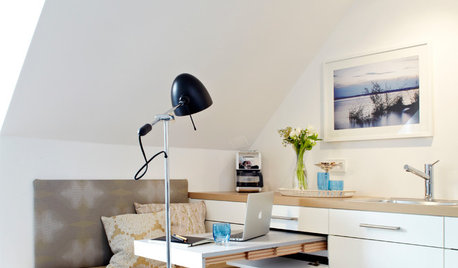
SMALL SPACESSmall-Space Heroes
Undercounter tables, sectional seating and more clever furnishings make the most of every square foot
Full Story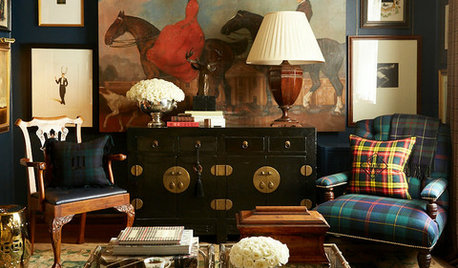
ECLECTIC HOMESHouzz Tour: Personal and Plaid
When it comes to interior design, Scot Meacham Wood wears his heart on his tartan sash
Full Story
ORGANIZINGSmall Steps to Organizing Success
Take care of bite-size projects, and your home's big picture will be an organized dream before you know it
Full Story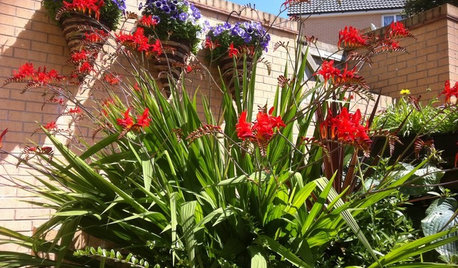
URBAN GARDENSPut Plants to Work in Small Gardens
Grasses, ground cover and more keep small gardens big on visual interest
Full Story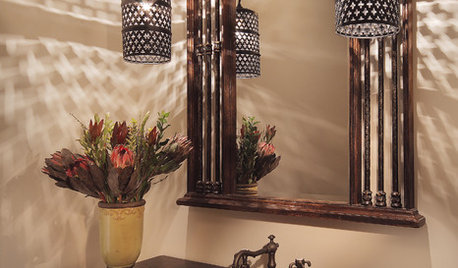
SMALL SPACES6 Ways to Magically Enhance Your Small Space
Optical Illusions and Disappearing Acts Help Make a Small Space Feel Big
Full Story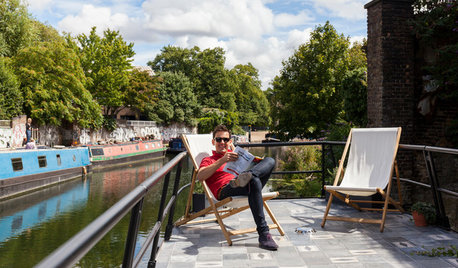
HOMES AROUND THE WORLDMy Houzz: Small-Space Living on a Barge Awash With Smart Ideas
This newly built barge moored on London’s Regent’s Canal brims with clever designs and luxe touches, proving small can be very beautiful
Full Story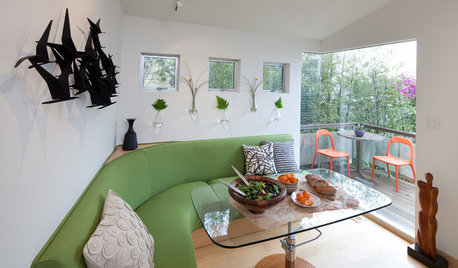
THE HARDWORKING HOME12 Smart Designs for Small-Space Living
The Hardworking Home: Furnish your compact rooms more efficiently with these creative built-ins and adjustable pieces
Full Story


columbusguy1
sombreuil_mongrel
Related Professionals
Bonita Kitchen & Bathroom Designers · Owasso Kitchen & Bathroom Designers · Yorba Linda Kitchen & Bathroom Designers · Covington Kitchen & Bathroom Designers · Fremont Kitchen & Bathroom Remodelers · Hoffman Estates Kitchen & Bathroom Remodelers · Londonderry Kitchen & Bathroom Remodelers · Ann Arbor Architects & Building Designers · Bull Run Architects & Building Designers · Franklin Architects & Building Designers · Oak Hill Architects & Building Designers · Royal Palm Beach Architects & Building Designers · South Lake Tahoe Architects & Building Designers · Troutdale Architects & Building Designers · West Palm Beach Architects & Building Designersbrickeyee
NicoleOriginal Author
brickeyee
columbusguy1
brickeyee
NicoleOriginal Author