


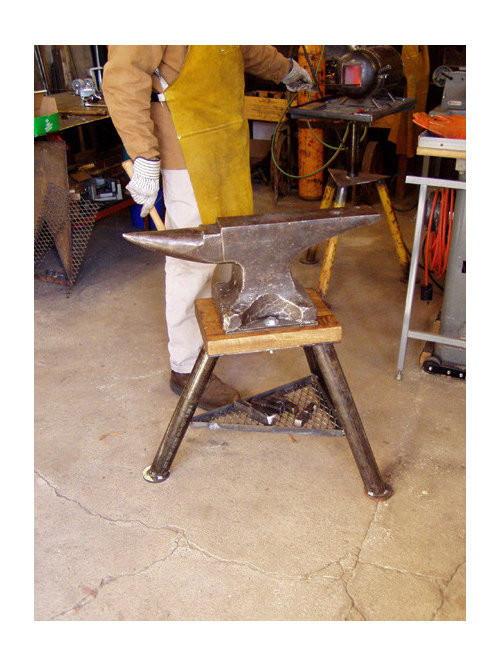
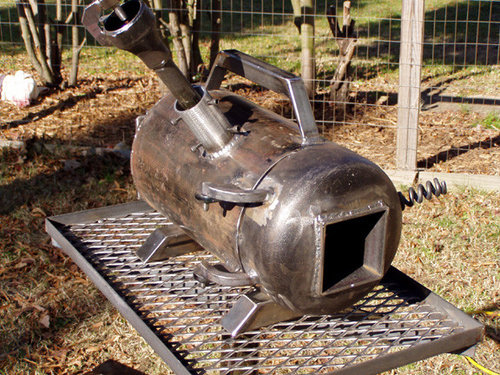
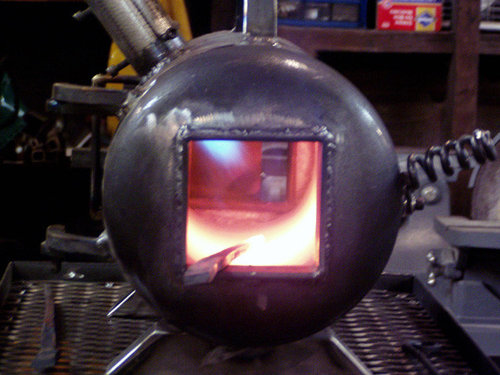
Propane Forge in Action....w/ Pics
davidwczerr
19 years ago

Related Stories
LIFETell Us: What Made You Fall for Your Kitchen?
Show the heart of your home some love for Valentine’s Day
Full Story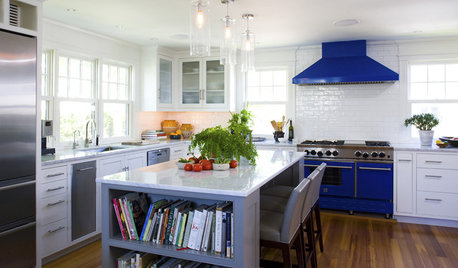
KITCHEN DESIGNSo Over Stainless in the Kitchen? 14 Reasons to Give In to Color
Colorful kitchen appliances are popular again, and now you've got more choices than ever. Which would you choose?
Full Story
KITCHEN DESIGNKitchen of the Week: Function and Flow Come First
A designer helps a passionate cook and her family plan out every detail for cooking, storage and gathering
Full Story
ACCESSORIESTo Chop or Not to Chop?
Karate-chopped pillows pop up in design photos all the time — to the delight of some, the dismay of others. Here's why
Full Story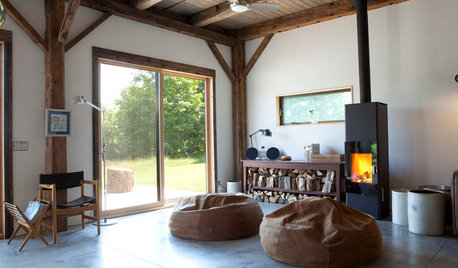
GREAT HOME PROJECTSHow to Add a Radiant Heat System
Enjoy comfy, consistent temperatures and maybe even energy savings with hydronic heating and cooling
Full Story
blacksmithman
davidwczerrOriginal Author
Related Professionals
Lebanon Furniture & Accessories · Nashville Furniture & Accessories · Spartanburg Furniture & Accessories · Glenbrook Interior Designers & Decorators · Bay Shore General Contractors · Groveton General Contractors · Jefferson Valley-Yorktown General Contractors · Lighthouse Point General Contractors · Milford General Contractors · Panama City General Contractors · Roselle General Contractors · Sun Prairie General Contractors · Tabernacle General Contractors · Kennewick Siding & Exteriors · Panama City Siding & ExteriorsKonrad___far_north
pilemonkey
sildrgn02