


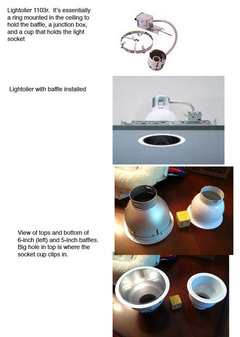
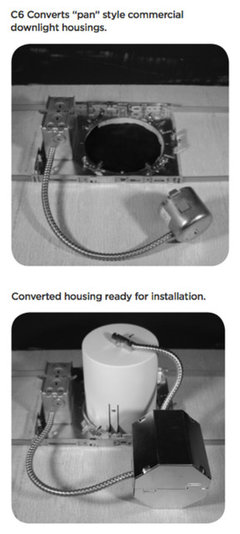
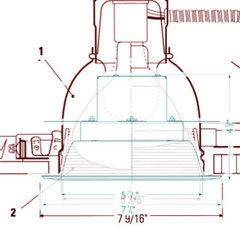
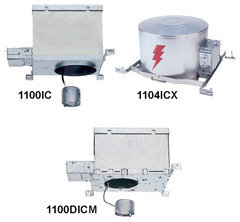
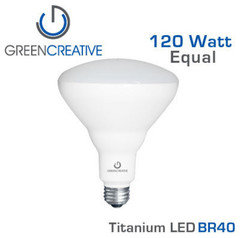
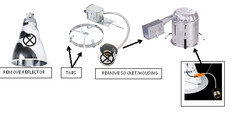
Cree Cr6 in a Lightolier
mattpete
10 years ago
Featured Answer
Sort by:Oldest
Comments (23)

David
10 years agomattpete
10 years agoRelated Professionals
Diamond Bar Lighting · Whittier Lighting · Memphis Furniture & Accessories · Springdale Furniture & Accessories · North Hollywood Furniture & Accessories · Carpinteria Furniture & Accessories · Ashwaubenon Interior Designers & Decorators · Queens Interior Designers & Decorators · Washington Interior Designers & Decorators · Blue Springs Decks, Patios & Outdoor Enclosures · Del Aire Decks, Patios & Outdoor Enclosures · Glasgow Decks, Patios & Outdoor Enclosures · Justice Decks, Patios & Outdoor Enclosures · Kissimmee Decks, Patios & Outdoor Enclosures · Truckee Decks, Patios & Outdoor Enclosuresmattpete
10 years agomattpete
10 years agowws944
10 years agomattpete
10 years agowws944
10 years agomattpete
10 years agomattpete
10 years agolee676
10 years agomattpete
10 years agolee676
10 years agomattpete
10 years agoSnow
10 years agolee676
10 years agomattpete
10 years agomattpete
10 years agolee676
10 years agoSnow
10 years ago
Evan Alexander
8 years agomattpete
8 years agodiy dude
8 years ago

Related Stories
LIGHTINGWhat to Know About Switching to LED Lightbulbs
If you’ve been thinking about changing over to LEDs but aren't sure how to do it and which to buy, this story is for you
Full Story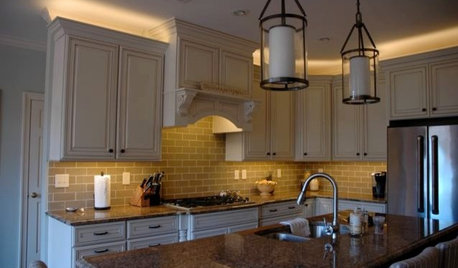
LIGHTINGThe Lowdown on High-Efficiency LED Lighting
Learn about LED tapes, ropes, pucks and more to create a flexible and energy-efficient lighting design that looks great
Full Story
COLORWant Gorgeous Interior Colors? Look to the Light
See how to manipulate natural and artificial light — and learn about those baffling new bulbs — to get the exact room colors you want
Full Story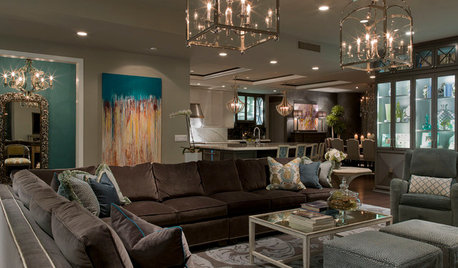
LIGHTING8 Ways to Get Ambient Lighting Just Right
See clearly, boost energy and create the mood you want with these tips for harnessing natural and artificial light
Full Story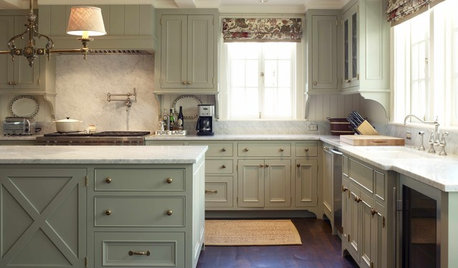
KITCHEN DESIGNKitchen Confidential: 9 Trends to Watch for in 2016
Two top interior designers share their predictions for the coming year
Full Story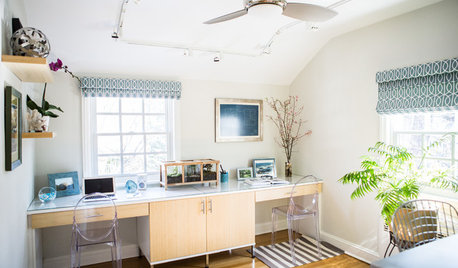
HOME OFFICESNew This Week: 3 Home Offices That Know How to Work It
We look at the designers’ secrets, ‘uh-oh’ moments and nitty-gritty details of 3 great home offices uploaded to Houzz this week
Full Story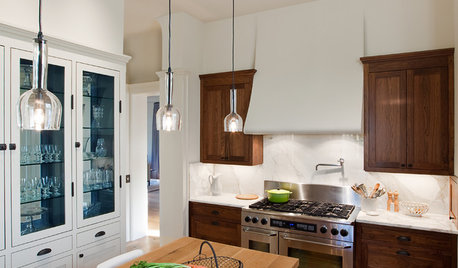
KITCHEN DESIGNPick the Right Pendant for Your Kitchen Island
Don't settle for bland builder-grade pendant lights when you can have your pick of colors and kinds to match your kitchen's style
Full Story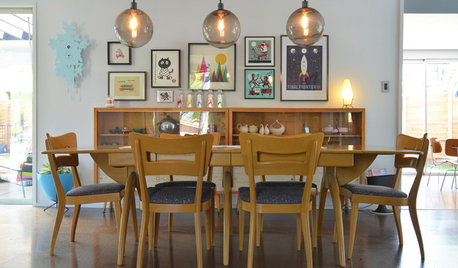
LIGHTINGPersonal Spaces: Homeowners Work Their Pendant Lights
See how all kinds of rooms are getting a lift from hanging lights, both budget-friendly and glam
Full Story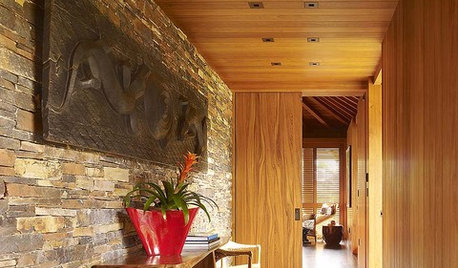
LIGHTINGRecessed Lighting 101
Looking to brighten a drab, dim space? Recessed lighting may be your answer. Here's what you need to know
Full Story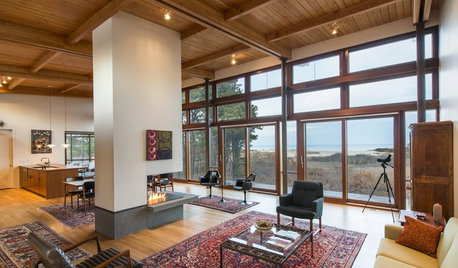
MODERN HOMESHouzz Tour: Cape Cod’s Midcentury Modern Tradition Comes to Life
A new home nestled in the Cape Cod National Seashore area balances architectural history and modern technology
Full Story

mattpeteOriginal Author