


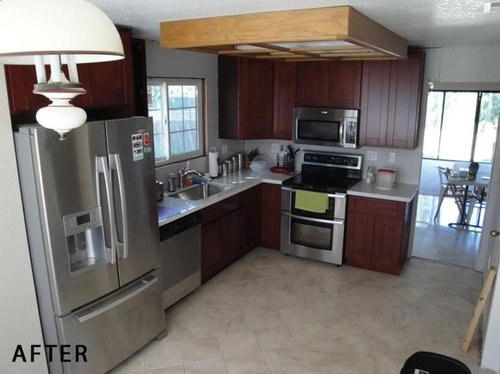
Where do I put the can lighting in my kitchen?
bsspewer
12 years ago

Sort by:Oldest
Comments (9)
Related Stories
KITCHEN DESIGNWhere Should You Put the Kitchen Sink?
Facing a window or your guests? In a corner or near the dishwasher? Here’s how to find the right location for your sink
Full Story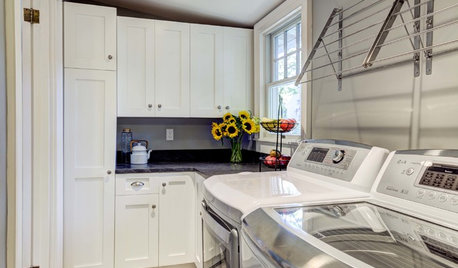
THE HARDWORKING HOMEWhere to Put the Laundry Room
The Hardworking Home: We weigh the pros and cons of washing your clothes in the basement, kitchen, bathroom and more
Full Story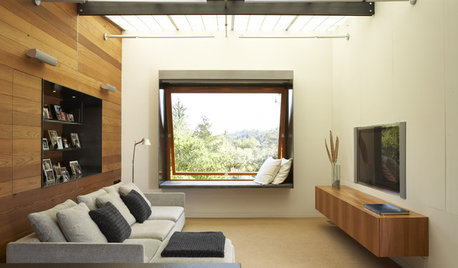
HOME TECHDesign Dilemma: Where to Put the Flat-Screen TV?
TV Placement: How to Get the Focus Off Your Technology and Back On Design
Full StoryMORE ROOMSTech in Design: Where to Put Your Flat-Screen TV
Popcorn, please: Enjoy all the new shows with a TV in the best place for viewing
Full Story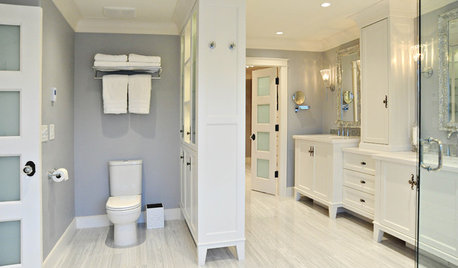
BATHROOM DESIGNBath Remodeling: So, Where to Put the Toilet?
There's a lot to consider: paneling, baseboards, shower door. Before you install the toilet, get situated with these tips
Full Story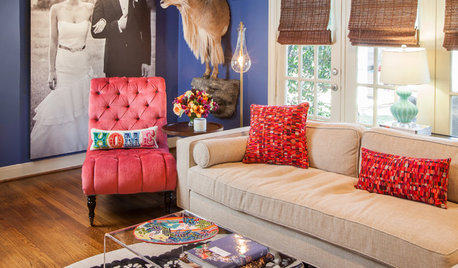
THE POLITE HOUSEThe Polite House: Can I Put a Remodel Project on Our Wedding Registry?
Find out how to ask guests for less traditional wedding gifts
Full Story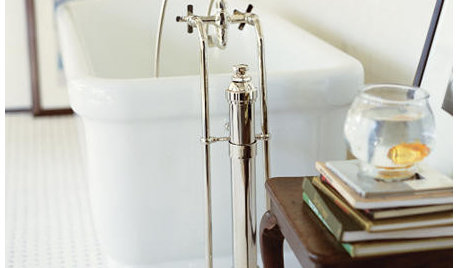
BATHROOM DESIGNWhere to Put Your Freestanding-Bathtub Necessities
Every Freestanding Tub Needs a Spot for Your Novel, Phone or Rubber Ducky
Full Story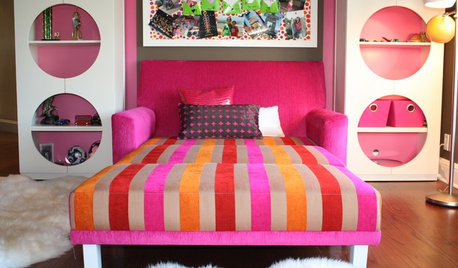
SMALL SPACESDownsizing Help: Where to Put Your Overnight Guests
Lack of space needn’t mean lack of visitors, thanks to sleep sofas, trundle beds and imaginative sleeping options
Full Story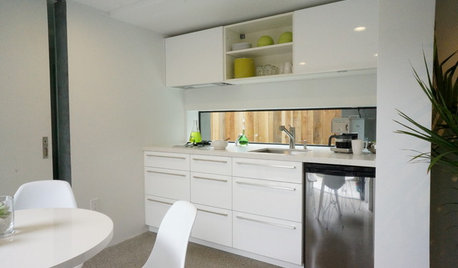
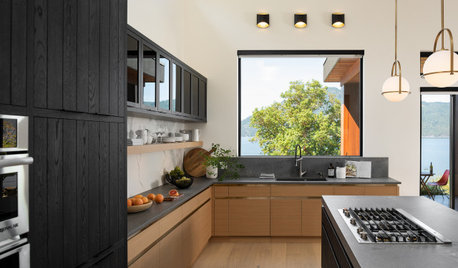
KITCHEN DESIGNPut Your Kitchen in a Good Light With a Window Backsplash
Get a view or just more sunshine while you're prepping and cooking, with a glass backsplash front and center
Full Story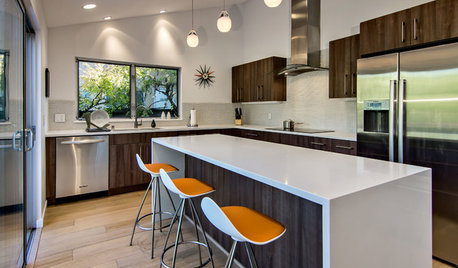
REMODELING GUIDESWhere to Splurge, Where to Save in Your Remodel
Learn how to balance your budget and set priorities to get the home features you want with the least compromise
Full Story

David
bsspewerOriginal Author
Related Professionals
Miami Lighting · Tampa Lighting · Framingham Furniture & Accessories · Lebanon Furniture & Accessories · Long Beach Furniture & Accessories · Wichita Furniture & Accessories · Fort Carson Furniture & Accessories · Glenview Furniture & Accessories · Rockland Interior Designers & Decorators · Cedar Falls Decks, Patios & Outdoor Enclosures · Gastonia Decks, Patios & Outdoor Enclosures · Grafton Decks, Patios & Outdoor Enclosures · New Berlin Decks, Patios & Outdoor Enclosures · Santa Ana Decks, Patios & Outdoor Enclosures · Glendale Decks, Patios & Outdoor EnclosuresDavid
bsspewerOriginal Author
colorfast
bsspewerOriginal Author
bsspewerOriginal Author
David
gmnolen