


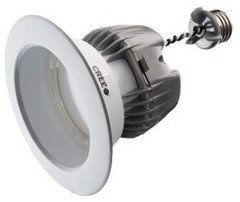
Brightest bulb for 4-inch can
Bunny
12 years ago
Featured Answer
Sort by:Oldest
Comments (20)

Bunny
12 years agoRelated Professionals
Batavia Lighting · Fuquay Varina Lighting · Huntersville Furniture & Accessories · Minneapolis Furniture & Accessories · Scottsdale Furniture & Accessories · Glenvar Heights Furniture & Accessories · North Hollywood Furniture & Accessories · Port Chester Furniture & Accessories · Palmetto Bay Furniture & Accessories · Liberty Township Interior Designers & Decorators · Ankeny Decks, Patios & Outdoor Enclosures · Boise Decks, Patios & Outdoor Enclosures · Diamond Bar Decks, Patios & Outdoor Enclosures · Midwest City Decks, Patios & Outdoor Enclosures · Decks, Patios & Outdoor Enclosures
David
12 years agoBunny
12 years agoDavid
12 years agoDavid
12 years agoBunny
12 years agoDavid
12 years agoBunny
12 years agoDavid
12 years agolee676
12 years agoBunny
12 years agoDavid
12 years agoBunny
12 years agoDavid
12 years agoBunny
12 years agoDavid
12 years agolee676
12 years agoBunny
12 years agolee676
12 years ago


Related Stories
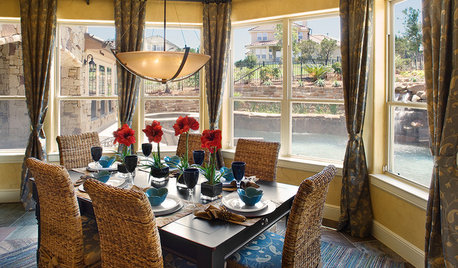
HOUSEPLANTSHow to Force Amaryllis Bulbs Indoors
Enjoy vibrant red blossoms even as gardens turn snowy white, by teaching this hardy repeat performer to ignore the calendar
Full Story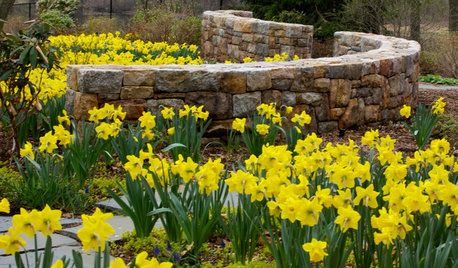
GARDENING GUIDES10 Beautiful Ways to Landscape With Bulbs
Planting bulbs wisely in fall can turn a spring garden glorious with joyful colors and profuse blooms that last through summer
Full Story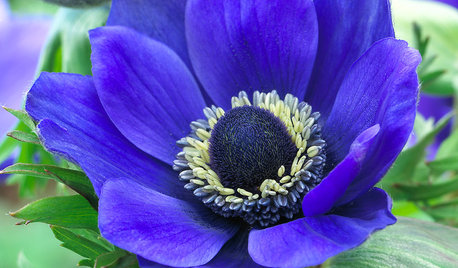
FALL GARDENING6 Splendid Blue-Flowering Bulbs
How do you blue? With colors from sky to cobalt, these bulbs will greet you merrily in a spring garden
Full Story
THE HARDWORKING HOMECES 2015: Inching Toward a Smarter Home
Companies are betting big on connected devices in 2015. Here’s a look at what’s to come
Full Story
GARDENING GUIDES6 Unsung Bulbs for Fall Planting
Don't hang up your spade after summer — plant these unusual bulbs in fall for a spectacular spring show
Full Story
FALL GARDENING7 Delightfully Different Bulbs for Your Spring Garden
Fall planting: Stray from the standards for a more exotic spring garden that draws applause
Full Story
GARDENING GUIDES7 Bulbs That Flourish in Mild Climates
Fall planting: For gardens that don't see harsh winters, different guidelines for choosing and planting spring-blooming bulbs apply
Full Story
GARDENING GUIDESGardening With Kids: How to Plant Bulbs
You don't need expertise to get flowering bulbs in the ground in fall — but kids will feel like gardening pros come spring
Full Story
DIY PROJECTSHoliday DIY: Mason Jar Forced Bulbs and Evergreen Gift Tags
Learn how to make these winter projects from the book ‘Garden Made’ by Stephanie Rose
Full Story
DECORATING GUIDESBudget Decorator: 25 Fab Projects With 1 Paint Can
Whether there's only an inch left or your paint can overfloweth, these household painting projects will get your creative juices flowing
Full Story
David