


Problem with Fisher and Paykel GWL11 - with pictures
mrmichaeljmoore
16 years ago


Related Stories
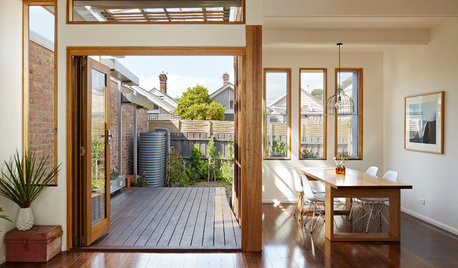
SAVING WATER11 Ways to Save Water at Home
Whether you live in a drought-stricken area or just want to help preserve a precious resource, here are things you can do to use less water
Full Story
BEDROOMS11 Reasons to Love White Bedding
For easy bedding that makes neutrals sing and accessories pop, look to the white side
Full Story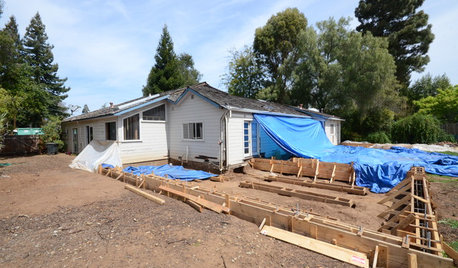
REMODELING GUIDESSurvive Your Home Remodel: 11 Must-Ask Questions
Plan ahead to keep minor hassles from turning into major headaches during an extensive renovation
Full Story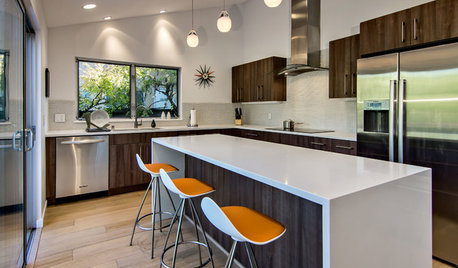
REMODELING GUIDESWhere to Splurge, Where to Save in Your Remodel
Learn how to balance your budget and set priorities to get the home features you want with the least compromise
Full Story
INSIDE HOUZZUsing Houzz: Create a Home To-Do List
See how to use an ideabook to keep track of your home projects this year
Full Story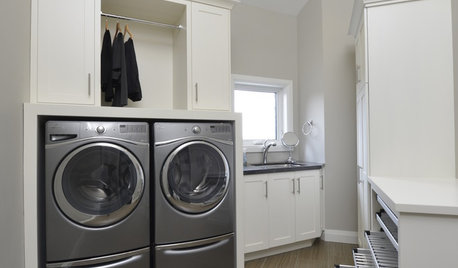
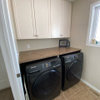
MOST POPULAR10 Smart Ideas for Your Laundry Room Remodel
Make washing and drying easier and more comfortable by considering ergonomics, storage and special features
Full Story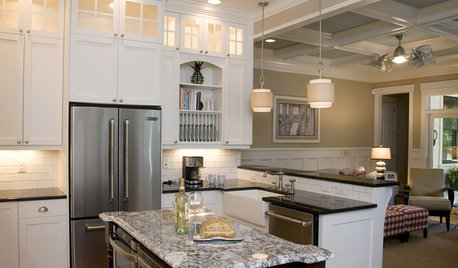
KITCHEN DESIGNStay Cool About Picking the Right Refrigerator
If all the options for refrigeration leave you hot under the collar, this guide to choosing a fridge and freezer will help you chill out
Full Story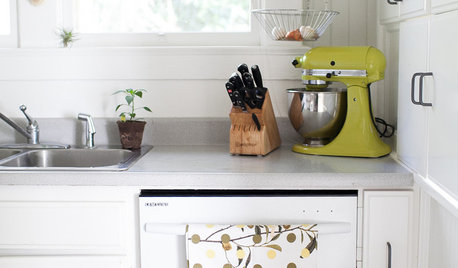
HOUSEKEEPINGDishwasher vs. Hand-Washing Debate Finally Solved — Sort Of
Readers in 8 countries weigh in on whether an appliance saves time, water and sanity or if washing by hand is the only saving grace
Full Story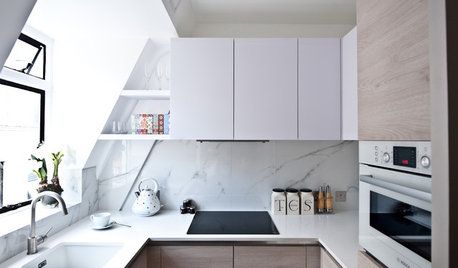
THE HARDWORKING HOMESmart Ways to Make the Most of a Compact Kitchen
Minimal square footage is no barrier to fulfilling your culinary dreams. These tips will help you squeeze the most out of your space
Full Story
KITCHEN DESIGNA Cook’s 6 Tips for Buying Kitchen Appliances
An avid home chef answers tricky questions about choosing the right oven, stovetop, vent hood and more
Full StorySponsored
Industry Leading Interior Designers & Decorators in Franklin County
More Discussions


dadoes
mrmichaeljmooreOriginal Author
Related Professionals
Kalamazoo Kitchen & Bathroom Designers · Holden Kitchen & Bathroom Remodelers · Broadlands Kitchen & Bathroom Remodelers · Clovis Kitchen & Bathroom Remodelers · Pinellas Park Kitchen & Bathroom Remodelers · Farmers Branch Cabinets & Cabinetry · Whittier Custom Closet Designers · Fort Lauderdale Flooring Contractors · Fox Chapel Flooring Contractors · Glendale Flooring Contractors · Highlands Ranch Flooring Contractors · Huntington Station Flooring Contractors · Randolph Flooring Contractors · St. Louis Flooring Contractors · Winchester Flooring ContractorsmrmichaeljmooreOriginal Author
dadoes
washer_man
dadoes
kitra
mrmichaeljmooreOriginal Author
dadoes
mrmichaeljmooreOriginal Author
dadoes
jpmitchell1_bigpond_com
haro
dadoes
haro
dadoes
haro
haro
dadoes
haro
dadoes
haro
dadoes
haro
dadoes
haro
haro
dadoes
haro
haro
dadoes
haro
haro
Clapton
Lori Gurney
dadoes