


My Lady Kenmore washer...may have to say goodbye
pupwhipped
11 years ago
Sort by:Oldest
Comments (7)
Related Stories

HOUZZ TVHouzz TV: Goodbye, Skyrocketing Rents; Hello, Waterfront Living
Tired of the congestion and high costs of San Francisco, this young techie bought a boat on the bay. See how she makes it her home
Full Story
MOST POPULARSo You Say: 30 Design Mistakes You Should Never Make
Drop the paint can, step away from the brick and read this remodeling advice from people who’ve been there
Full Story
LIFEIf You Could Talk to Your House, What Would You Say?
‘Pull yourself together’ or ‘thank you for transforming my life’? Notes to homes around the country hit us where we live
Full Story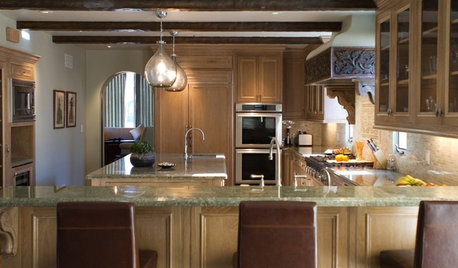
KITCHEN DESIGNHouzzers Say: Top Dream Kitchen Must-Haves
Tricked-out cabinets, clean countertops and convenience top the list
Full Story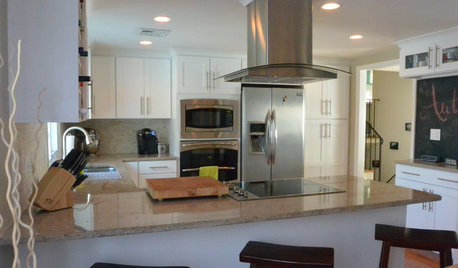
BEFORE AND AFTERSA ‘Brady Bunch’ Kitchen Overhaul for Less Than $25,000
Homeowners say goodbye to avocado-colored appliances and orange-brown cabinets and hello to a bright new way of cooking
Full Story
SMALL HOMESMicrounits Are Coming to NYC. See the Winning Design
Say goodbye to only arm-and-a-leg Manhattan rents. This plan for small prefab units opens the door to more affordable housing
Full Story
REMODELING GUIDESContractor Tips: Advice for Laundry Room Design
Thinking ahead when installing or moving a washer and dryer can prevent frustration and damage down the road
Full Story
HOME OFFICESEnter the Office Nook
Goodbye, massive desk. Hello, floating ledges, nooks and hideaway workspaces as flexible as they are practical
Full Story
SMALL HOMESTiny Houzz Tour: Living the Good Life Their Way
This owner-built home in Australia may be on the small side, but it provides the perfect space for the family’s big dreams to come true
Full Story
HOME TECHMeet the New Super Toilets
With features you never knew you needed, these toilets may make it hard to go back to standard commodes
Full StoryMore Discussions


dadoes
pupwhippedOriginal Author
Related Professionals
Four Corners Kitchen & Bathroom Designers · Cherry Hill Kitchen & Bathroom Designers · Jacksonville Kitchen & Bathroom Remodelers · Wilmington Kitchen & Bathroom Remodelers · Billings Cabinets & Cabinetry · Citrus Heights Cabinets & Cabinetry · Lakeside Cabinets & Cabinetry · New Castle Cabinets & Cabinetry · South Riding Custom Closet Designers · Medway Custom Closet Designers · Four Corners Flooring Contractors · Chicago Flooring Contractors · Damascus Flooring Contractors · Owatonna Flooring Contractors · South Pasadena Flooring Contractorsfastonetime
dadoes
pupwhippedOriginal Author
dadoes
pupwhippedOriginal Author