


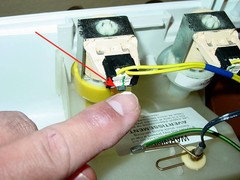
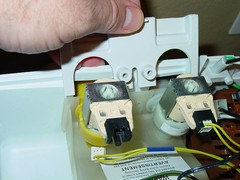
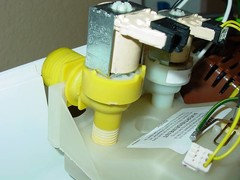
Small leak/drip with Fisher & Paykel GWL11 Washer (with pictures)
mrmichaeljmoore
15 years ago


Featured Answer
Sort by:Oldest
Comments (28)

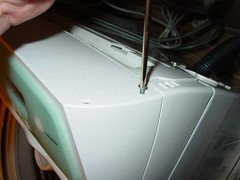
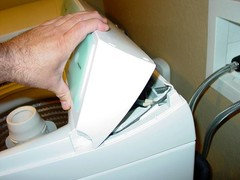
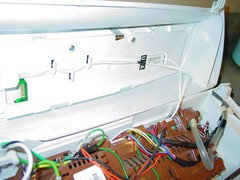
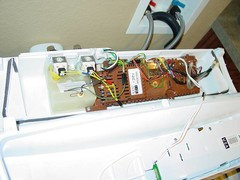
mrmichaeljmoore
15 years agoRelated Professionals
Riviera Beach Kitchen & Bathroom Designers · Roselle Kitchen & Bathroom Designers · Rancho Cordova Kitchen & Bathroom Remodelers · Wilmington Kitchen & Bathroom Remodelers · Farmers Branch Cabinets & Cabinetry · Palisades Park Cabinets & Cabinetry · Wells Branch Cabinets & Cabinetry · North Plainfield Cabinets & Cabinetry · Fort Worth Custom Closet Designers · Mesa Custom Closet Designers · Middletown Custom Closet Designers · Calabasas Custom Closet Designers · Everett Flooring Contractors · Saint Paul Flooring Contractors · Suitland Flooring Contractorsdadoes
15 years agodadoes
15 years agodadoes
15 years agodadoes
15 years agodadoes
15 years agodadoes
15 years agodadoes
15 years agodadoes
15 years agojerrod6
15 years agojerrod6
15 years agodadoes
15 years agomrmichaeljmoore
15 years agodadoes
15 years agomrmichaeljmoore
15 years agowasher_man
15 years agofahrenheit_451
15 years agopugznor
15 years agodadoes
15 years agopugznor
15 years agotaliaferro
15 years agorobert24lte
15 years agopinball_wiz
13 years agoberkeleyluddite
13 years agodadoes
13 years agoberkeleyluddite
13 years agokayrayhtx
10 years ago


Related Stories
HOUSEKEEPINGHow to Wash Your House
Avoid damage to siding and plants while getting your home's exterior shining clean, with this guide to using pressure washers and hoses
Full Story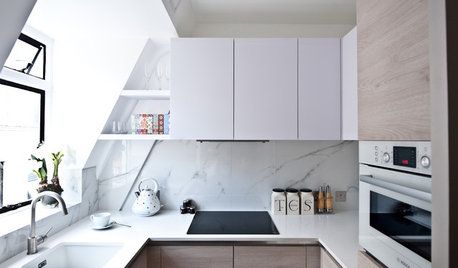
THE HARDWORKING HOMESmart Ways to Make the Most of a Compact Kitchen
Minimal square footage is no barrier to fulfilling your culinary dreams. These tips will help you squeeze the most out of your space
Full Story
SAVING WATER11 Ways to Save Water at Home
Whether you live in a drought-stricken area or just want to help preserve a precious resource, here are things you can do to use less water
Full Story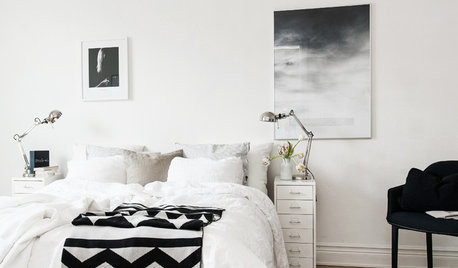
BEDROOMS11 Reasons to Love White Bedding
For easy bedding that makes neutrals sing and accessories pop, look to the white side
Full Story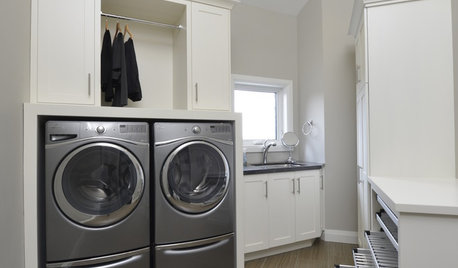
MOST POPULAR10 Smart Ideas for Your Laundry Room Remodel
Make washing and drying easier and more comfortable by considering ergonomics, storage and special features
Full Story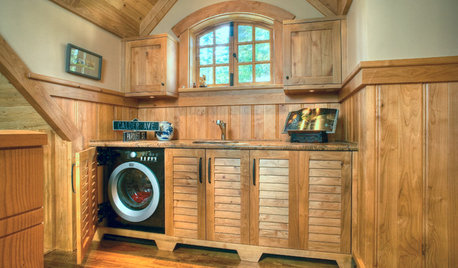
LAUNDRY ROOMSClever Ways to Hide a Laundry Station
When you don’t have a whole room to devote to the wash, use these solutions to tuck the machines out of view
Full Story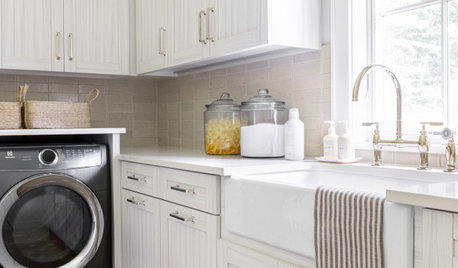
LAUNDRY ROOMS7-Day Plan: Get a Spotless, Beautifully Organized Laundry Room
Get your laundry area in shape to make washday more pleasant and convenient
Full Story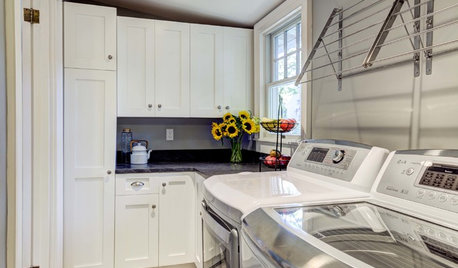
THE HARDWORKING HOMEWhere to Put the Laundry Room
The Hardworking Home: We weigh the pros and cons of washing your clothes in the basement, kitchen, bathroom and more
Full Story
KITCHEN DESIGN20 Kitchen Must-Haves From Houzz Readers
We asked you to tell us your top kitchen amenities. See what popular kitchen features made the list
Full Story
HOUSEKEEPINGDishwasher vs. Hand-Washing Debate Finally Solved — Sort Of
Readers in 8 countries weigh in on whether an appliance saves time, water and sanity or if washing by hand is the only saving grace
Full StorySponsored
Columbus Area's Luxury Design Build Firm | 17x Best of Houzz Winner!
More Discussions

dadoes