


Fisher & Paykell Electric Dryer/venting setup/moisture sensor
oakiris
13 years ago
Related Stories

KITCHEN DESIGNA Cook’s 6 Tips for Buying Kitchen Appliances
An avid home chef answers tricky questions about choosing the right oven, stovetop, vent hood and more
Full Story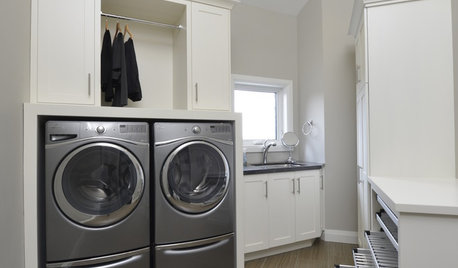
MOST POPULAR10 Smart Ideas for Your Laundry Room Remodel
Make washing and drying easier and more comfortable by considering ergonomics, storage and special features
Full Story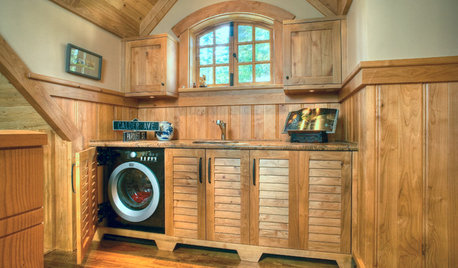
LAUNDRY ROOMSClever Ways to Hide a Laundry Station
When you don’t have a whole room to devote to the wash, use these solutions to tuck the machines out of view
Full Story
KITCHEN DESIGN8 Kitchen Design Tips for Foodies
If you own at least one pricey knife and have a slew of kitchen tools, you’ll want to read this
Full Story
THE HARDWORKING HOMESmart Ways to Make the Most of a Compact Kitchen
Minimal square footage is no barrier to fulfilling your culinary dreams. These tips will help you squeeze the most out of your space
Full Story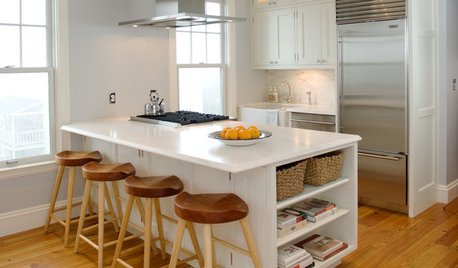
KITCHEN DESIGN20 Kitchen Must-Haves From Houzz Readers
We asked you to tell us your top kitchen amenities. See what popular kitchen features made the list
Full Story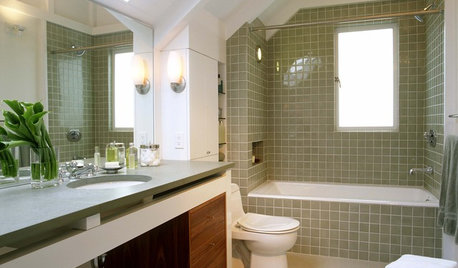
BATHROOM DESIGN12 Things to Consider for Your Bathroom Remodel
Maybe a tub doesn’t float your boat, but having no threshold is a no-brainer. These points to ponder will help you plan
Full Story
GREAT HOME PROJECTS25 Great Home Projects and What They Cost
Get the closet of your dreams, add a secret doorway and more. Learn the ins and outs of projects that will make your home better
Full Story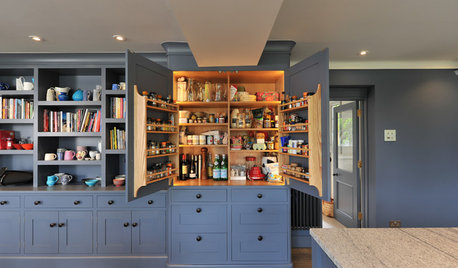
KITCHEN CABINETSColorful Cabinetry in an English Farmhouse Kitchen
Knocking rooms together opens up a family’s living space and makes way for this inviting handmade kitchen in blue and gray
Full Story
UNIVERSAL DESIGNKitchen of the Week: Good Looking and Accessible to All
Universal design features and sustainable products create a beautiful, user-friendly kitchen that works for a homeowner on wheels
Full Story
dadoes
oakirisOriginal Author
Related Professionals
Lafayette Kitchen & Bathroom Designers · Cleveland Kitchen & Bathroom Remodelers · Kettering Kitchen & Bathroom Remodelers · Pasadena Kitchen & Bathroom Remodelers · Shawnee Kitchen & Bathroom Remodelers · Avocado Heights Cabinets & Cabinetry · Holt Cabinets & Cabinetry · Middletown Cabinets & Cabinetry · Acton Custom Closet Designers · Miami Custom Closet Designers · Wheaton Custom Closet Designers · Bothell Flooring Contractors · Danbury Flooring Contractors · Lodi Flooring Contractors · West Chester Flooring Contractorsdadoes
dadoes
oakirisOriginal Author
oakirisOriginal Author
kcred
dadoes
kcred
oakirisOriginal Author
dadoes
kcred
oakirisOriginal Author
oakirisOriginal Author
dadoes
dadoes
oakirisOriginal Author
dadoes
kcred
oakirisOriginal Author
dadoes
kcred
oakirisOriginal Author
kcred
oakirisOriginal Author
oakirisOriginal Author
kcred