


Fisher Paykel GWL15 Bearing Noise
jackoat
13 years ago
Featured Answer
Comments (6)

mihai914
13 years agolast modified: 9 years agojackoat
13 years agolast modified: 9 years agoRelated Professionals
Baltimore Kitchen & Bathroom Designers · El Dorado Hills Kitchen & Bathroom Designers · Wesley Chapel Kitchen & Bathroom Designers · Olympia Heights Kitchen & Bathroom Designers · Pico Rivera Kitchen & Bathroom Remodelers · Spring Valley Cabinets & Cabinetry · Bethesda Custom Closet Designers · Virginia Beach Custom Closet Designers · White Center Custom Closet Designers · Athens Flooring Contractors · Downey Flooring Contractors · East Haven Flooring Contractors · Lakeway Flooring Contractors · New Bern Flooring Contractors · Pasadena Flooring Contractorsjaydeekarren
12 years agolast modified: 9 years agojackoat
12 years agolast modified: 9 years agoJoonya
12 years agolast modified: 9 years ago
Related Stories
HOUSEKEEPINGDishwasher vs. Hand-Washing Debate Finally Solved — Sort Of
Readers in 8 countries weigh in on whether an appliance saves time, water and sanity or if washing by hand is the only saving grace
Full Story
KITCHEN DESIGNA Cook’s 6 Tips for Buying Kitchen Appliances
An avid home chef answers tricky questions about choosing the right oven, stovetop, vent hood and more
Full Story
KITCHEN DESIGNStay Cool About Picking the Right Refrigerator
If all the options for refrigeration leave you hot under the collar, this guide to choosing a fridge and freezer will help you chill out
Full Story
GREAT HOME PROJECTS25 Great Home Projects and What They Cost
Get the closet of your dreams, add a secret doorway and more. Learn the ins and outs of projects that will make your home better
Full Story
REMODELING GUIDES10 Design Features to Kick Your Remodel Up a Notch
You’ve done the legwork on your home renovation or new build. Now it’s time to plan your reward
Full Story
FEEL-GOOD HOMEWhat Really Makes Us Happy at Home? Find Out From a New Houzz Survey
Great design has a powerful impact on our happiness in our homes. So do good cooking smells, family conversations and, yes, big-screen TVs
Full Story
KITCHEN DESIGNHow to Choose and Use Ecofriendly Kitchen Appliances
Inefficient kitchen appliances waste energy and money. Here's how to pick and use appliances wisely
Full Story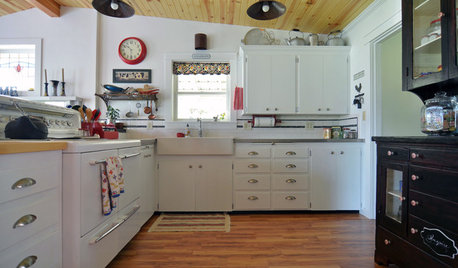
BEFORE AND AFTERSKitchen of the Week: Classic White Farmhouse Style Restored
A couple remodel their kitchen to better match their 19th-century Oregon home’s style
Full Story
SAVING WATER11 Ways to Save Water at Home
Whether you live in a drought-stricken area or just want to help preserve a precious resource, here are things you can do to use less water
Full StoryMore Discussions


pramsec