


Teddy Bear Afhgan from gallery
minnie_tx
17 years ago
Related Stories
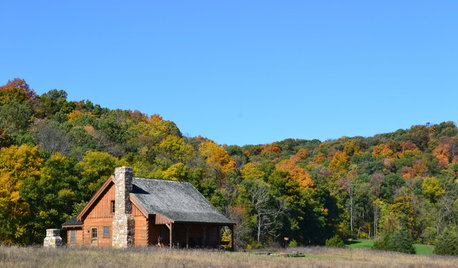
RUSTIC STYLEGet Your Rustic On for Log Cabin Day!
Celebrate rugged good looks and simpler times with a gallery of 10 gorgeous log cabins across the U.S.
Full Story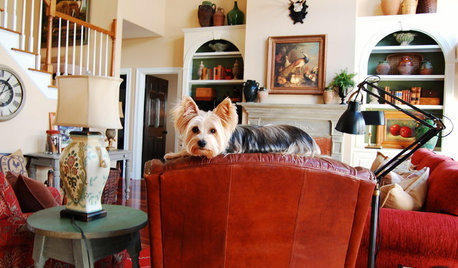
PETSThe Best of My Houzz: 50 Design-Loving Pets
Share in the animal love with snapshots of adorable furry friends from our My Houzz series
Full Story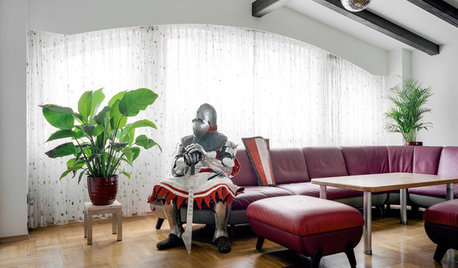
FUN HOUZZThe Unicorn in the Bathtub — and Other Mind-Blowing Sights
Fantasy and reality meet head-on in photos of costume fans in their own homes
Full Story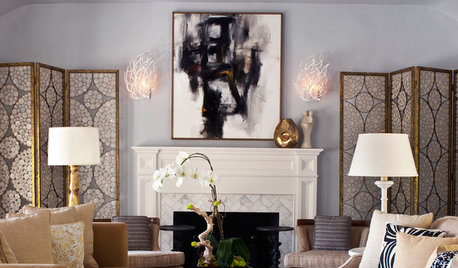
HOUZZ TOURSHouzz Tour: Hollywood Haven for a Celeb and Family
Comedy is hard, but actor Joel McHale's spacious redesigned home in California is easy on the eyes
Full Story
PETSHouzz Call: Send in the Design Cats
Post your best photo of your cat at home, in the garden or with you in your studio. It could be published in a featured ideabook
Full Story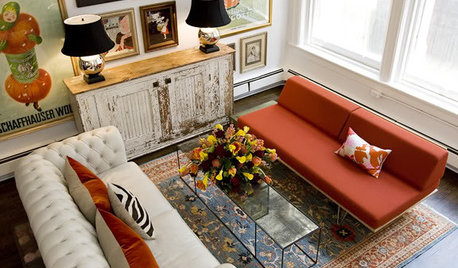
DECORATING GUIDESFeel Free to Break Some Decorating Rules
Ditch the dogma about color, style and matching, and watch your rooms come alive
Full Story
LIVING ROOMS8 Reasons to Nix Your Fireplace (Yes, for Real)
Dare you consider trading that 'coveted' design feature for something you'll actually use? This logic can help
Full Story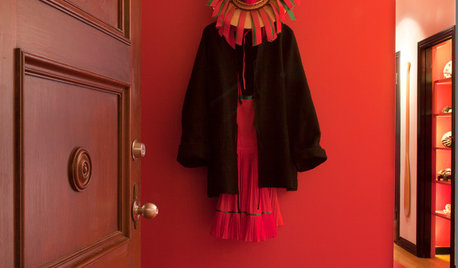
DECORATING GUIDESMy Houzz: Walls and Shelves Are This Collector's Colorful Canvas
French flea market finds, antique toys, folk art and family keepsakes all have a place in this creative consultant's San Francisco apartment
Full Story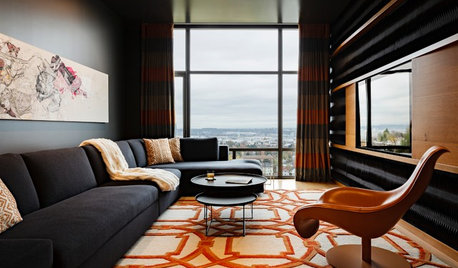
APARTMENTSHouzz Tour: Sweetening the Penthouse Deal
With a newly dramatic interior design — including a sexy lounge — this Portland home is now living up to its potential
Full Story
tipper_2006
Related Professionals
Bridgeport Furniture & Accessories · Franklin Furniture & Accessories · Huntersville Furniture & Accessories · Memphis Furniture & Accessories · Memphis Furniture & Accessories · Milwaukee Furniture & Accessories · Hoffman Estates Furniture & Accessories · Park Ridge Furniture & Accessories · Birmingham Interior Designers & Decorators · Stanford Interior Designers & Decorators · Wareham Interior Designers & Decorators · Liberty Township Interior Designers & Decorators · Kansas City Home Stagers · McLean Home Stagers · Newark Staircases & Railings