


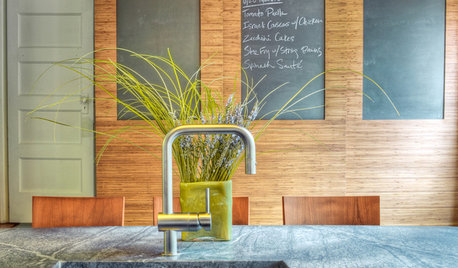
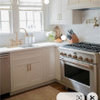
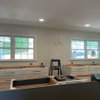
scrappy25 renovation Part 2- Julia soapstone installed
scrappy25
9 years ago
Featured Answer
Comments (30)

eam44
9 years agolast modified: 9 years ago
bbtrix
9 years agolast modified: 9 years agoRelated Professionals
Leicester Kitchen & Bathroom Designers · Waianae Kitchen & Bathroom Designers · Grain Valley Kitchen & Bathroom Remodelers · Alpine Kitchen & Bathroom Remodelers · Durham Kitchen & Bathroom Remodelers · Overland Park Kitchen & Bathroom Remodelers · Phoenix Kitchen & Bathroom Remodelers · Port Orange Kitchen & Bathroom Remodelers · Weston Kitchen & Bathroom Remodelers · Bonita Cabinets & Cabinetry · Gaffney Cabinets & Cabinetry · Little Chute Cabinets & Cabinetry · Tacoma Cabinets & Cabinetry · Wilkinsburg Cabinets & Cabinetry · Pacific Grove Design-Build Firms
gyr_falcon
9 years agolast modified: 9 years ago
Errant_gw
9 years agolast modified: 9 years ago
magpier
9 years agolast modified: 9 years ago
my_four_sons
9 years agolast modified: 9 years agobordenh
9 years agolast modified: 9 years agoitsthedetails
9 years agolast modified: 9 years ago
romy718
9 years agolast modified: 9 years ago
hsw_sc
9 years agolast modified: 9 years agoCEFreeman
9 years agolast modified: 9 years agofriedajune
9 years agolast modified: 9 years agoeam44
9 years agolast modified: 9 years agoeam44
9 years agolast modified: 9 years ago
cookncarpenter
9 years agolast modified: 9 years agoRudebekia
9 years agolast modified: 9 years agoPAZC
9 years agolast modified: 9 years agoscrappy25
9 years agolast modified: 9 years agoarch123
9 years agolast modified: 9 years agoscpalmetto
9 years agolast modified: 9 years agoMags438
9 years agolast modified: 9 years ago
Jenna Brown
9 years agolast modified: 9 years agotea4all
9 years agolast modified: 9 years agoscrappy25
9 years agolast modified: 9 years agochristina222_gw
9 years agolast modified: 9 years agoscrappy25
9 years agolast modified: 9 years ago
Aglitter
5 years agoscrappy25
5 years agolast modified: 5 years agoAglitter
5 years agolast modified: 5 years ago
Related Stories
KITCHEN DESIGNKitchen Counters: Durable, Easy-Clean Soapstone
Give bacteria the boot and say sayonara to stains with this long-lasting material that's a great choice for kitchen and bath countertops
Full Story
BATHROOM DESIGNShould You Install a Urinal at Home?
Wall-mounted pit stops are handy in more than just man caves — and they can look better than you might think
Full Story
LIGHTINGReady to Install a Chandelier? Here's How to Get It Done
Go for a dramatic look or define a space in an open plan with a light fixture that’s a star
Full Story
KITCHEN DESIGNHow to Choose the Best Sink Type for Your Kitchen
Drop-in, undermount, integral or apron-front — a design pro lays out your sink options
Full Story
KITCHEN COUNTERTOPS10 Top Backsplashes to Pair With Soapstone Countertops
Simplify your decision-making process by checking out how these styles work with soapstone
Full Story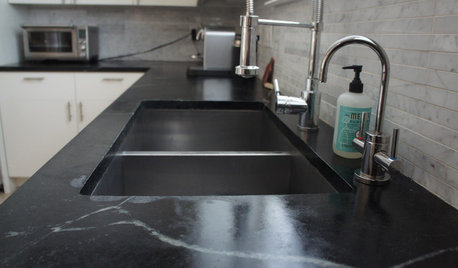
KITCHEN DESIGNSoapstone Counters: A Love Story
Love means accepting — maybe even celebrating — imperfections. See if soapstone’s assets and imperfections will work for you
Full Story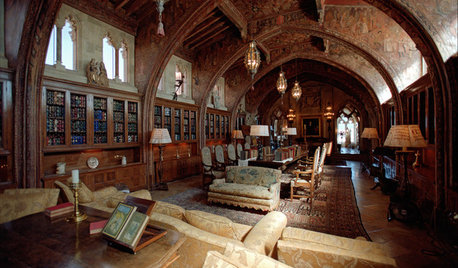
GREAT DESIGNERSDesign Icons: Julia Morgan
Take the family to see this groundbreaking architect's Hearst Castle, or just virtually visit it and 2 more of her projects right here
Full Story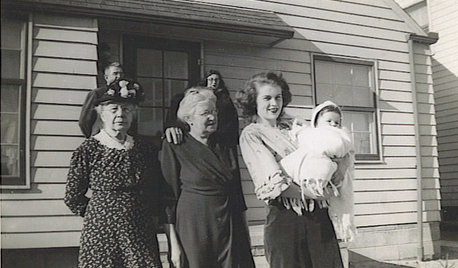
LIFETime Travel to Houzzers' Childhood Homes, Part 1
Peek into home design's past and share the memories of Houzz community members with these personal photos and stories
Full Story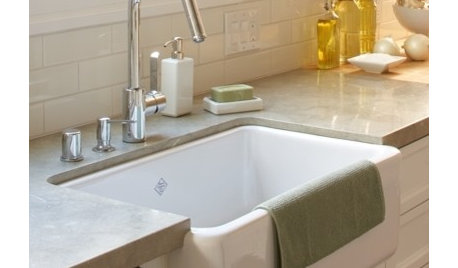
CONTRACTOR TIPSContractor Tips: Countertop Installation from Start to Finish
From counter templates to ongoing care, a professional contractor shares what you need to know
Full Story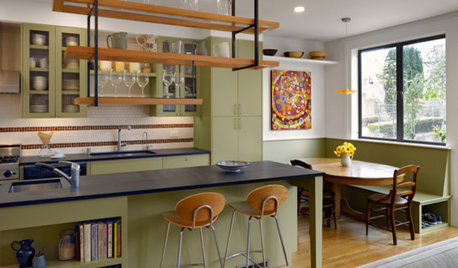
KITCHEN DESIGNAlternatives to Granite Countertops, Part III
9 more reasons to rethink the granite kitchen counter
Full StoryMore Discussions


scpalmetto