


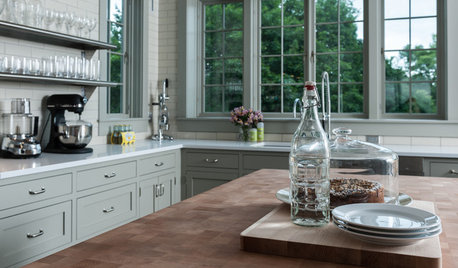
Scrappy25 renovation Part 1- layout evolution and cabinets
scrappy25
9 years ago


Featured Answer
Comments (25)

jxa44
9 years agolast modified: 9 years agomagpier
9 years agolast modified: 9 years agoRelated Professionals
Southampton Kitchen & Bathroom Designers · Grain Valley Kitchen & Bathroom Remodelers · Bellevue Kitchen & Bathroom Remodelers · Broadlands Kitchen & Bathroom Remodelers · Eagle Kitchen & Bathroom Remodelers · Fort Pierce Kitchen & Bathroom Remodelers · Gilbert Kitchen & Bathroom Remodelers · Rancho Palos Verdes Kitchen & Bathroom Remodelers · Southampton Kitchen & Bathroom Remodelers · Princeton Kitchen & Bathroom Remodelers · Crestview Cabinets & Cabinetry · Jeffersontown Cabinets & Cabinetry · Plymouth Cabinets & Cabinetry · Brentwood Tile and Stone Contractors · Lake Butler Design-Build Firmsdebbie1031
9 years agolast modified: 9 years agoscrappy25
9 years agolast modified: 9 years agosjhockeyfan325
9 years agolast modified: 9 years ago
bbtrix
9 years agolast modified: 9 years ago
motherof3sons
9 years agolast modified: 9 years agotea4all
9 years agolast modified: 9 years agoscrappy25
9 years agolast modified: 9 years agodccurlygirl
9 years agolast modified: 9 years agoHydragea
9 years agolast modified: 9 years agolannegreene
9 years agolast modified: 9 years agolannegreene
9 years agolast modified: 9 years ago
ainelane
9 years agolast modified: 9 years agoscrappy25
9 years agolast modified: 9 years agoscrappy25
9 years agolast modified: 9 years agoscrappy25
9 years agolast modified: 9 years agoainelane
9 years agolast modified: 9 years agolannegreene
9 years agolast modified: 9 years agoscrappy25
9 years agolast modified: 9 years agoscrappy25
9 years agolast modified: 9 years agoainelane
9 years agolast modified: 9 years agoscrappy25
9 years agolast modified: 9 years agoainelane
9 years agolast modified: 9 years ago


Related Stories
MOST POPULARKitchen Evolution: Work Zones Replace the Triangle
Want maximum efficiency in your kitchen? Consider forgoing the old-fashioned triangle in favor of task-specific zones
Full Story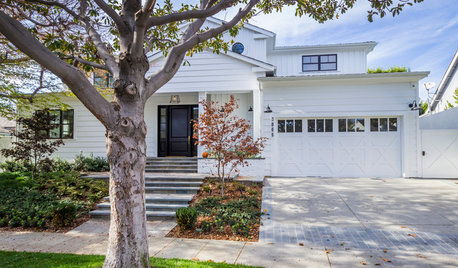
TRANSITIONAL HOMESHouzz Tour: Part Traditional, Part Modern and All Family Friendly
With clean lines, vintage touches and durable surfaces everywhere, this Los Angeles home balances tastes and needs beautifully
Full Story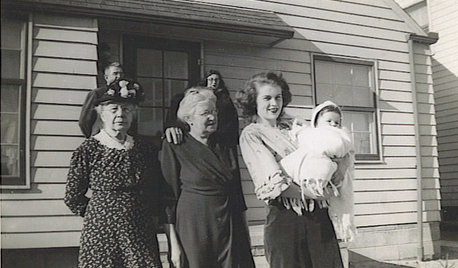
LIFETime Travel to Houzzers' Childhood Homes, Part 1
Peek into home design's past and share the memories of Houzz community members with these personal photos and stories
Full Story
DOORSKnow Your House: Interior Door Parts and Styles
Learn all the possibilities for your doors, and you may never default to the standard six-panel again
Full Story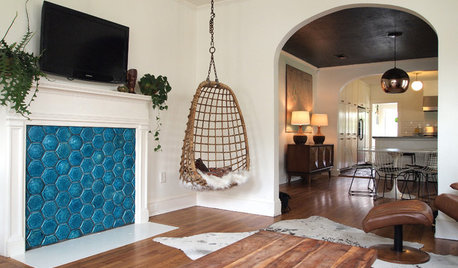
STUDIOS AND WORKSHOPSMy Houzz: Eclectic Charm in a Baton Rouge Renovated Live-Work Cottage
Makers of handcrafted jewelry bring personalized flair to their 1,350-square-foot Louisiana home and studio
Full Story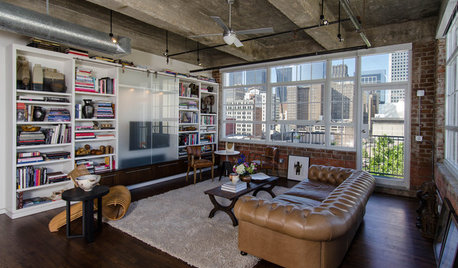
HOUZZ TOURSHouzz Tour: Stellar Views Spark a Loft's New Layout
A fantastic vista of the city skyline, along with the need for better efficiency and storage, lead to a Houston loft's renovation
Full Story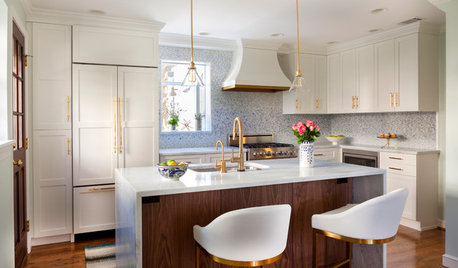
KITCHEN DESIGNCouple Renovates to Spend More Time in the Kitchen
Artistic mosaic tile, custom cabinetry and a thoughtful layout make the most of this modest-size room
Full Story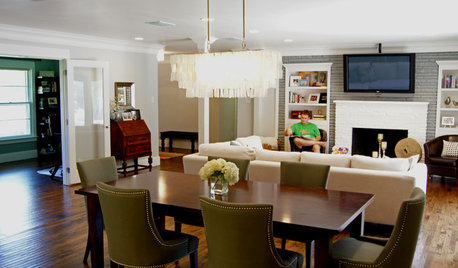
HOUZZ TOURSMy Houzz: Renovated 1950s Family Home in Texas
A complete overhaul reinvents a dark midcentury home, leaving a cool color palette, an open layout and a nursery splurge in its wake
Full Story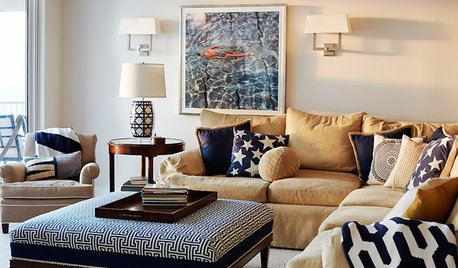
VACATION HOMESPatience Pays Off for Owners Renovating Their Beach Condo
A Jersey Shore unit gets a bright new look, a more functional layout and increased space for extended family
Full Story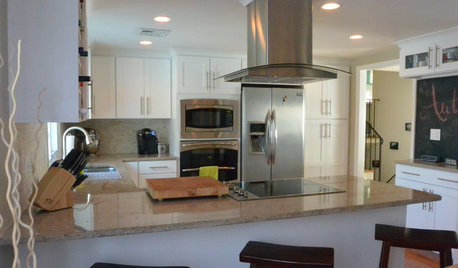
BEFORE AND AFTERSA ‘Brady Bunch’ Kitchen Overhaul for Less Than $25,000
Homeowners say goodbye to avocado-colored appliances and orange-brown cabinets and hello to a bright new way of cooking
Full StoryMore Discussions


CEFreeman