


My $500 kitchen reno...again!
pommy_girl
14 years ago


Related Stories

KITCHEN DESIGNKitchen of the Week: Making Over a Rental for About $1,500
Fresh paint, new hardware, added storage, rugs and unexpected touches breathe new life into a Los Angeles apartment’s kitchen
Full Story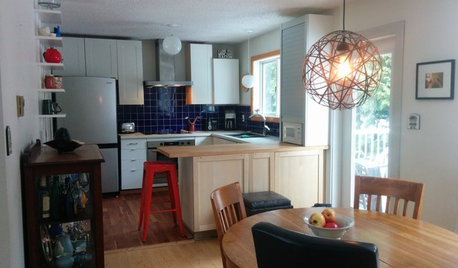
SMALL KITCHENSThe 100-Square-Foot Kitchen: One Woman’s $4,500 DIY Crusade
Teaching herself how to remodel, Allison Macdonald adds function, smarter storage and snazzier materials
Full Story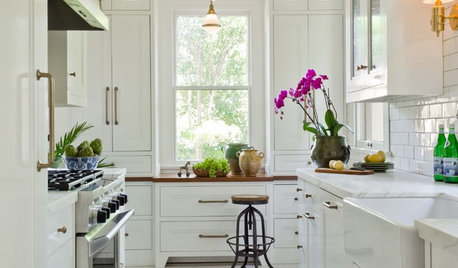
KITCHEN OF THE WEEKKitchen of the Week: What’s Old Is New Again in Texas
A fresh update brings back a 1920s kitchen’s original cottage style
Full Story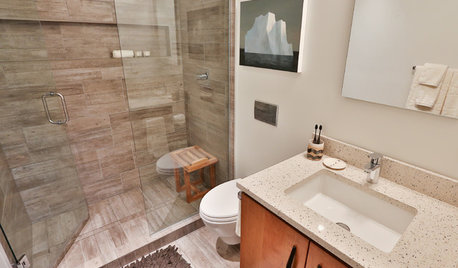
BATHROOM DESIGNSee 2 DIY Bathroom Remodels for $15,500
A little Internet savvy allowed this couple to remodel 2 bathrooms in their Oregon bungalow
Full Story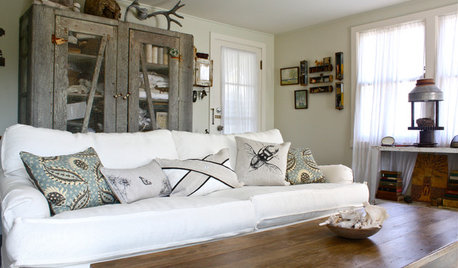
HOUZZ TOURSMy Houzz: 500-Square-Foot Charmer in Santa Cruz
Dreamy whites, antique finds and nature-inspired decor fill an interior designer's cozy lagoon-side home
Full Story
HOUZZ TOURS13 Character-Filled Homes Between 1,000 and 1,500 Square Feet
See how homeowners have channeled their creativity into homes that are bright, inviting and one of a kind
Full Story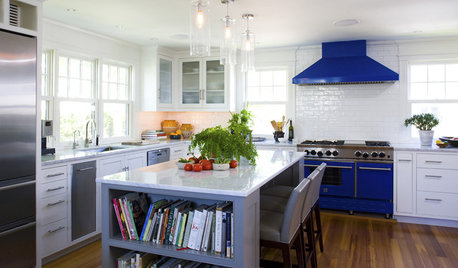
KITCHEN DESIGNSo Over Stainless in the Kitchen? 14 Reasons to Give In to Color
Colorful kitchen appliances are popular again, and now you've got more choices than ever. Which would you choose?
Full Story
HOUSEKEEPINGThe Quick and Easy Way to Clean a Microwave
All you need is water and a couple of other natural ingredients to get your appliance sparkling and smelling fresh again
Full Story
KITCHEN DESIGNKitchen of the Week: A Cottage-Chic Kitchen on a Budget
See how a designer transformed her vacation cottage kitchen with salvage materials, vintage accents, paint and a couple of splurges
Full Story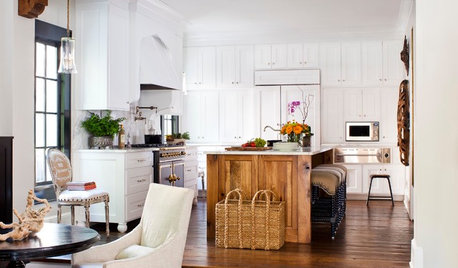
KITCHEN DESIGNKitchen of the Week: Going Elegant and Bright in a 1900s Home
Dark and closed off no more, this Atlanta kitchen now has a classic look, increased natural light and a more open plan
Full Story

pommy_girlOriginal Author
ellenhopes
Related Professionals
Buffalo Kitchen & Bathroom Designers · Lafayette Kitchen & Bathroom Designers · Martinsburg Kitchen & Bathroom Designers · Montrose Kitchen & Bathroom Designers · South Sioux City Kitchen & Bathroom Designers · Andover Kitchen & Bathroom Remodelers · Bellevue Kitchen & Bathroom Remodelers · New Port Richey East Kitchen & Bathroom Remodelers · Pasadena Kitchen & Bathroom Remodelers · Port Angeles Kitchen & Bathroom Remodelers · Buena Park Cabinets & Cabinetry · Middletown Cabinets & Cabinetry · South Gate Cabinets & Cabinetry · Mill Valley Tile and Stone Contractors · Castaic Design-Build Firmswestsider40
honorbiltkit
squigs
rada
sameboat
finz2left
pommy_girlOriginal Author
rada
celticmoon
lazy_gardens
ellenhopes
growlery
dilly_dally
pommy_girlOriginal Author
Shades_of_idaho
neesie
sherwoodva
jakkom