


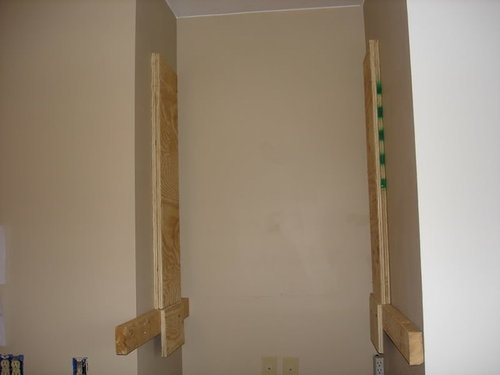
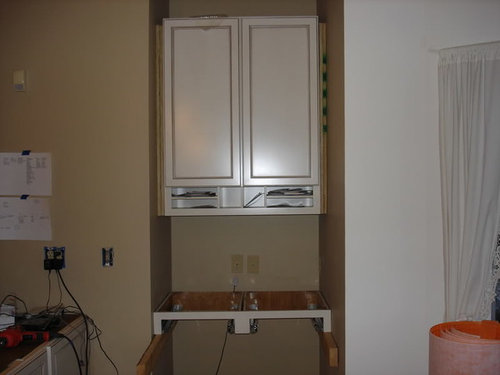
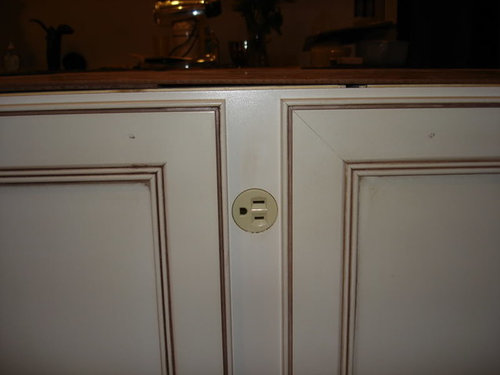
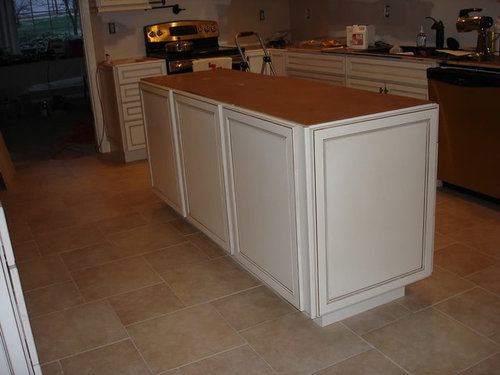
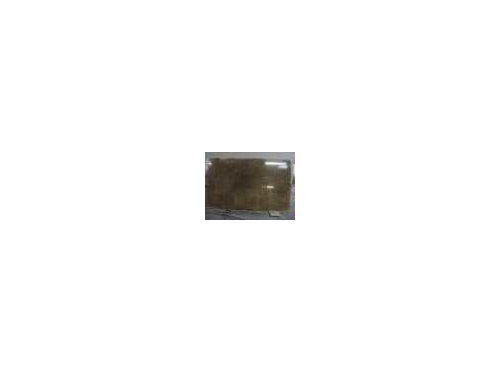
Thanksgiving week remodel...part 2
weedyacres
16 years ago

Sort by:Oldest
Comments (29)
Related Stories
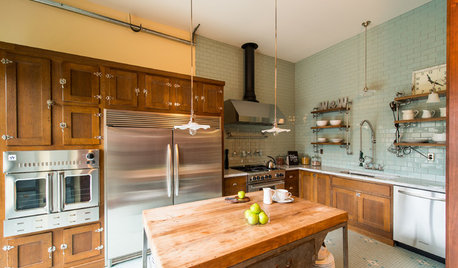
INDUSTRIAL STYLENew This Week: 2 Industrial Kitchens to Inspire Your Next Remodel
Bored with white kitchens? Introduce concrete and steel elements for modern industrial style that doesn’t disappoint
Full Story
KITCHEN DESIGNKitchen of the Week: Southern Charm Abounds in Arkansas
In this Little Rock kitchen remodel, homeowners and their designer look to the past and future for inspiration
Full Story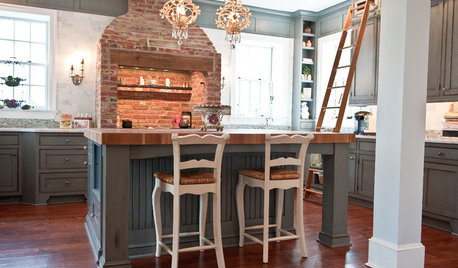
KITCHEN DESIGNKitchen of the Week: An Elegant 18th-Century Remodel
A 1790 kitchen in New Jersey is remodeled with modern appliances, cabinetry and finishes while keeping historical character in mind
Full Story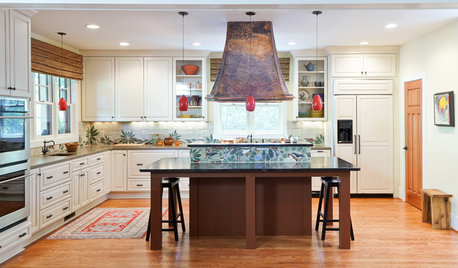
KITCHEN DESIGNNew This Week: 4 Artistic Kitchen Details to Consider for Your Remodel
Looking to add character to your space? Go bold with one of these creative ideas
Full Story
KITCHEN DESIGNKitchen of the Week: Practical, Budget-Friendly Beauty in Dallas
One month and a $25,000 budget — see how a Texas homeowner modernized her kitchen beautifully working with those remodeling constraints
Full Story
KITCHEN DESIGNKitchen of the Week: Turquoise Tile and a Dining Nook for 16
Entertaining is a piece of cake in this remodeled beauty with an extra-large stove and seating for a crowd
Full Story
BASEMENTSBasement of the Week: Movies, Workouts and Billiards
Family togetherness moves to a whole other level with a remodeled basement designed to appeal to all
Full Story
KITCHEN OF THE WEEKKitchen of the Week: A Minty Green Blast of Nostalgia
This remodeled kitchen in Chicago gets a retro look and a new layout, appliances and cabinets
Full Story
TRANSITIONAL HOMESHouzz Tour: Part Traditional, Part Modern and All Family Friendly
With clean lines, vintage touches and durable surfaces everywhere, this Los Angeles home balances tastes and needs beautifully
Full Story
KITCHEN DESIGNNew This Week: 2 Kitchens That Show How to Mix Materials
See how these kitchens combine textures, colors and materials into a harmonious whole
Full Story


rmkitchen
mommycooks
Related Professionals
Everett Kitchen & Bathroom Designers · Gainesville Kitchen & Bathroom Designers · St. Louis Kitchen & Bathroom Designers · Woodlawn Kitchen & Bathroom Designers · Beverly Hills Kitchen & Bathroom Remodelers · Elk Grove Kitchen & Bathroom Remodelers · Fort Washington Kitchen & Bathroom Remodelers · Republic Kitchen & Bathroom Remodelers · Saint Helens Kitchen & Bathroom Remodelers · Sicklerville Kitchen & Bathroom Remodelers · South Barrington Kitchen & Bathroom Remodelers · Turlock Kitchen & Bathroom Remodelers · Holt Cabinets & Cabinetry · Phelan Cabinets & Cabinetry · Roxbury Crossing Tile and Stone Contractorsmonicakm_gw
weedyacresOriginal Author
pcjs
weedyacresOriginal Author
Buehl
jillypie
snagd
weedyacresOriginal Author
cat_mom
fnzzy
janwad
divamum
kyliegirl
kbmas0n
natesgramma
bklyn2pok
flatlander62
akshars_mom
gshop
mahatmacat1
weedyacresOriginal Author
elyn00
weedyacresOriginal Author
msrose
hmsweethm
napagirl
susanlynn2012