


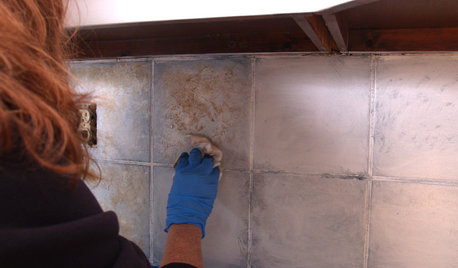
DIY tile backsplash helpful hints
rebaw
14 years ago
Sort by:Oldest
Comments (3)
Related Stories
DIY PROJECTSDIY Backsplash Makeover: Get a New Tile Look for Less Than $50
Give old tile a painted faux-stone facade for a brand-new look at a superaffordable price
Full Story
KITCHEN BACKSPLASHESHow to Install a Tile Backsplash
If you've got a steady hand, a few easy-to-find supplies and patience, you can install a tile backsplash in a kitchen or bathroom
Full Story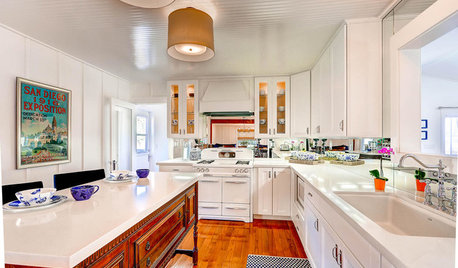
KITCHEN DESIGNKitchen of the Week: Hints of Nautical Style for a Shipshape Kitchen
A designer reinvents her dated kitchen with shades of days gone by and a nod to its seafaring location
Full Story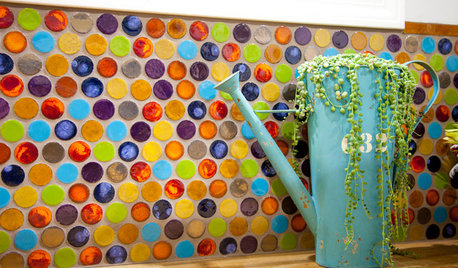
TILE5 Head-Turning Tile Styles for Backsplashes and More
If plain subway tile would derail your bold decorating vision, these dashing tiles can help you arrive at a brilliant solution
Full Story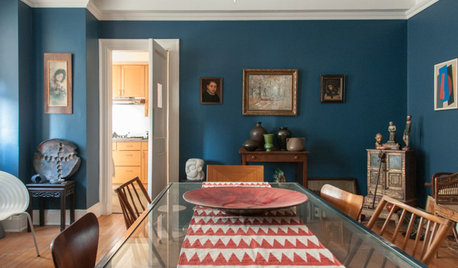
COLORPaint-Picking Help and Secrets From a Color Expert
Advice for wall and trim colors, what to always do before committing and the one paint feature you should completely ignore
Full Story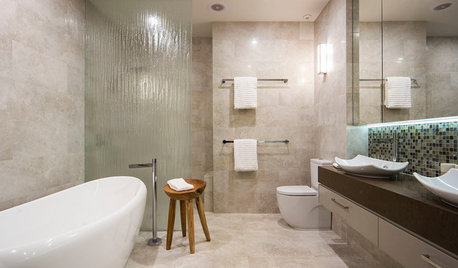
SELLING YOUR HOUSE10 Tricks to Help Your Bathroom Sell Your House
As with the kitchen, the bathroom is always a high priority for home buyers. Here’s how to showcase your bathroom so it looks its best
Full Story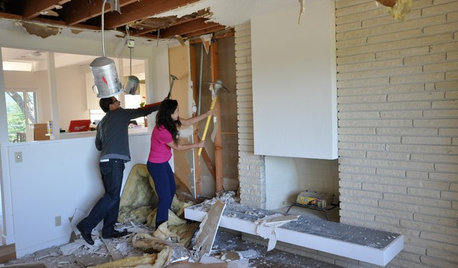
REMODELING GUIDESWisdom to Help Your Relationship Survive a Remodel
Spend less time patching up partnerships and more time spackling and sanding with this insight from a Houzz remodeling survey
Full Story
COLORPick-a-Paint Help: How to Create a Whole-House Color Palette
Don't be daunted. With these strategies, building a cohesive palette for your entire home is less difficult than it seems
Full Story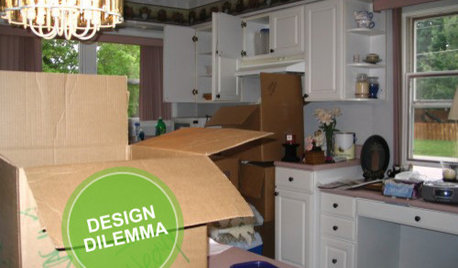
KITCHEN DESIGNDesign Dilemma: My Kitchen Needs Help!
See how you can update a kitchen with new countertops, light fixtures, paint and hardware
Full Story
UNIVERSAL DESIGNMy Houzz: Universal Design Helps an 8-Year-Old Feel at Home
An innovative sensory room, wide doors and hallways, and other thoughtful design moves make this Canadian home work for the whole family
Full Story

terezosa / terriks
sweeby
Related Professionals
Ocala Kitchen & Bathroom Designers · Ojus Kitchen & Bathroom Designers · Piedmont Kitchen & Bathroom Designers · Rancho Mirage Kitchen & Bathroom Designers · Wentzville Kitchen & Bathroom Designers · Albuquerque Kitchen & Bathroom Remodelers · Apex Kitchen & Bathroom Remodelers · Key Biscayne Kitchen & Bathroom Remodelers · Vienna Kitchen & Bathroom Remodelers · Gibsonton Kitchen & Bathroom Remodelers · Forest Hills Cabinets & Cabinetry · Manville Cabinets & Cabinetry · Sunrise Manor Cabinets & Cabinetry · Rancho Mirage Tile and Stone Contractors · Castaic Design-Build Firmsbill_vincent